I saw this little house on Zillow with a price reduction. It had my 2 must haves in real estate investment properties. 1-Off street parking, 2-a yard, but this one had 3- an out building. I really wanted this house. It was close to the universities (Mathilda would be transferring to Tulane in the spring) and in a cute, becoming renovated neighborhood.
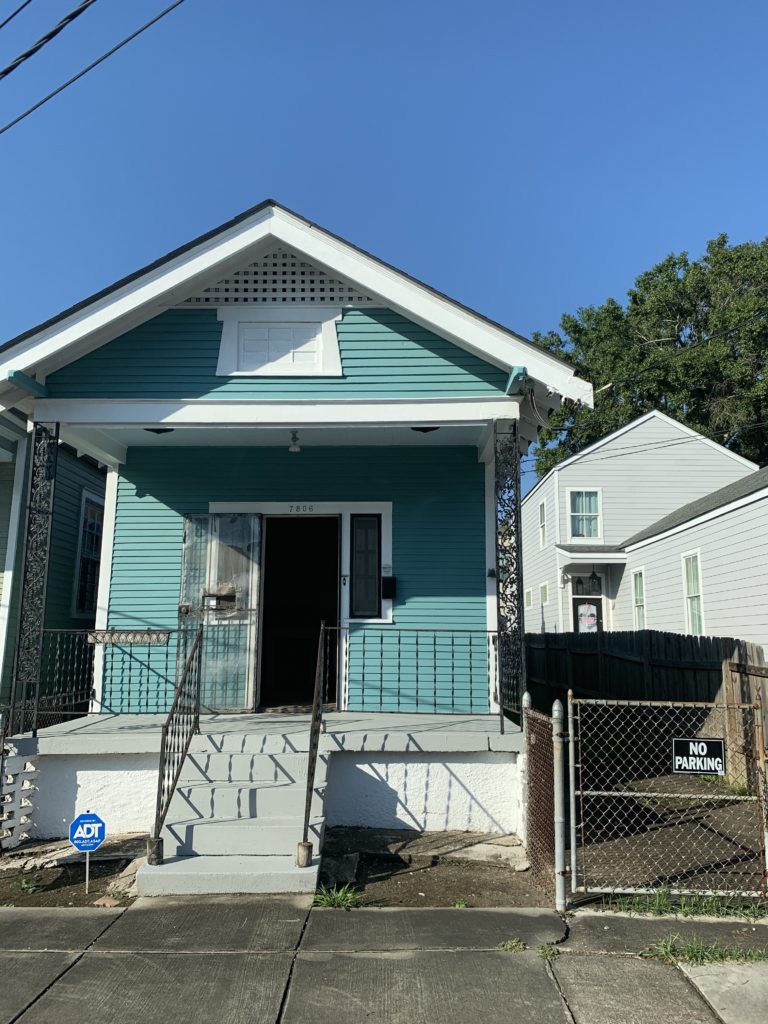
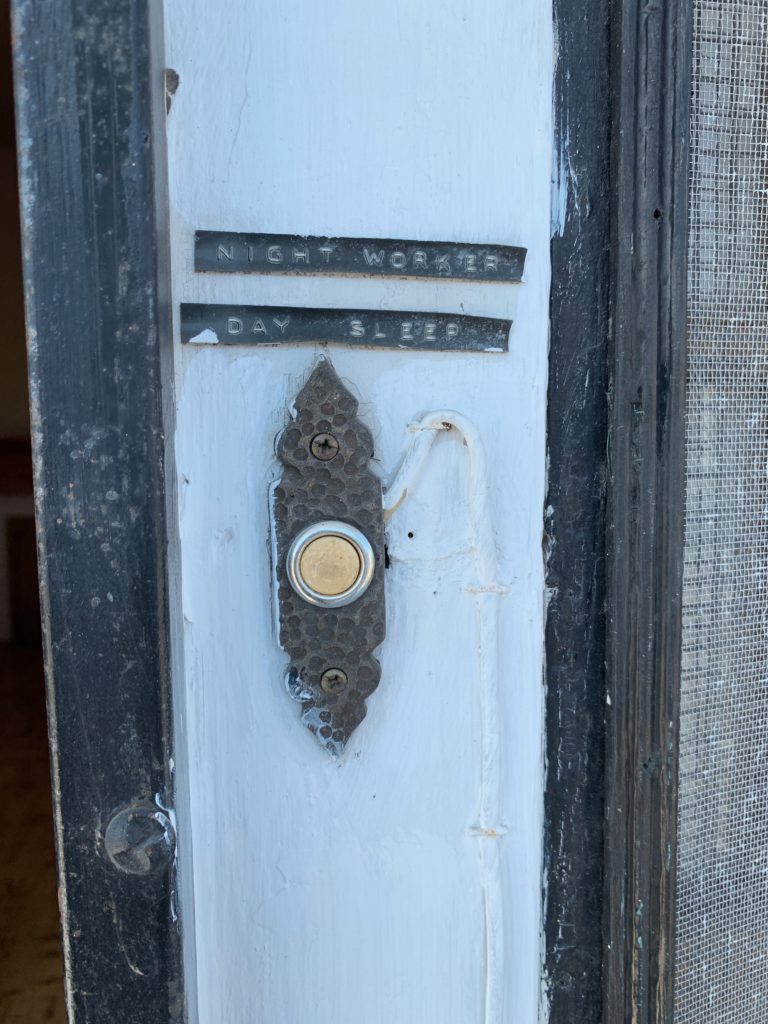
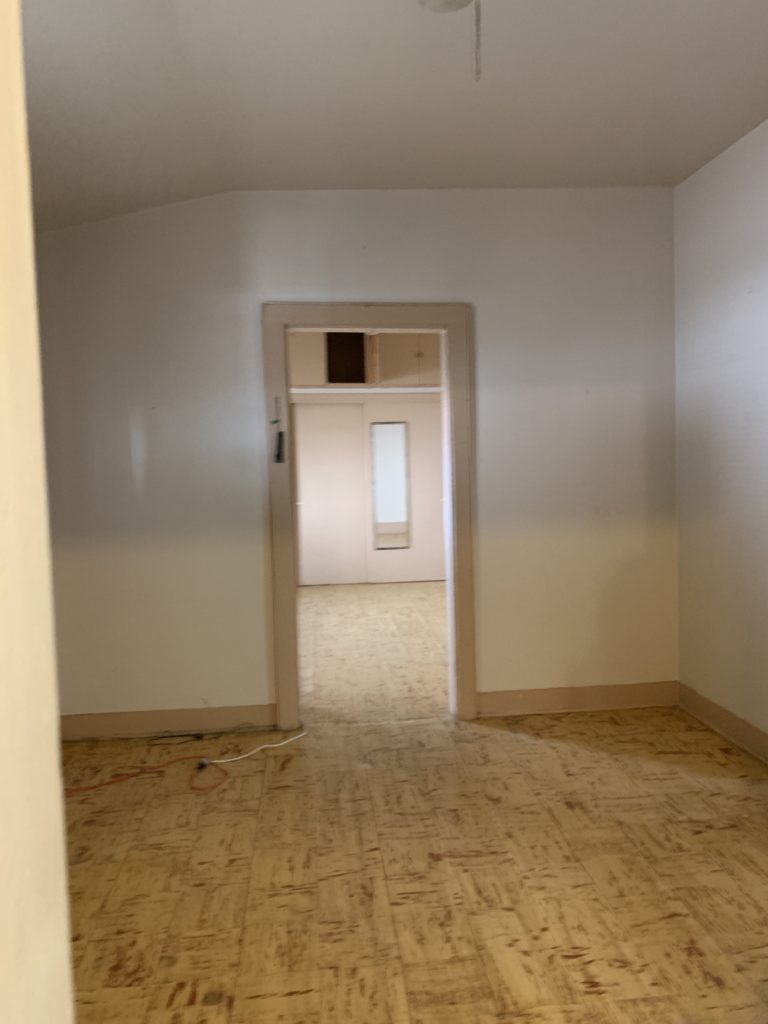
An older couple lived in this house for many years. They had moved some years before to be closer to family. The house was super handmade and the owner did much of the updates himself. Very quirky and in need of a gut renovation. It was a single shotgun with four rooms and a bathroom with a tiny enclosed porch on the back.
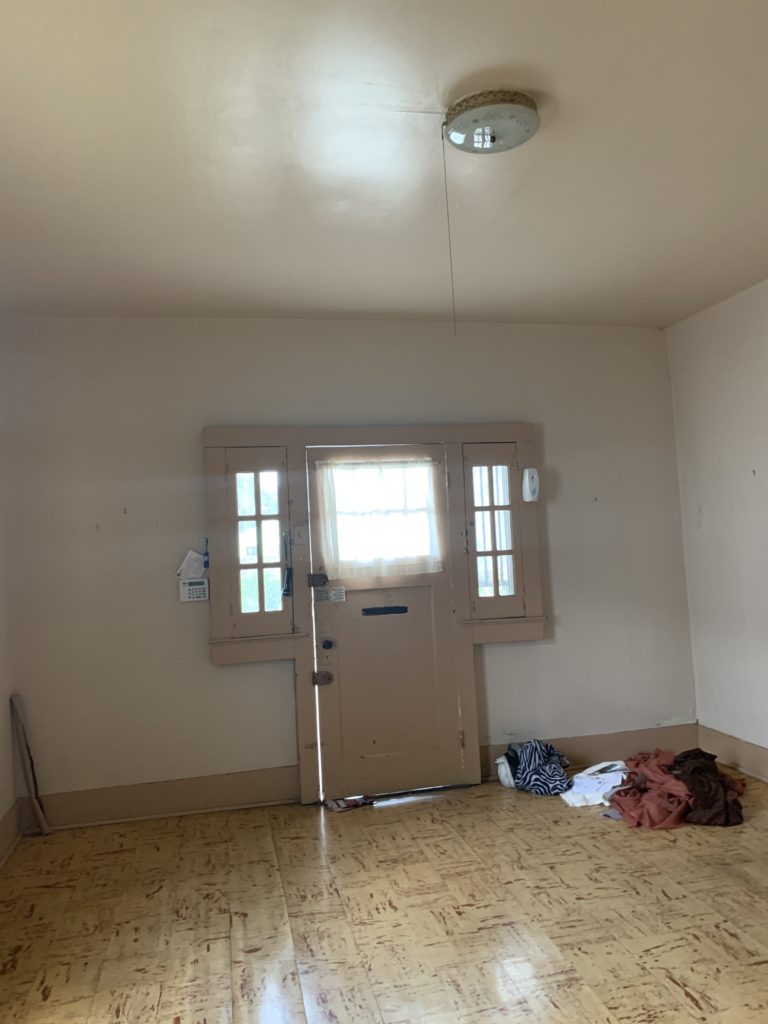
front door 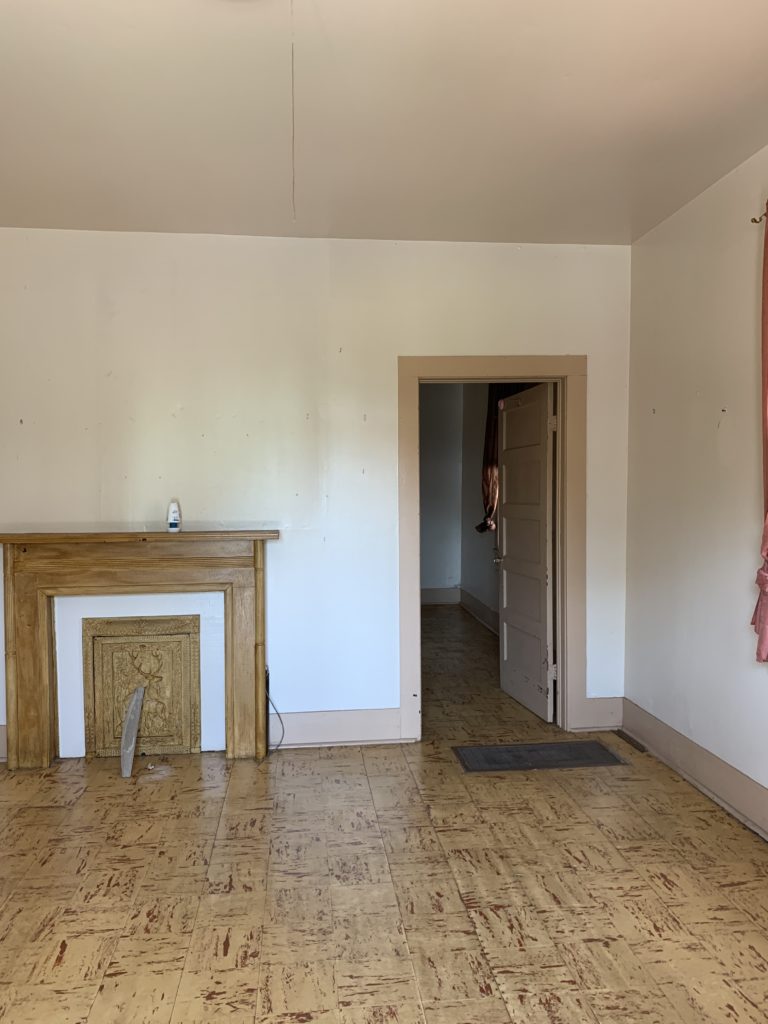
1-living room 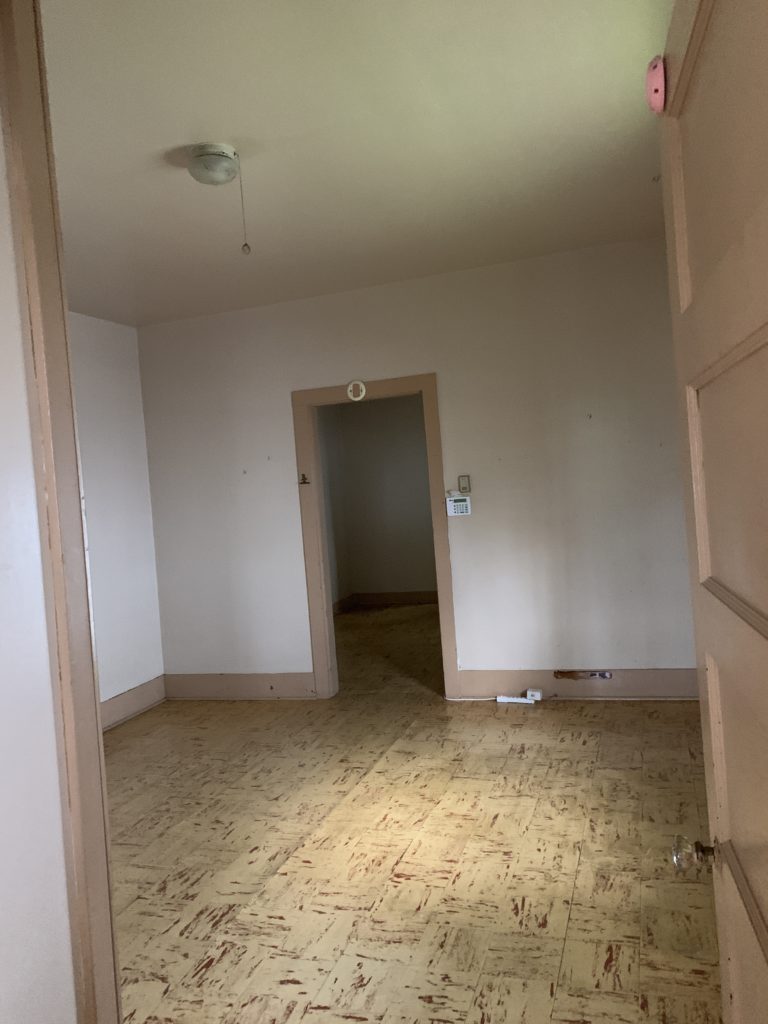
2-bedroom 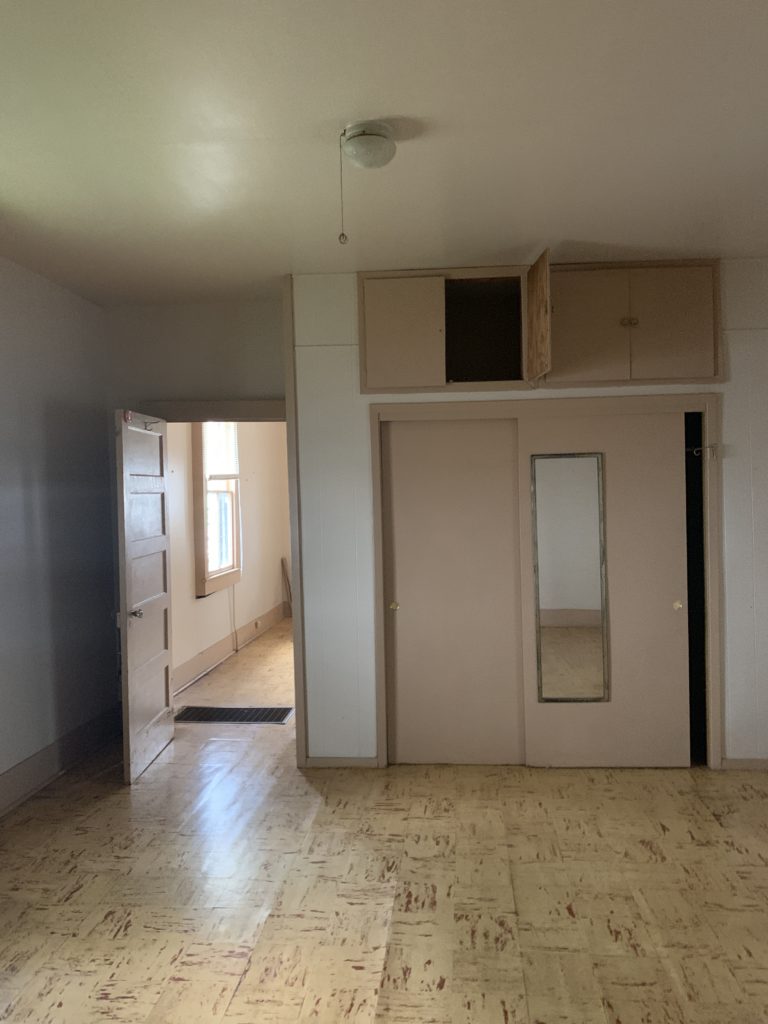
2-bedroom 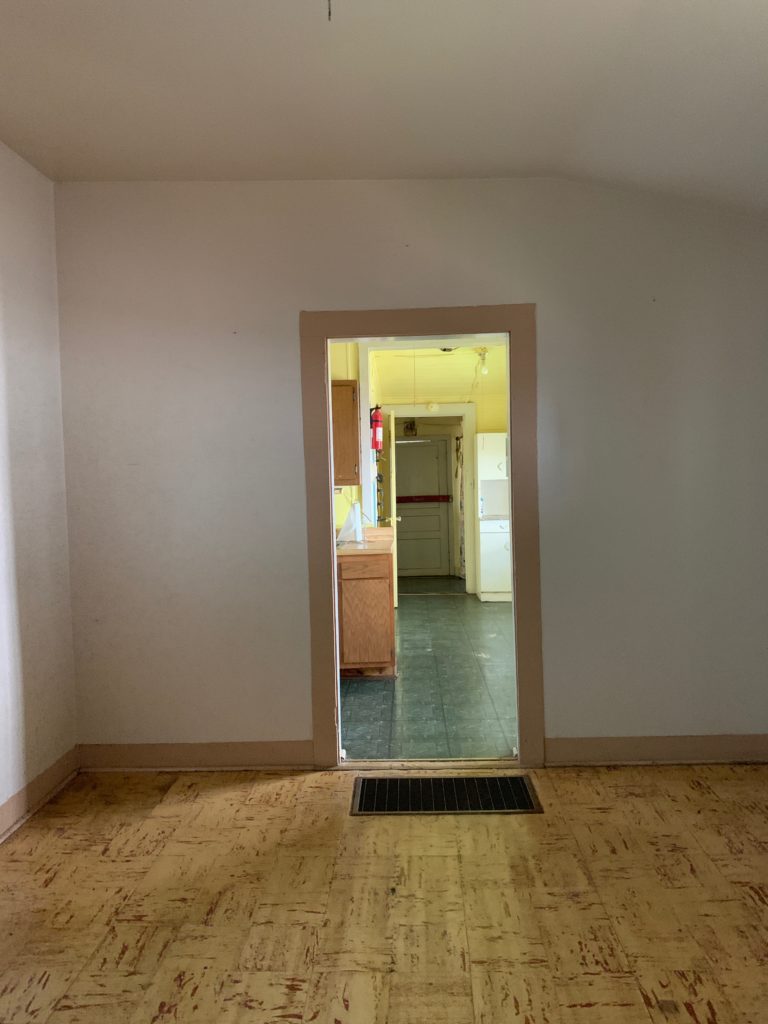
3-dining/bedroom 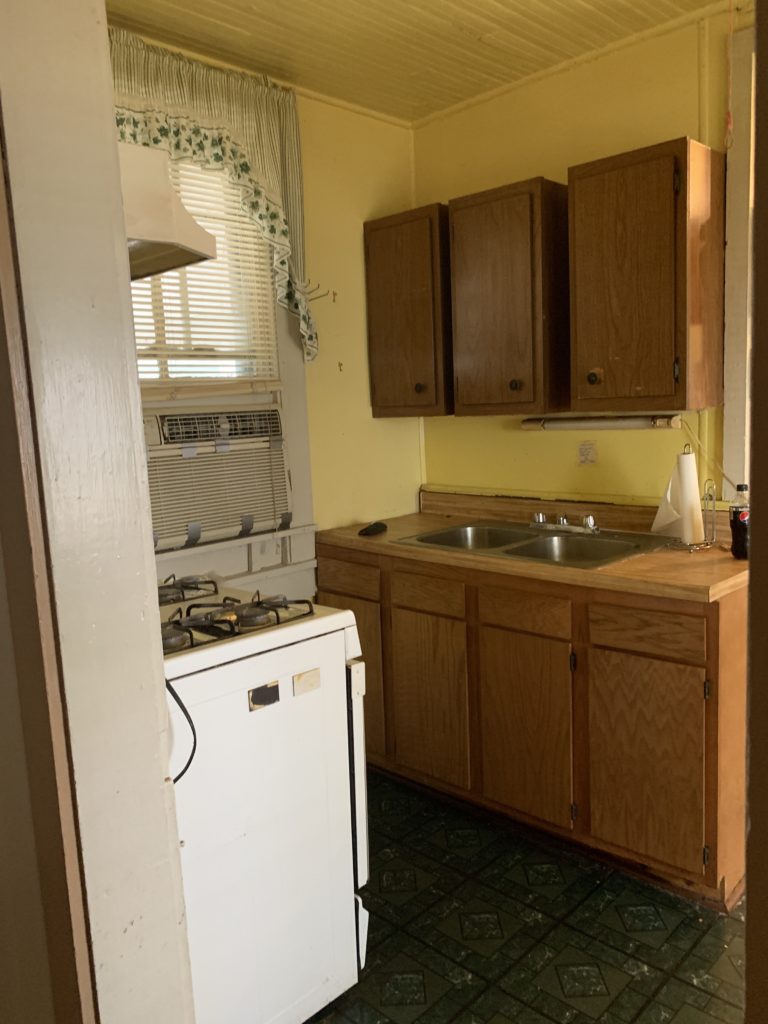
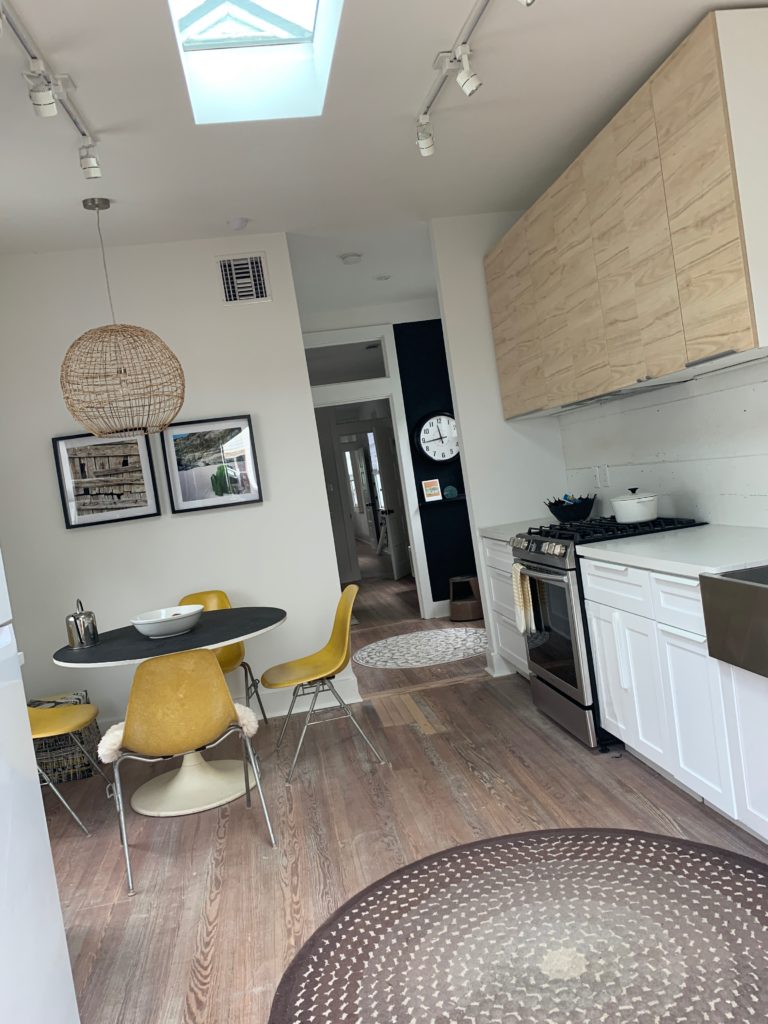
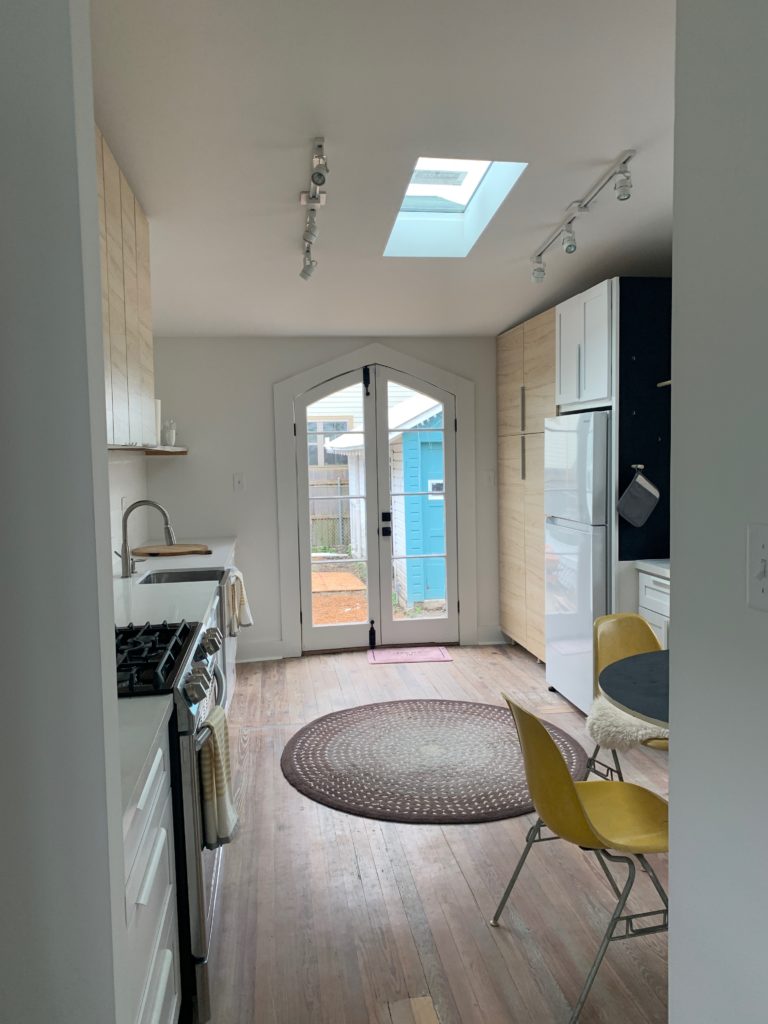
4-kitchen 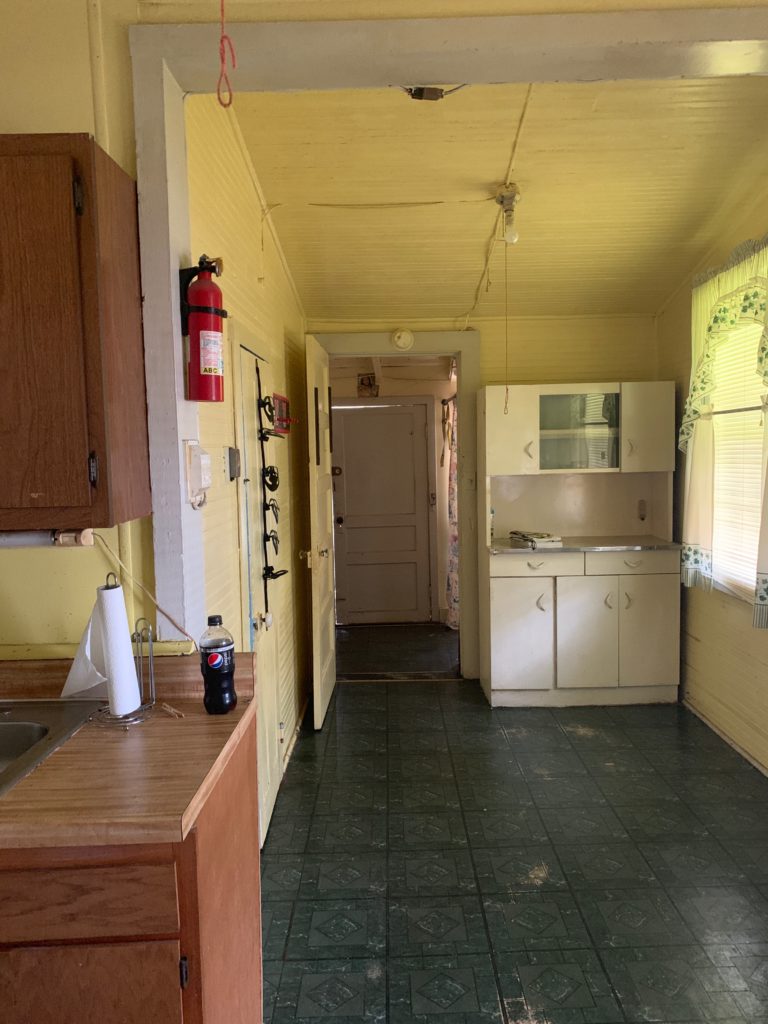
kitchen view to back door
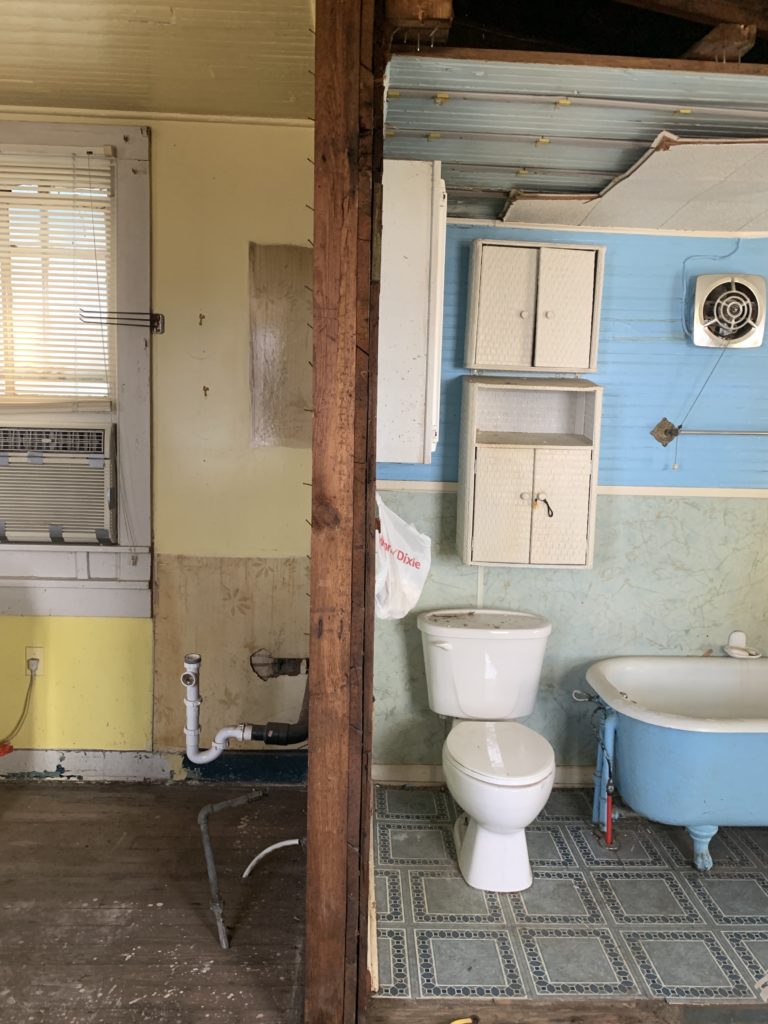
The bathroom, in the rear, was squeezed into the kitchen. It had a very “doll house” quality that I loved. But needed updating.
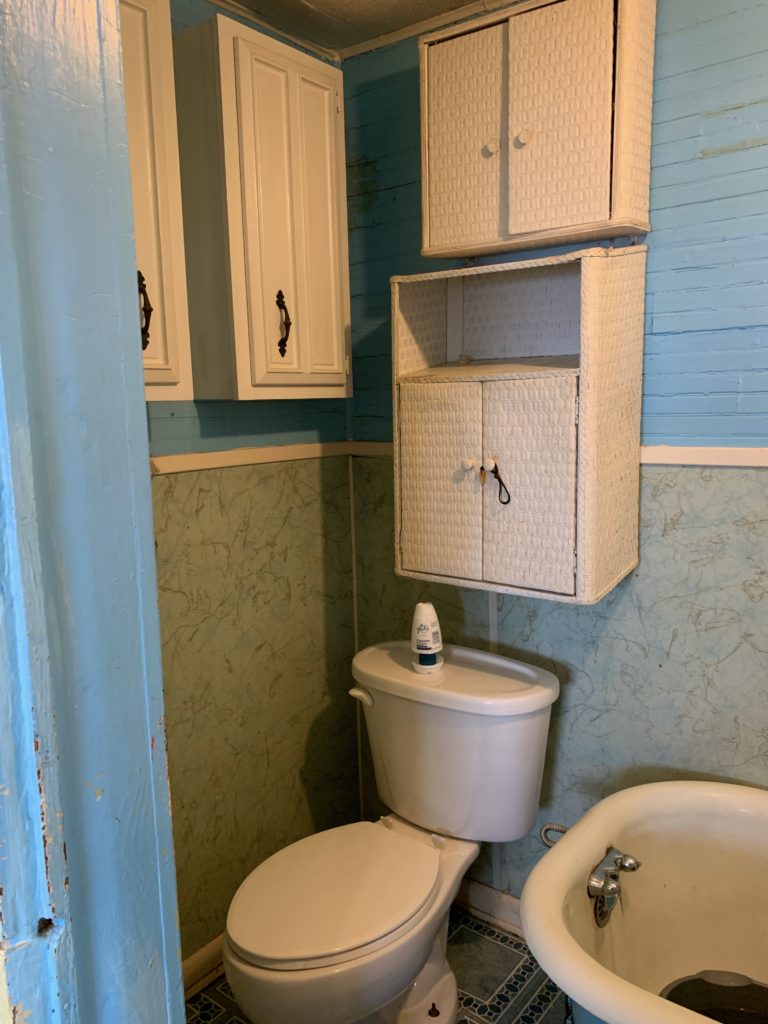
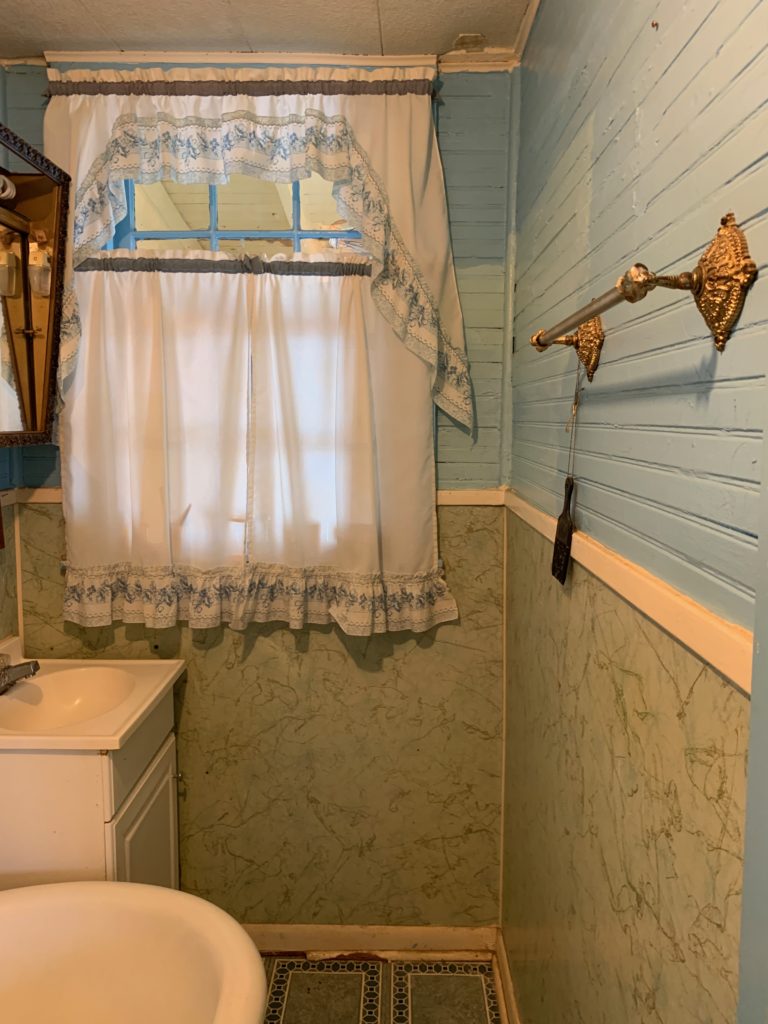
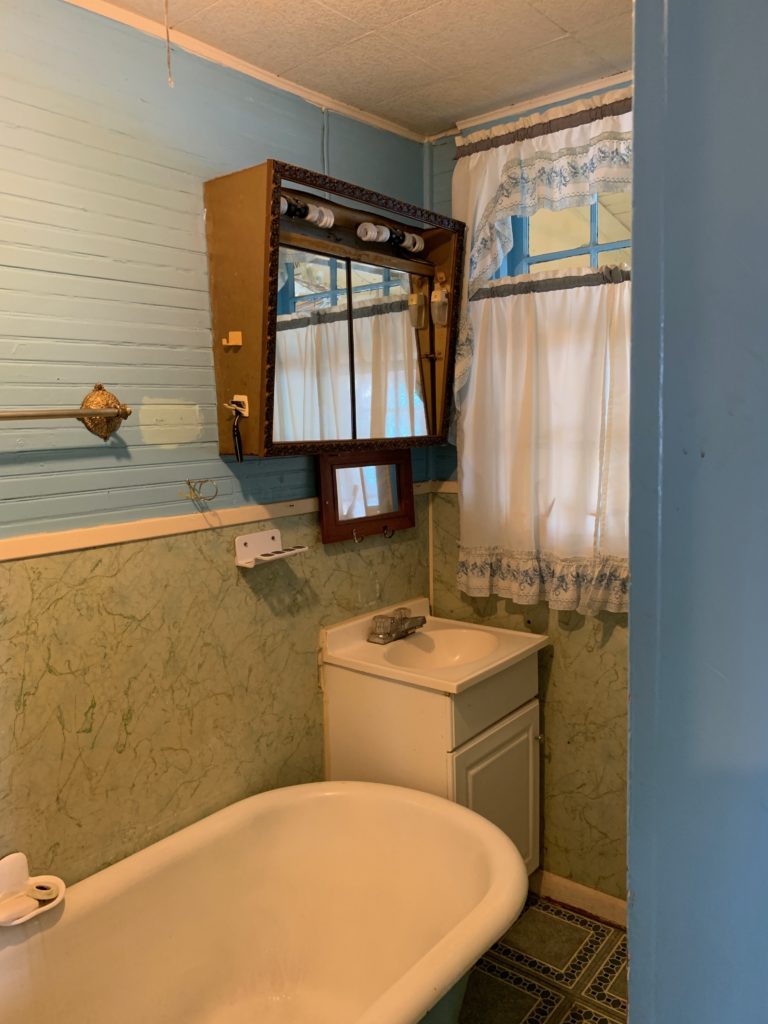
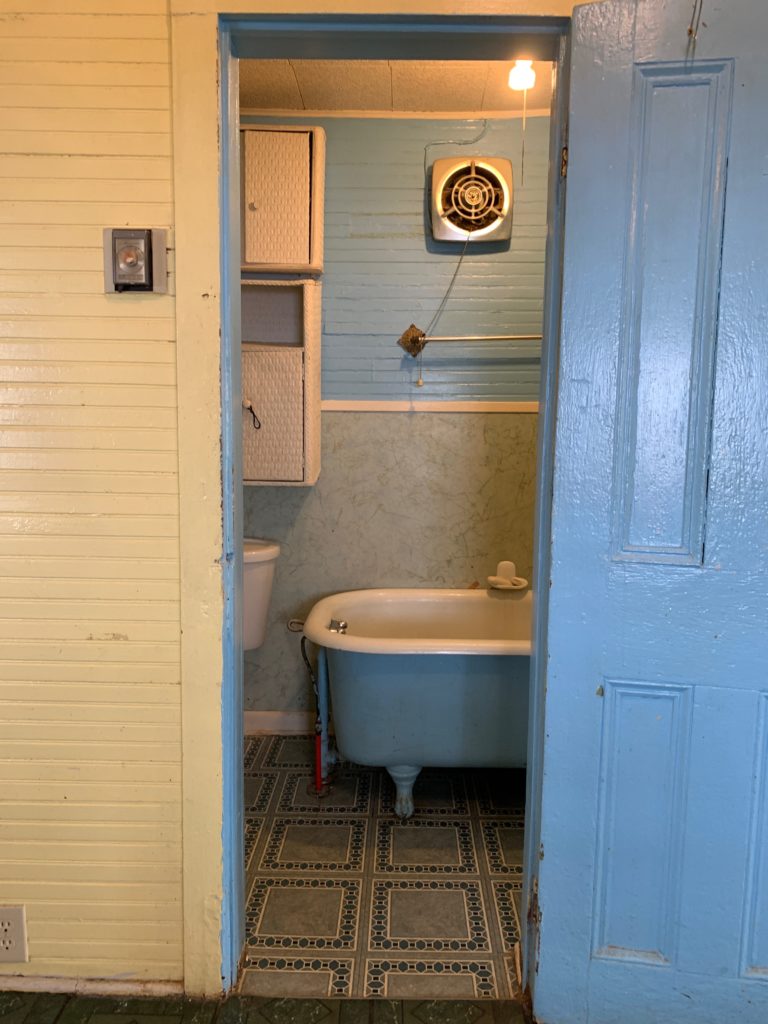
bathroom
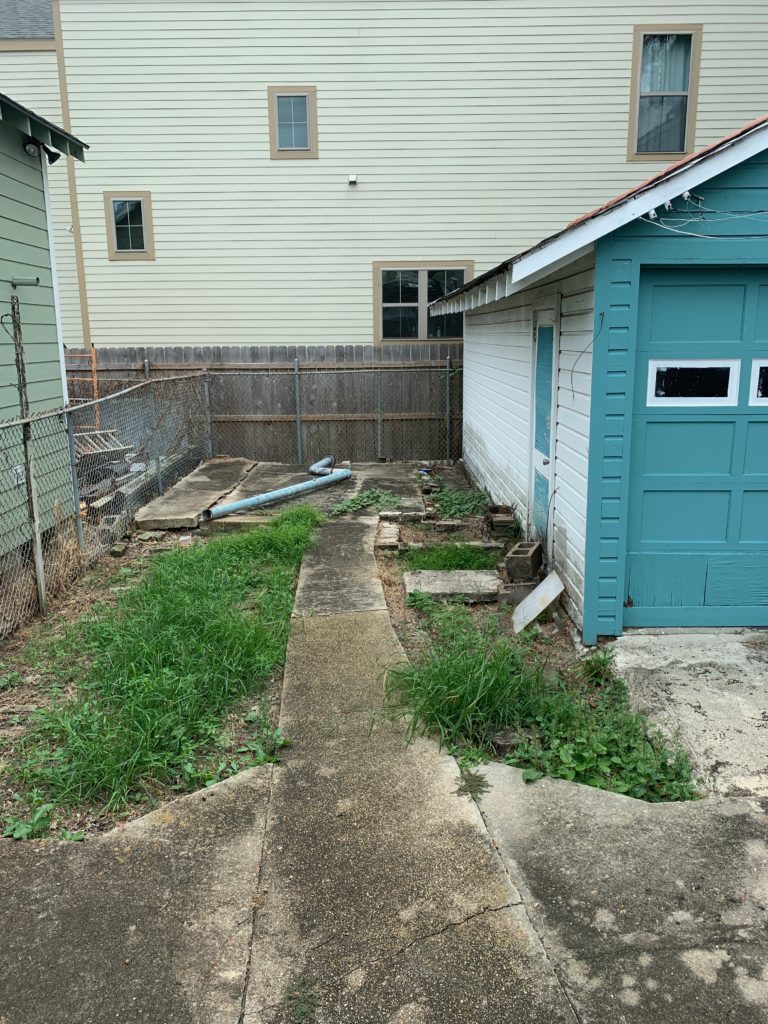
The very back had an enclosed porch that was used for storage and a washer dryer. The house had a great backyard.


Religious artifacts 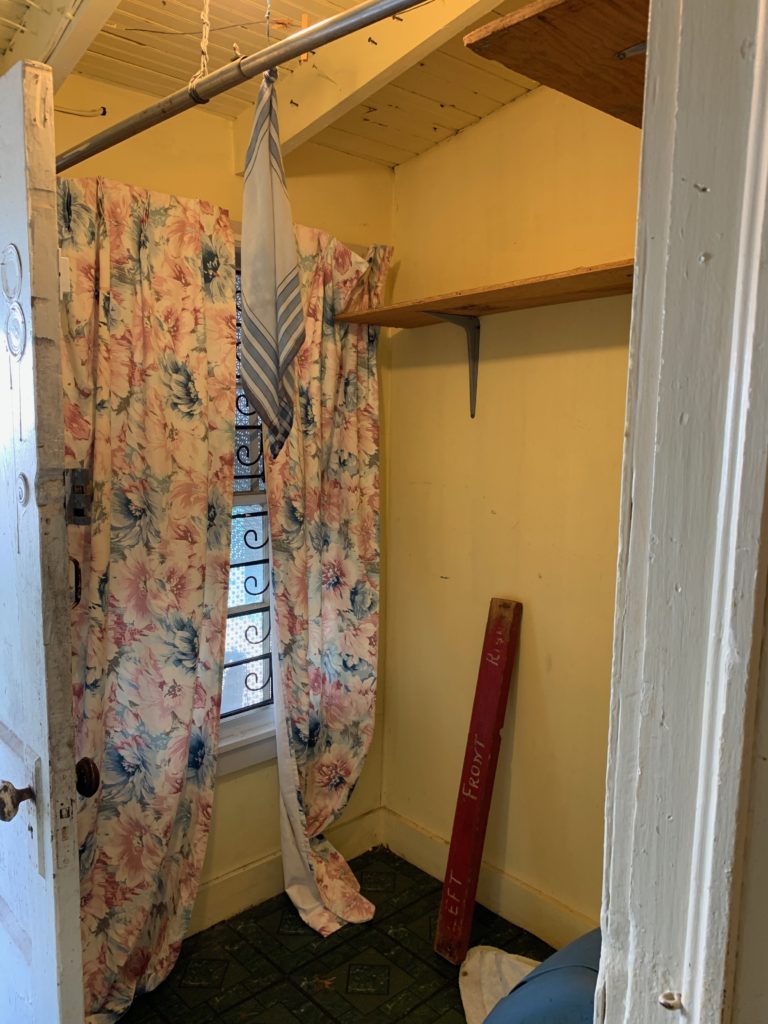
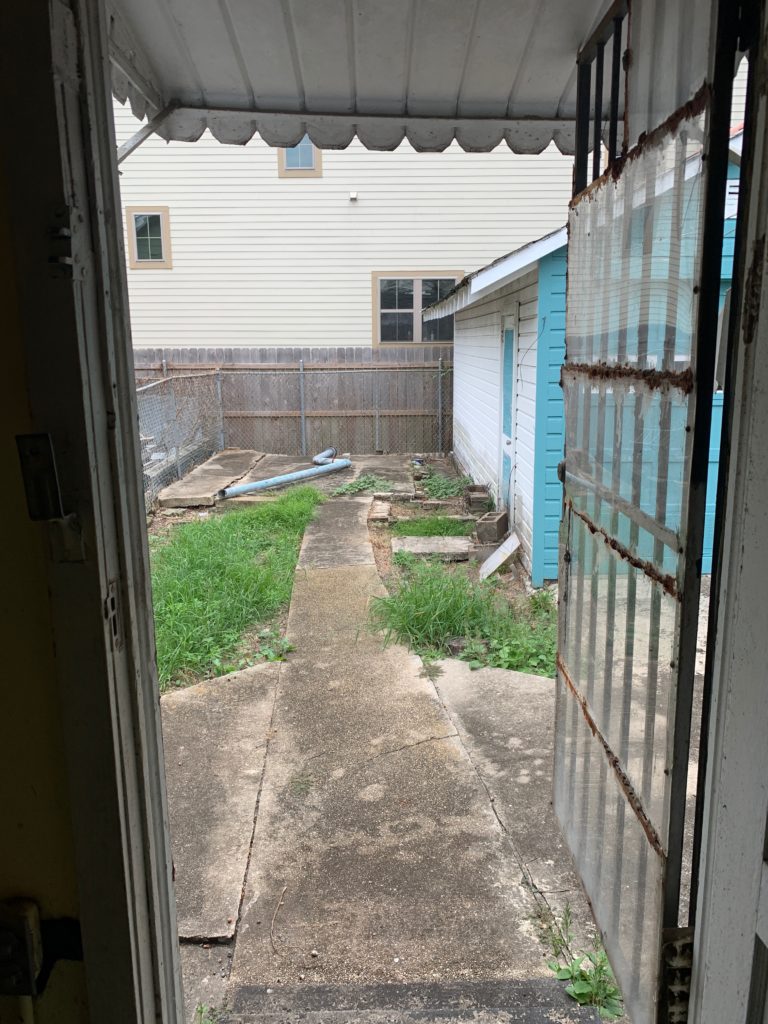
Back yard looking from the back door.
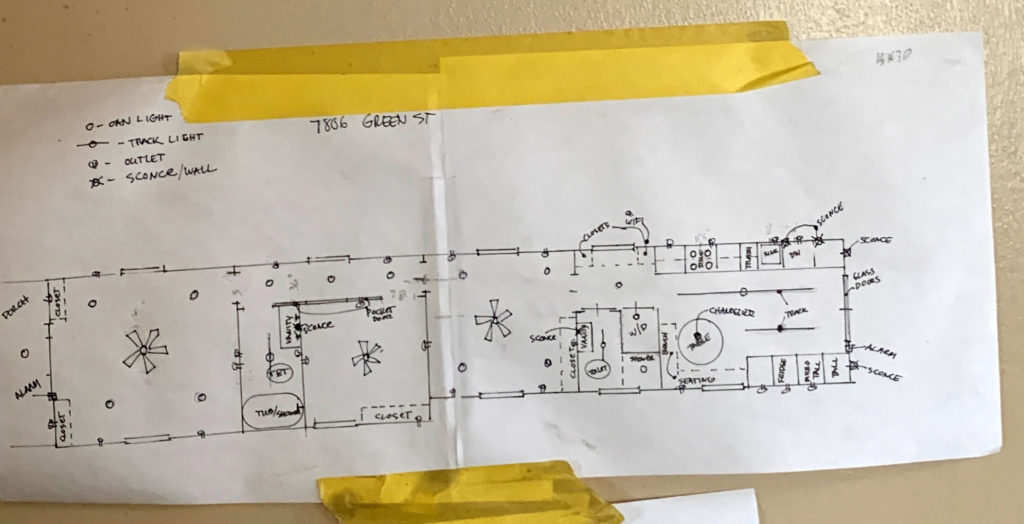
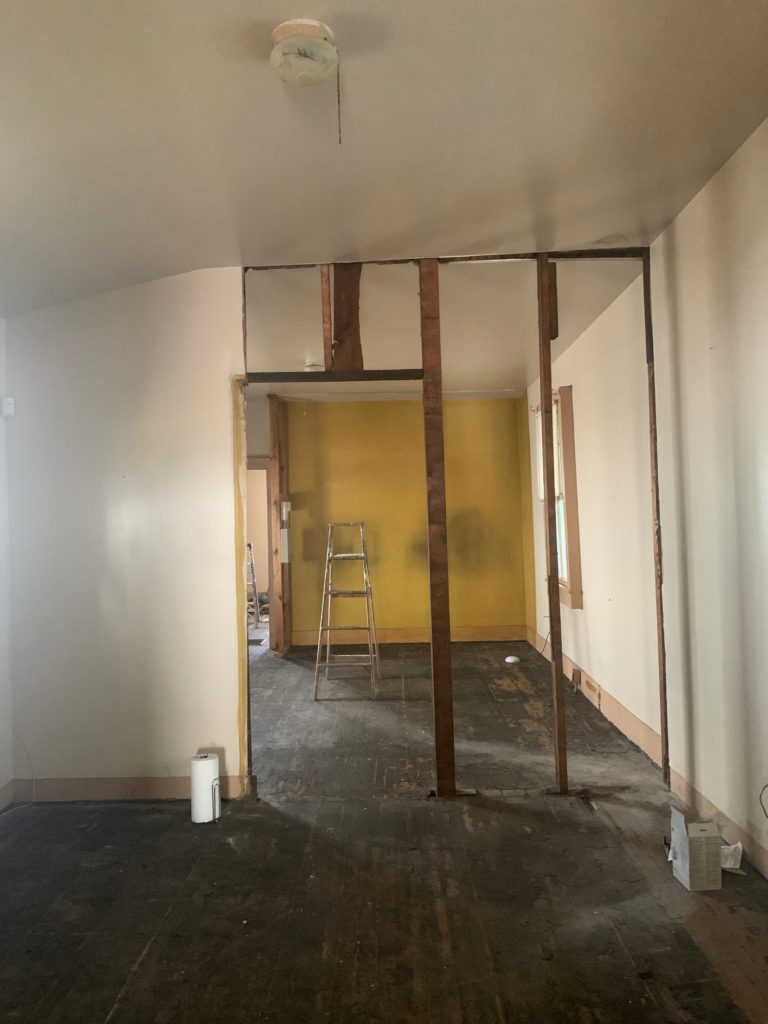
I did a few drawings for this renovation. I was really trying to keep the costs down. So wanted to keep the floorpan intact, but the more I thought about it and talked to architecture friends and contractors, I decided to change the layout somewhat.
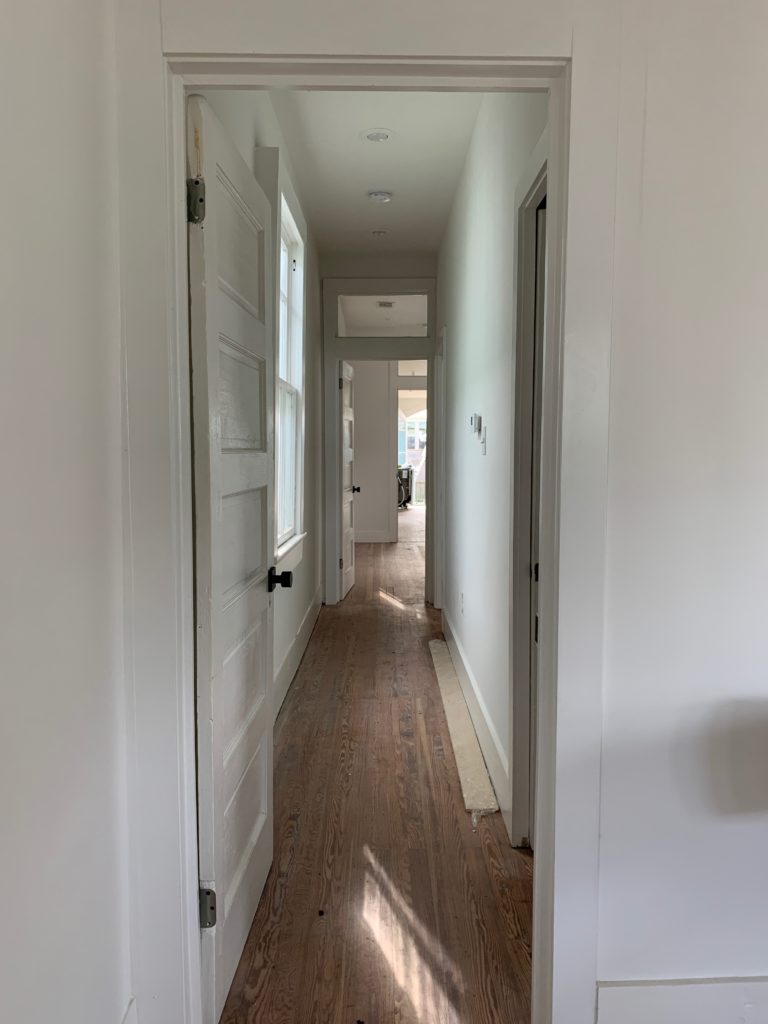
The biggest change was adding a hallway to give the house a private bedroom (albeit small). We had to move a few doorways and ended up moving a new bathroom (closer to the bedroom) and adding 1/2 bath/laundry room.
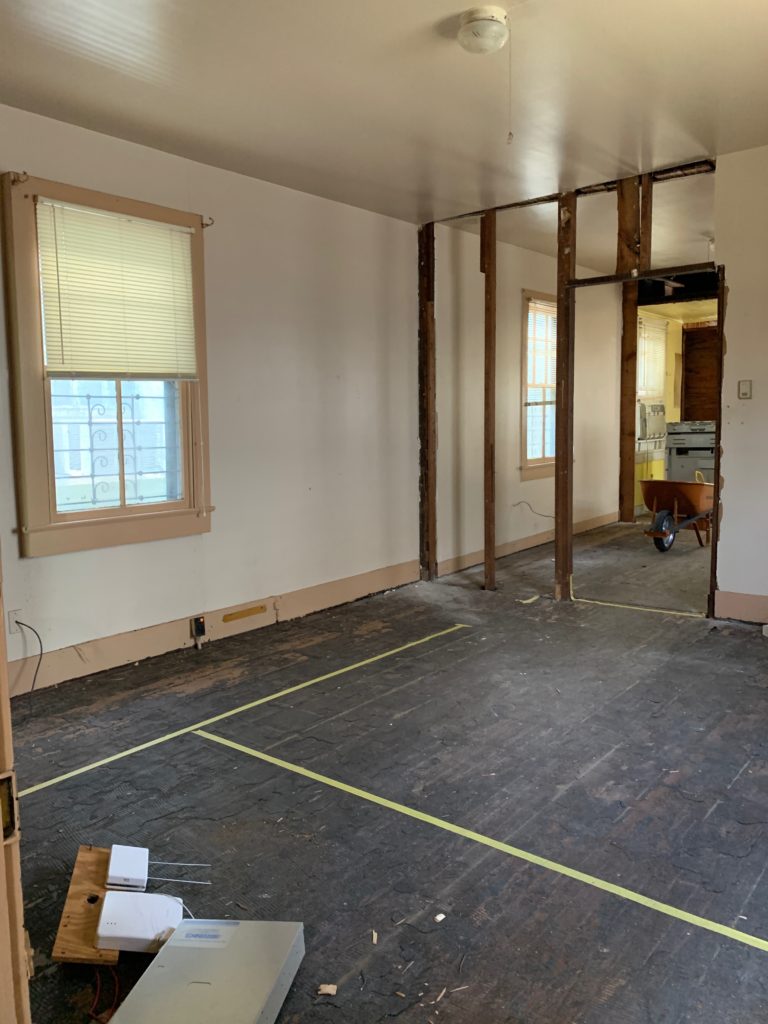
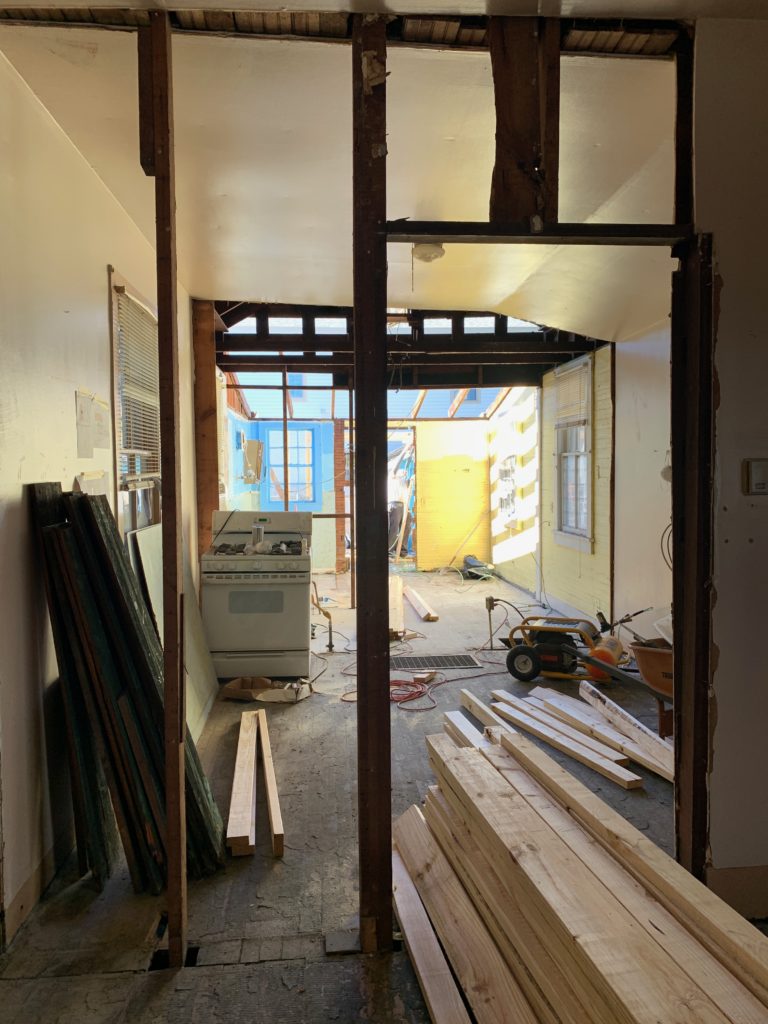
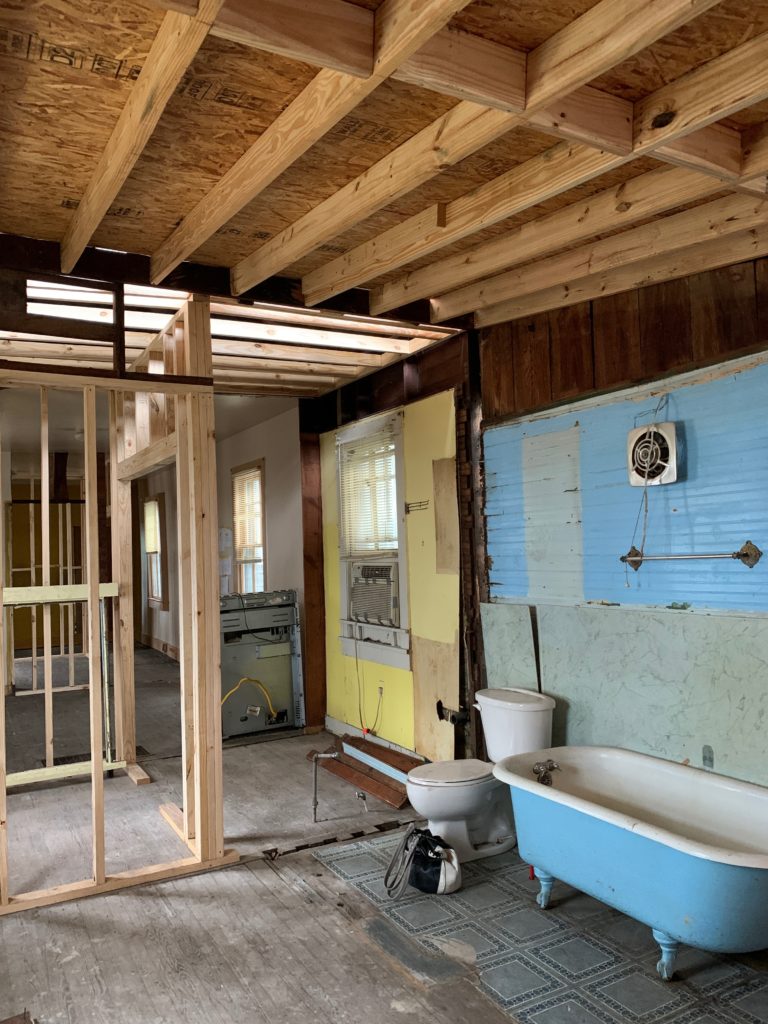
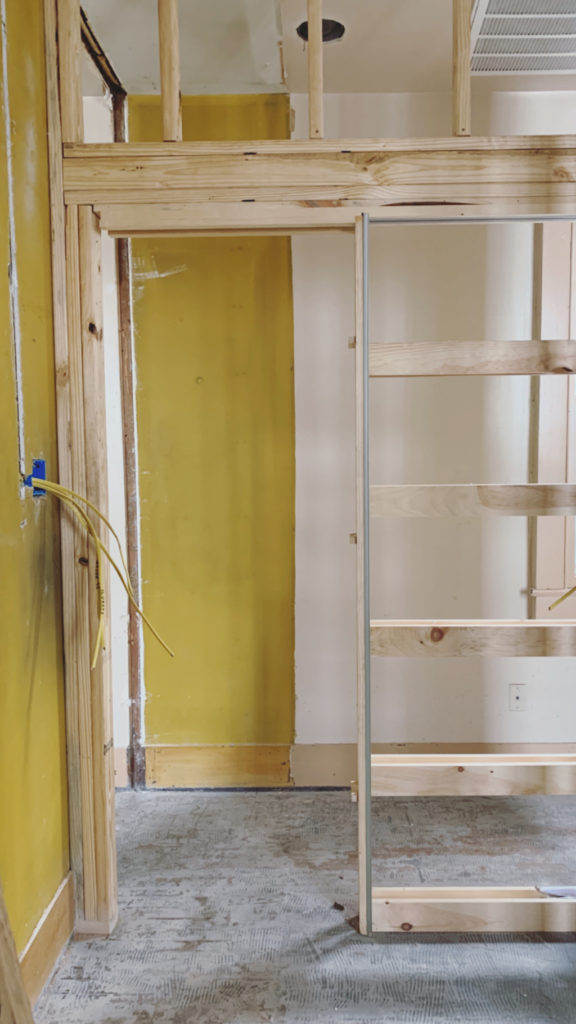
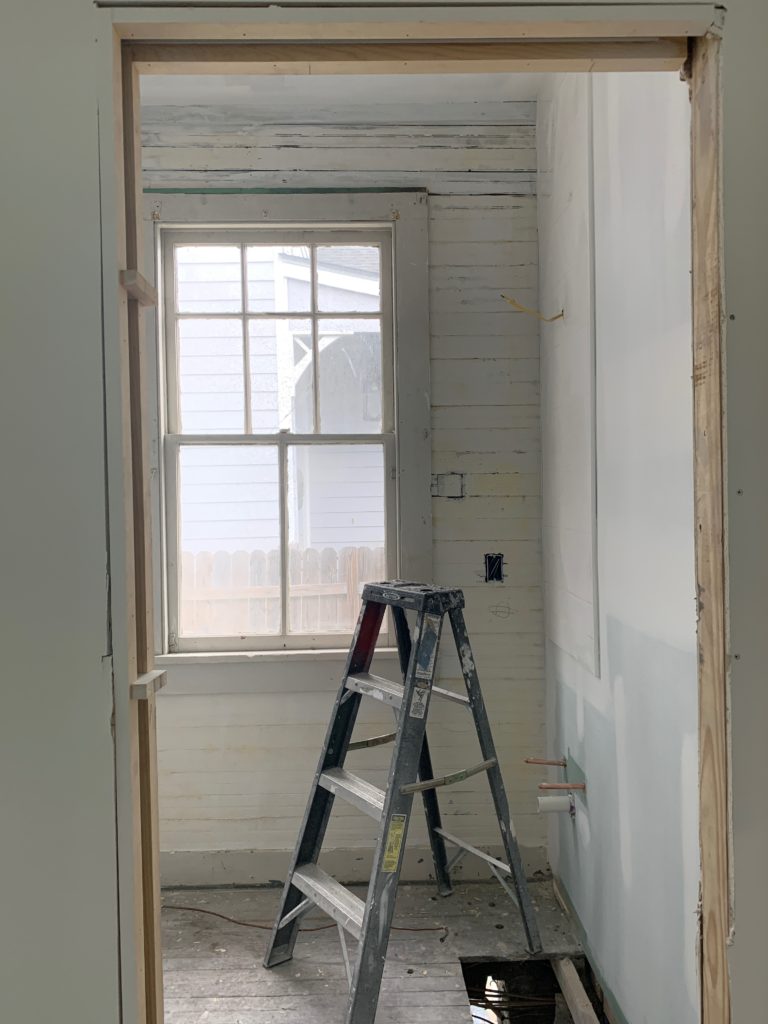
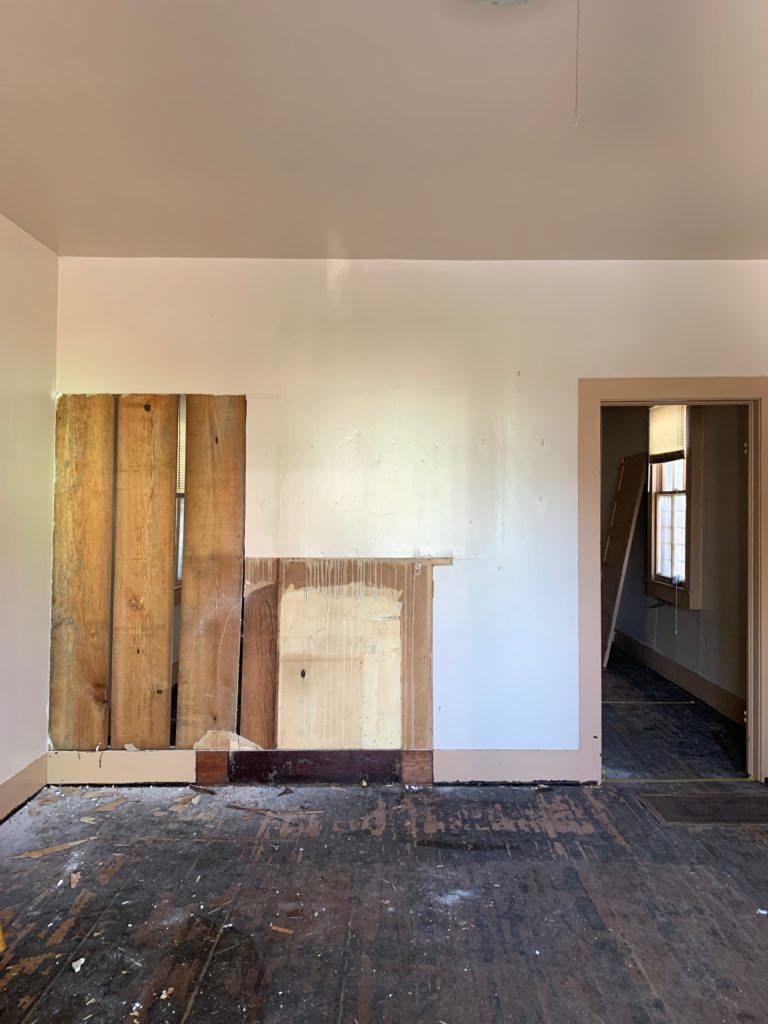
The demo started and we added the framing for the new layout.
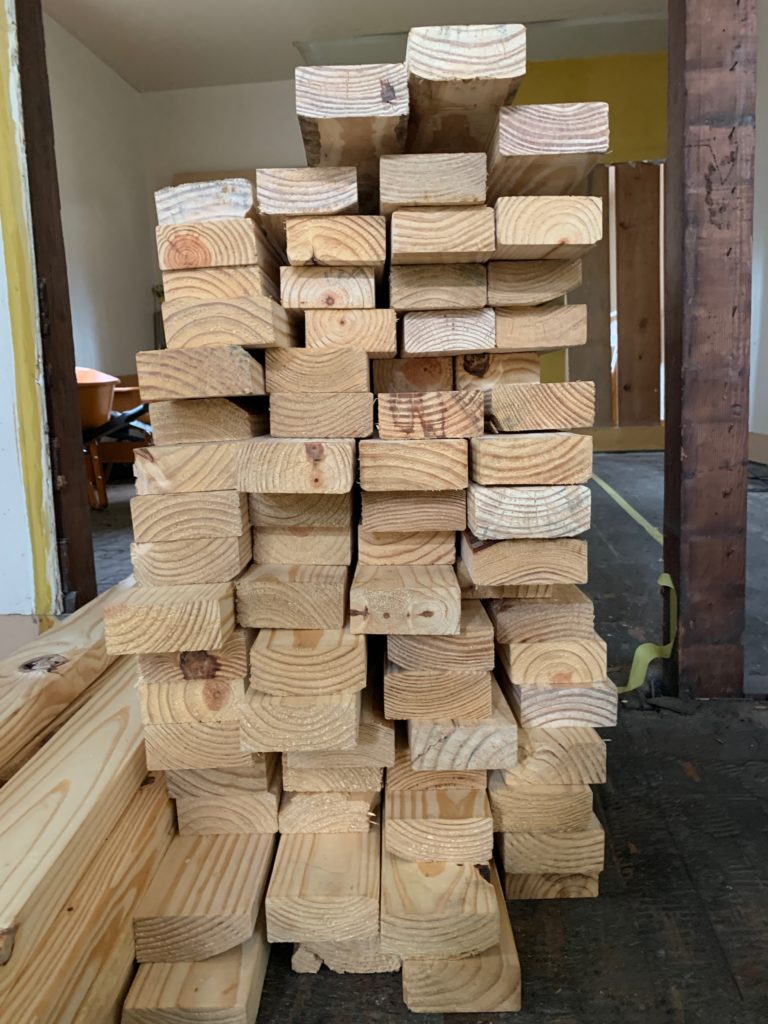
framing lumber art 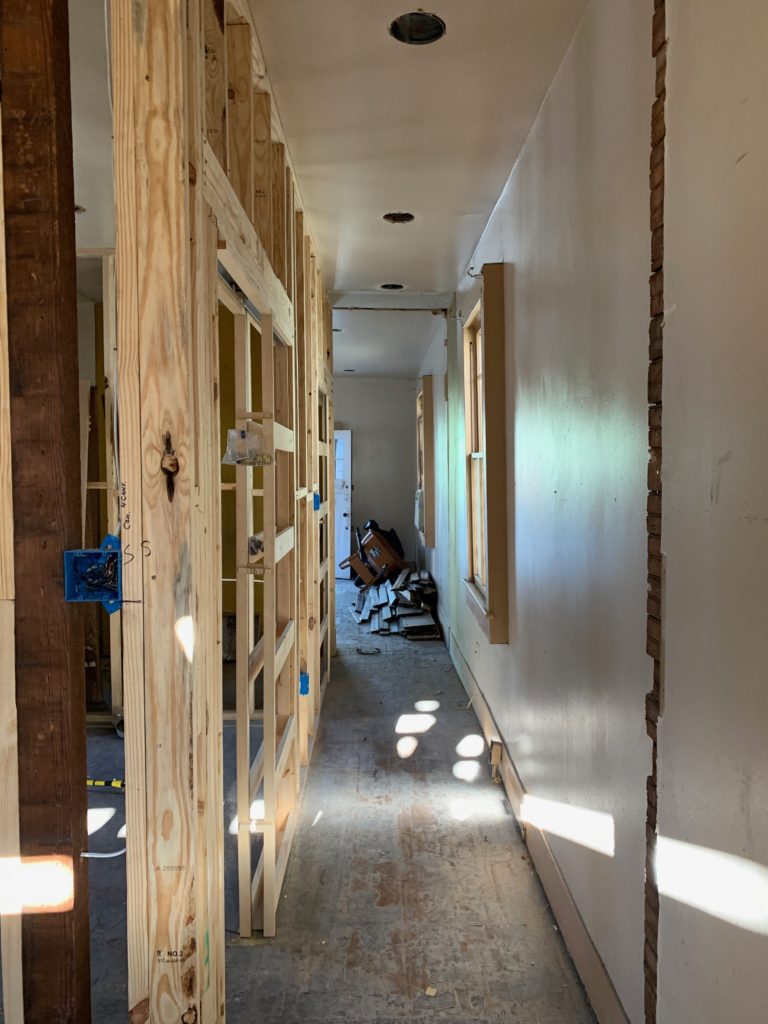
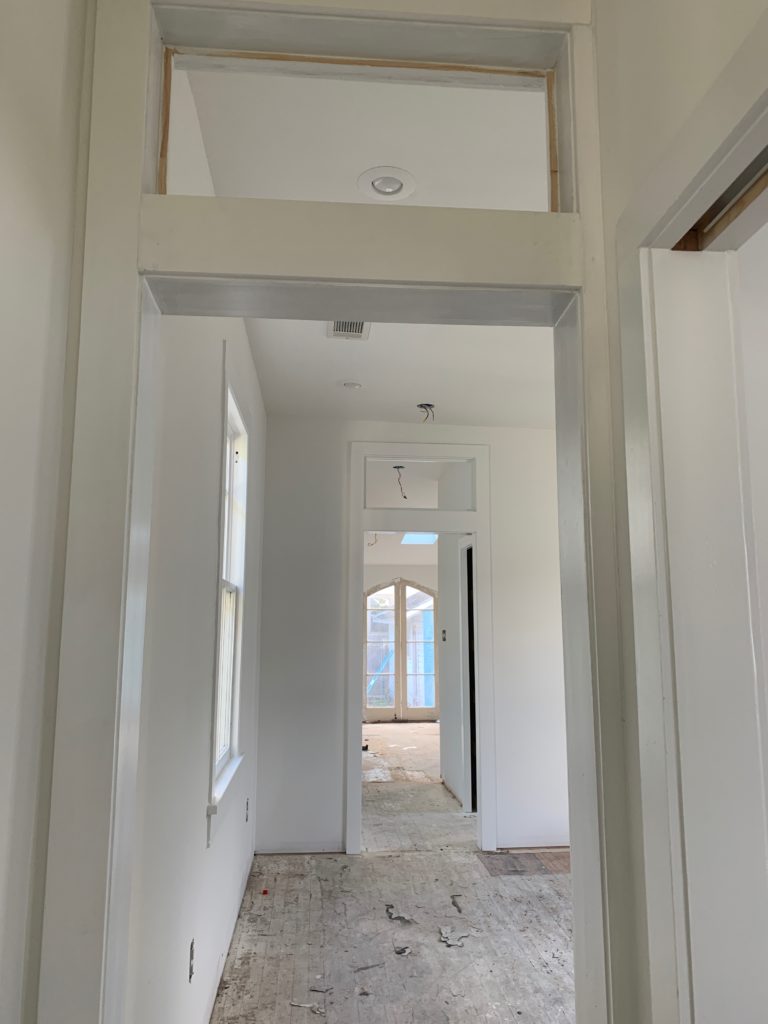
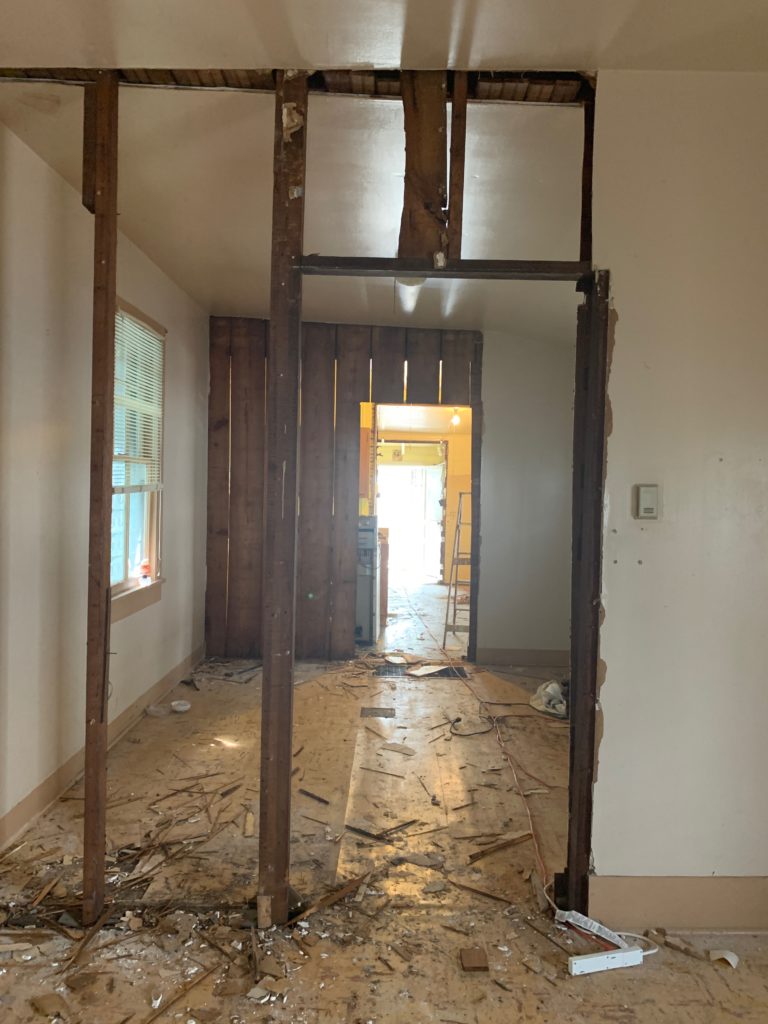
new hallway 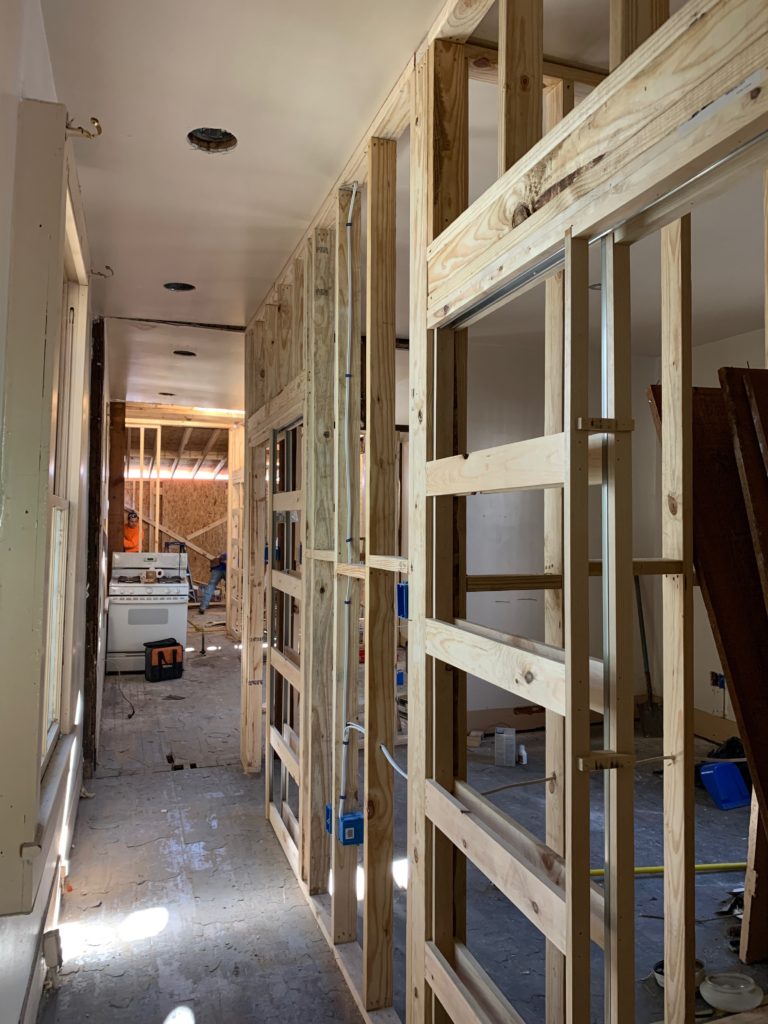
pocket doors added 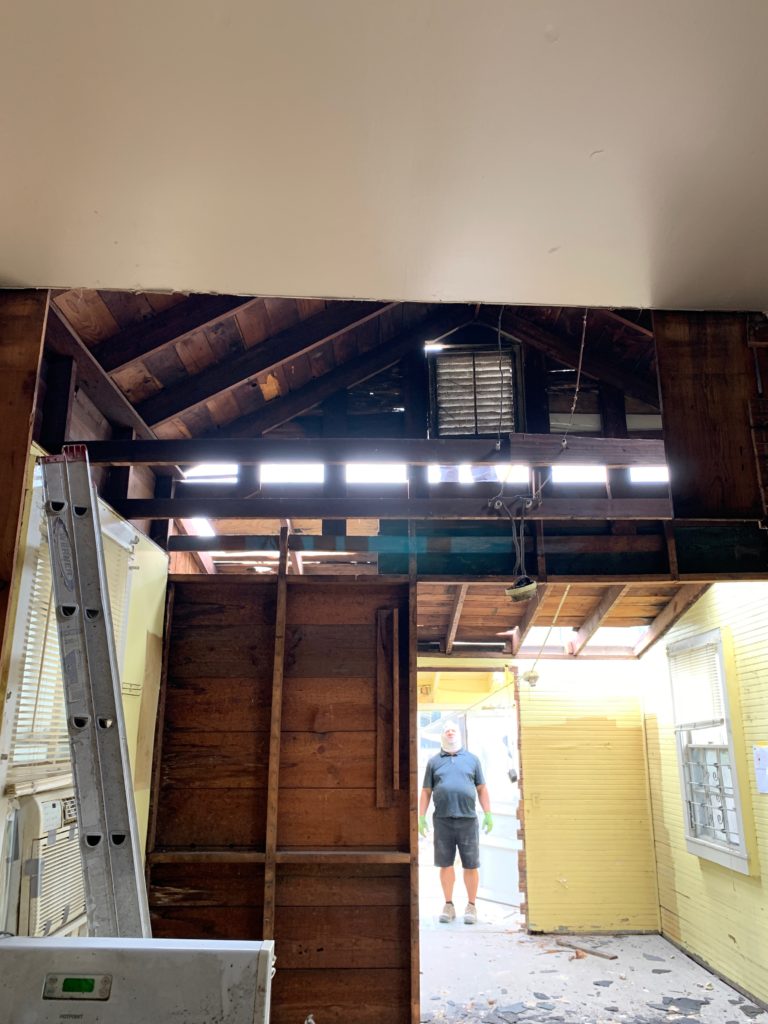
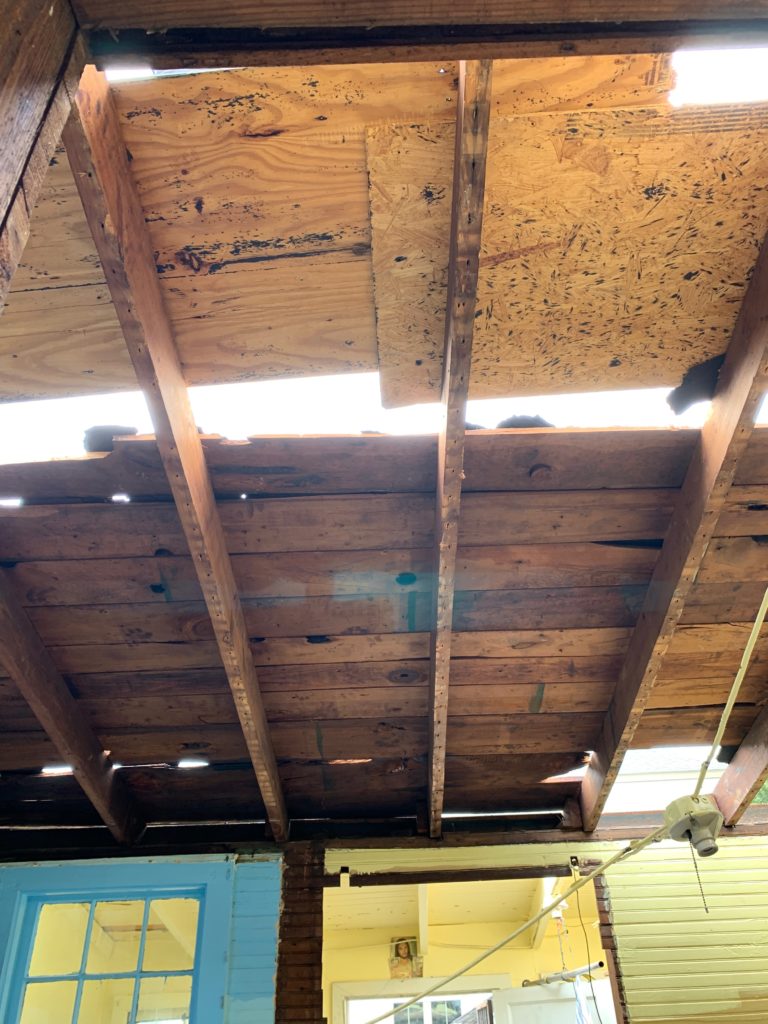
new roof added here 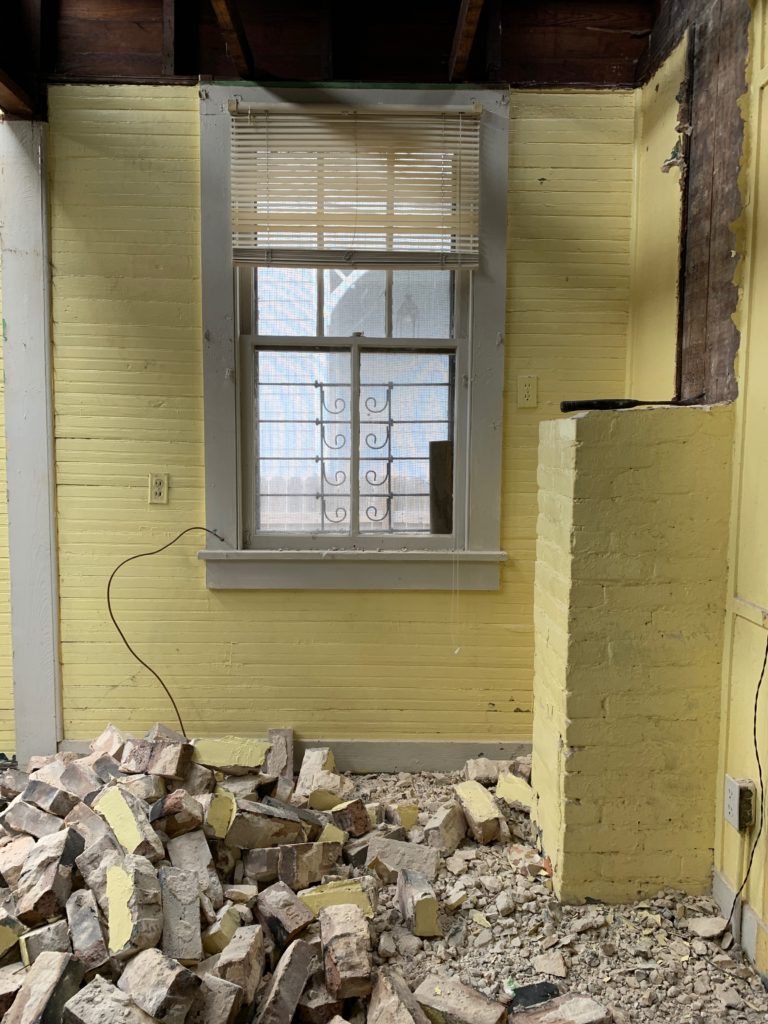
chimney demo
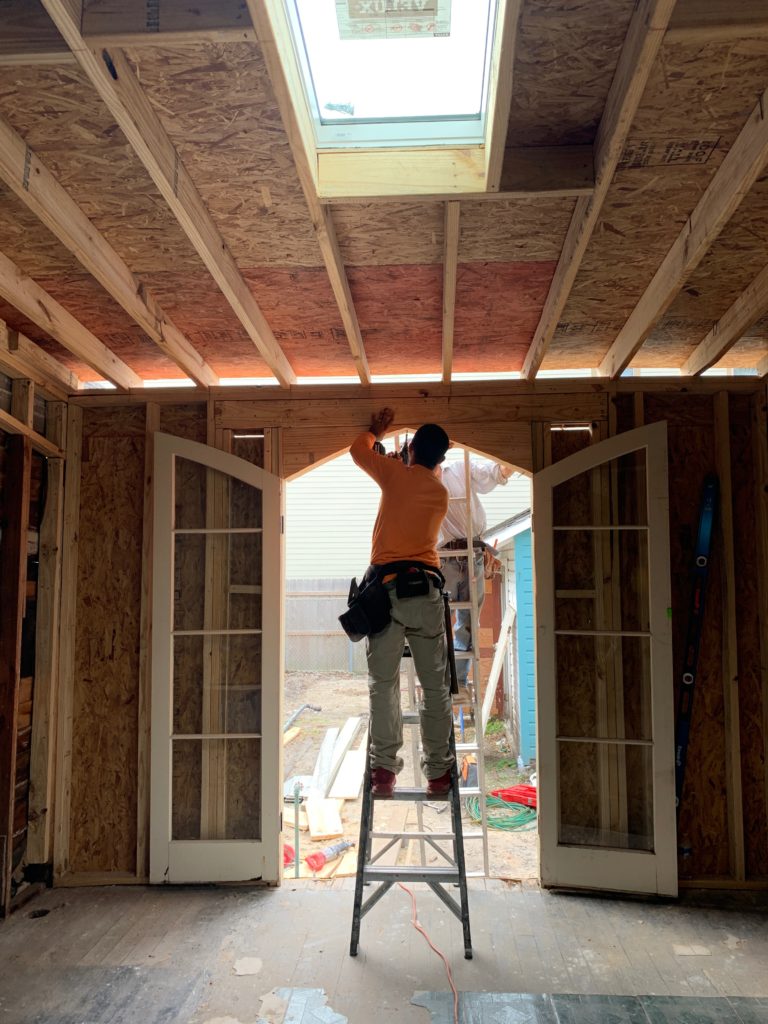
Demo in progress.

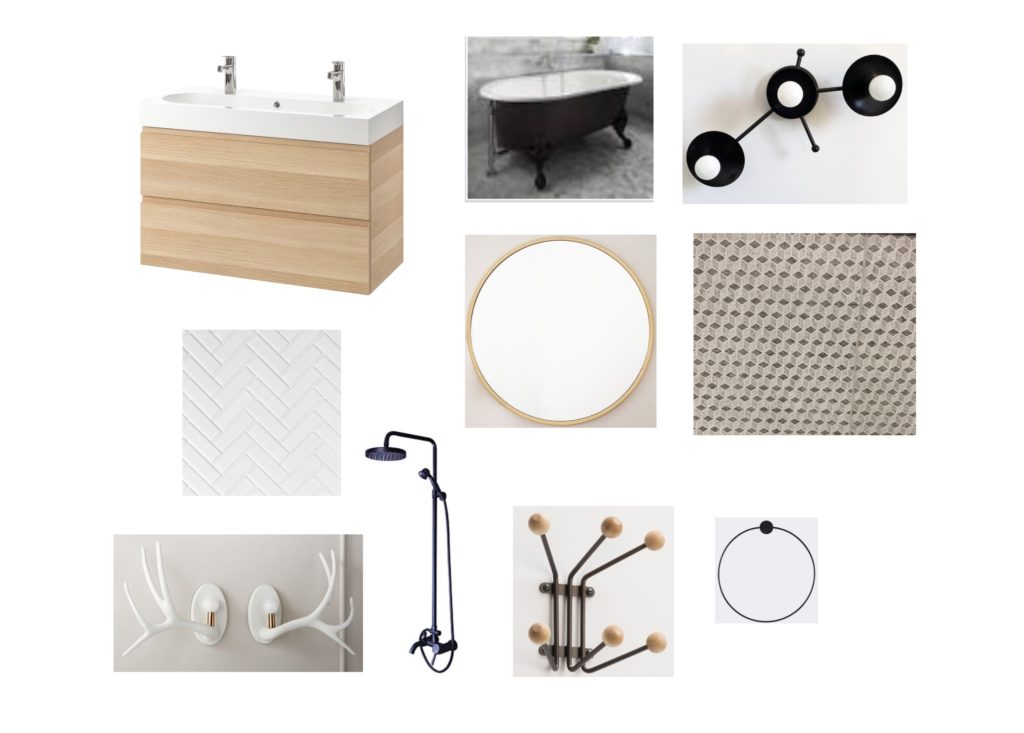
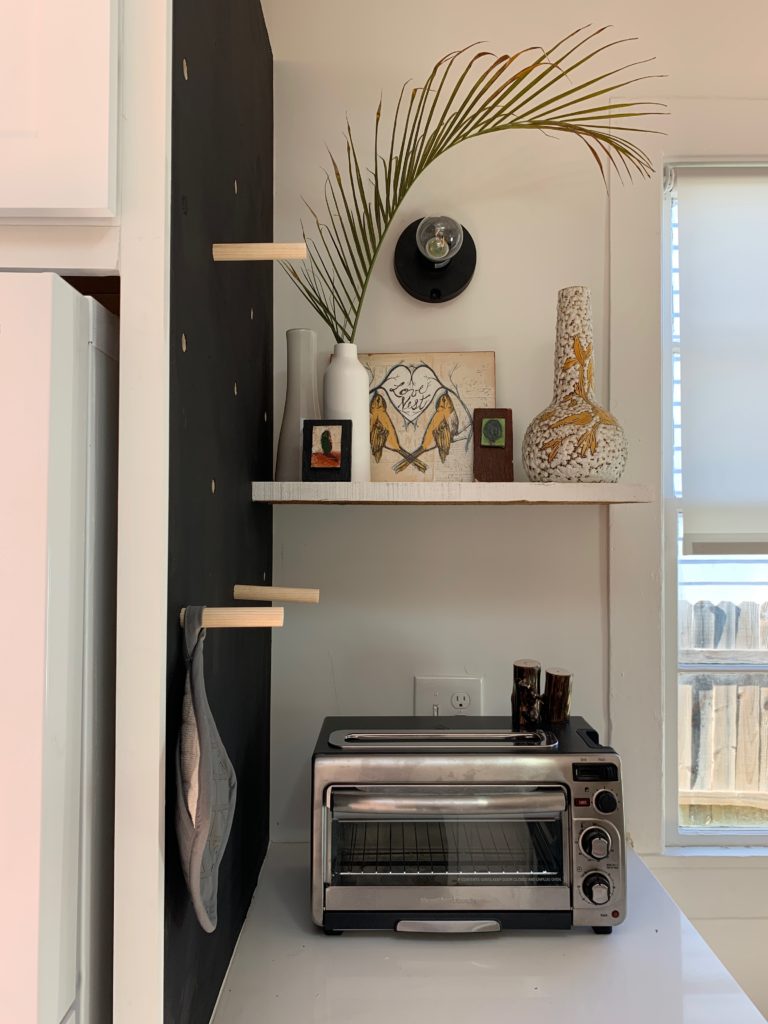
My design mood boards for the house was very beachy, airy and clean, including light woods and black accents.

Much of the lighting and fixtures were found at second hand shops and resale stores. I tried to reuse as much as I could from the house demo. I found track lighting at the Habitat ReStore and doors at The Green Project and Ricca’s Salvage.
Track Lighting for 25$ 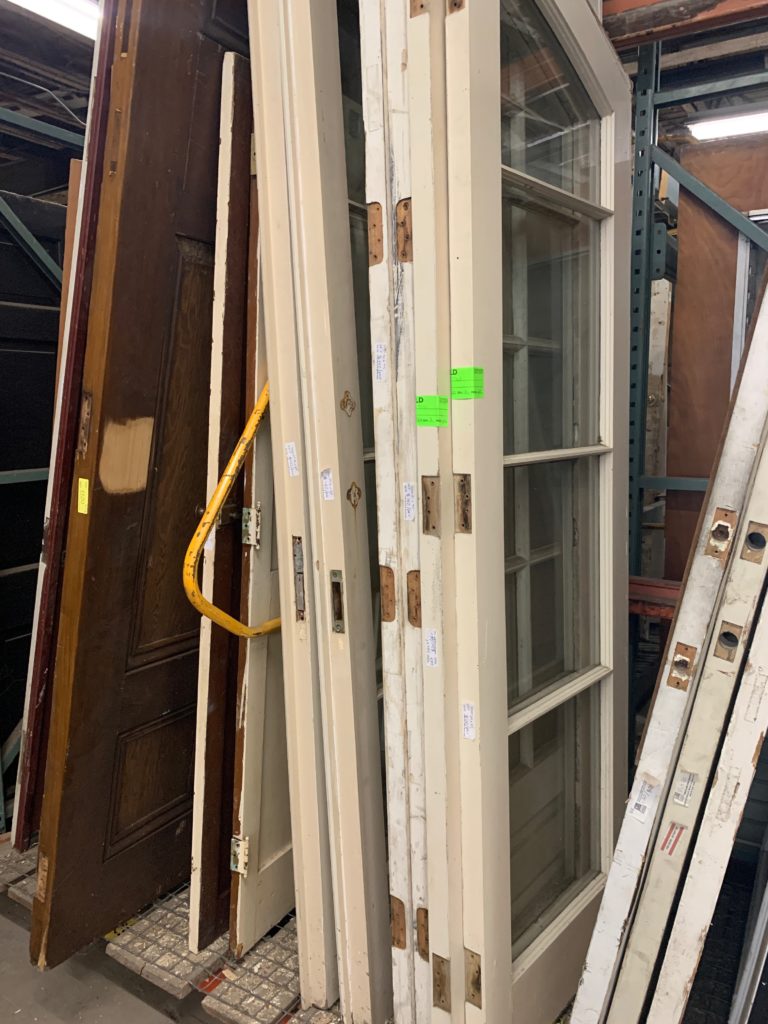
Old doors for 80$
Sheet rock is going up here, tile choices (all tile bought on sale) and the house interior painted BM Simply White.
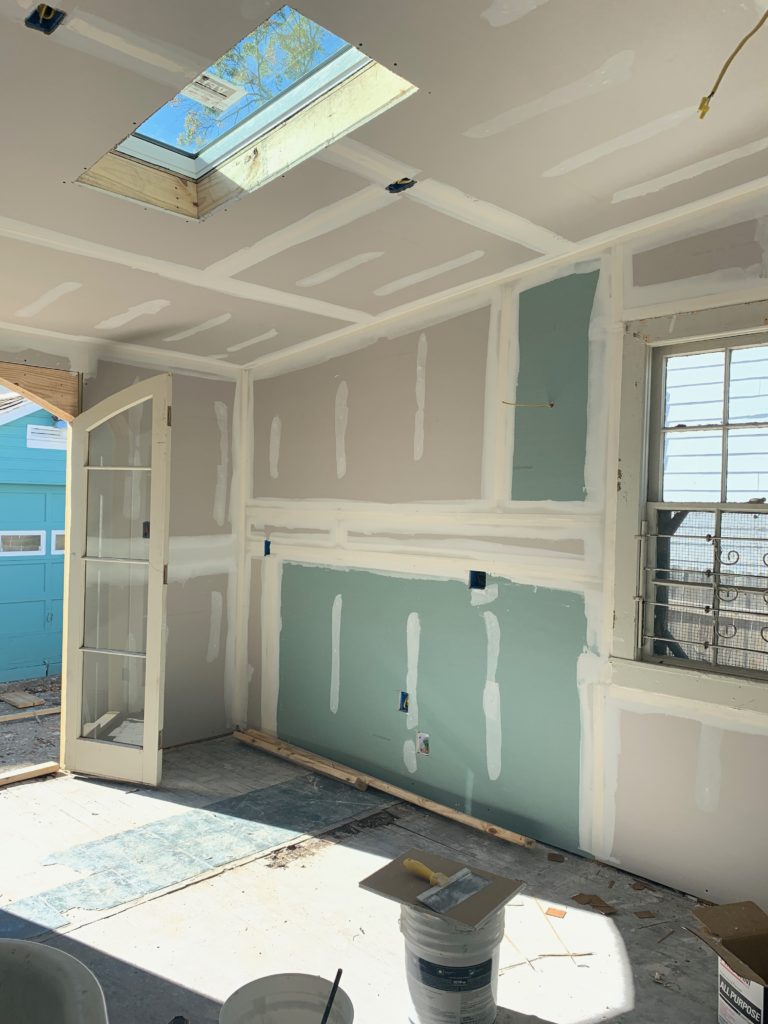
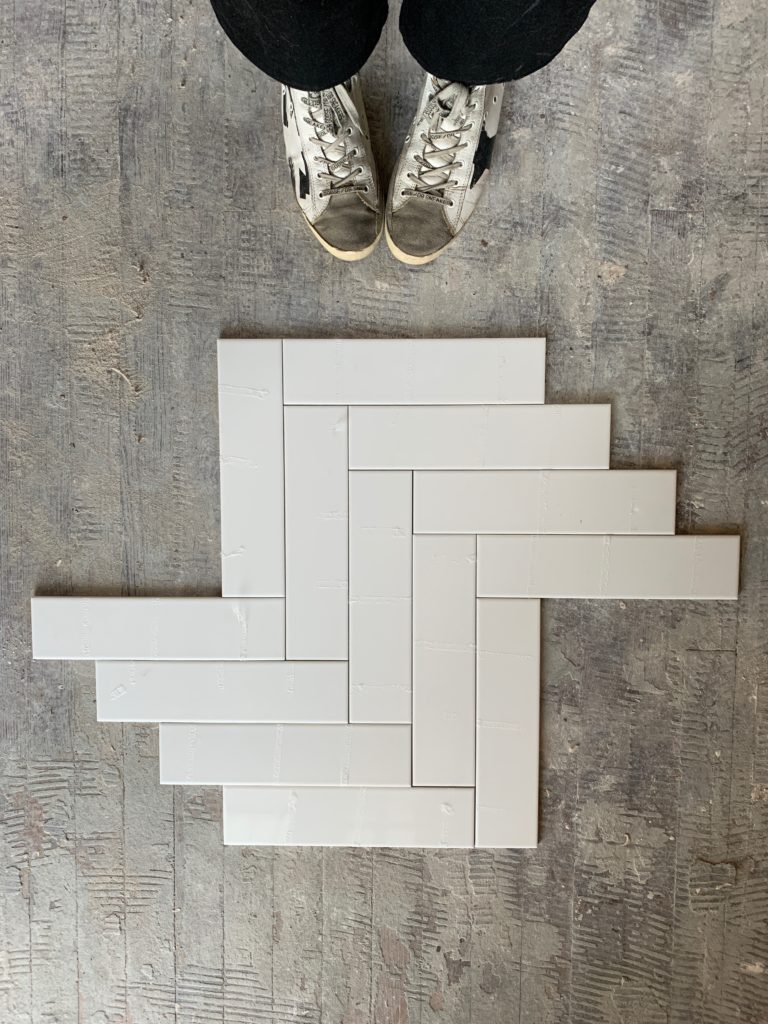
tile wall 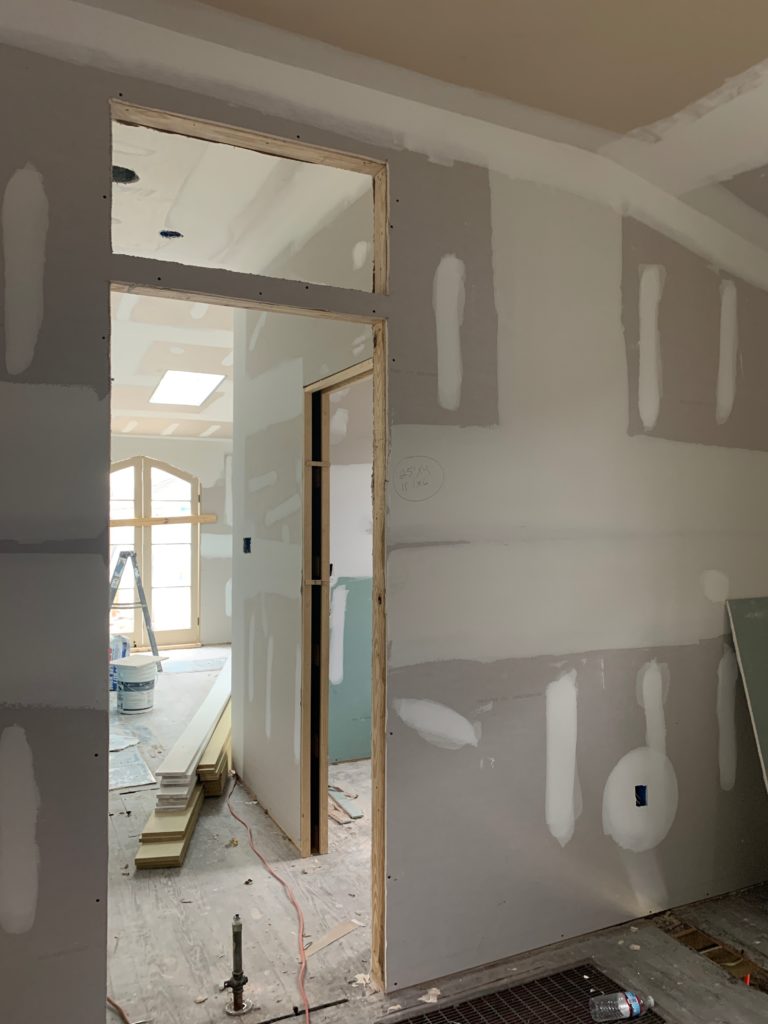
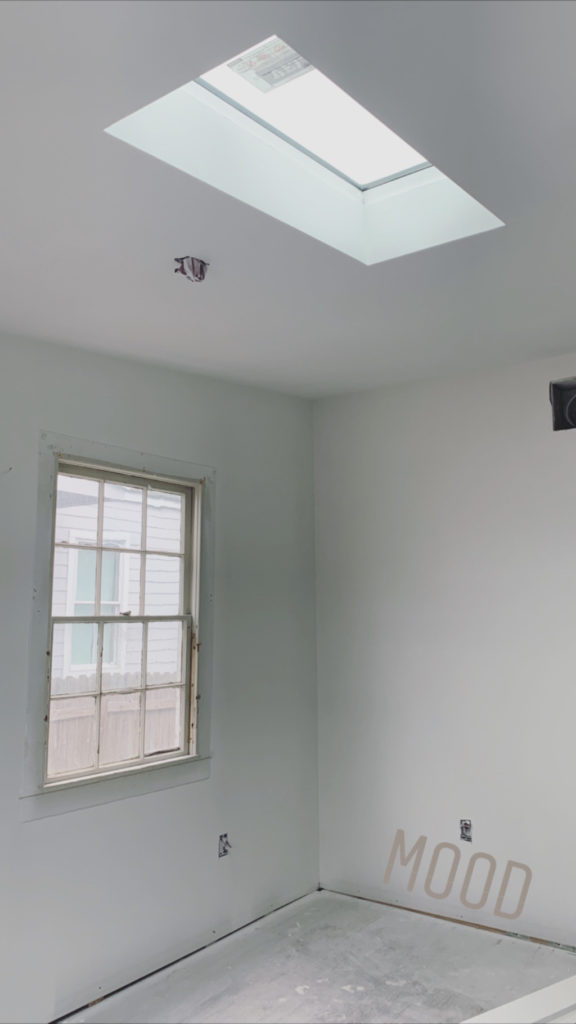
skylight added in kitchen 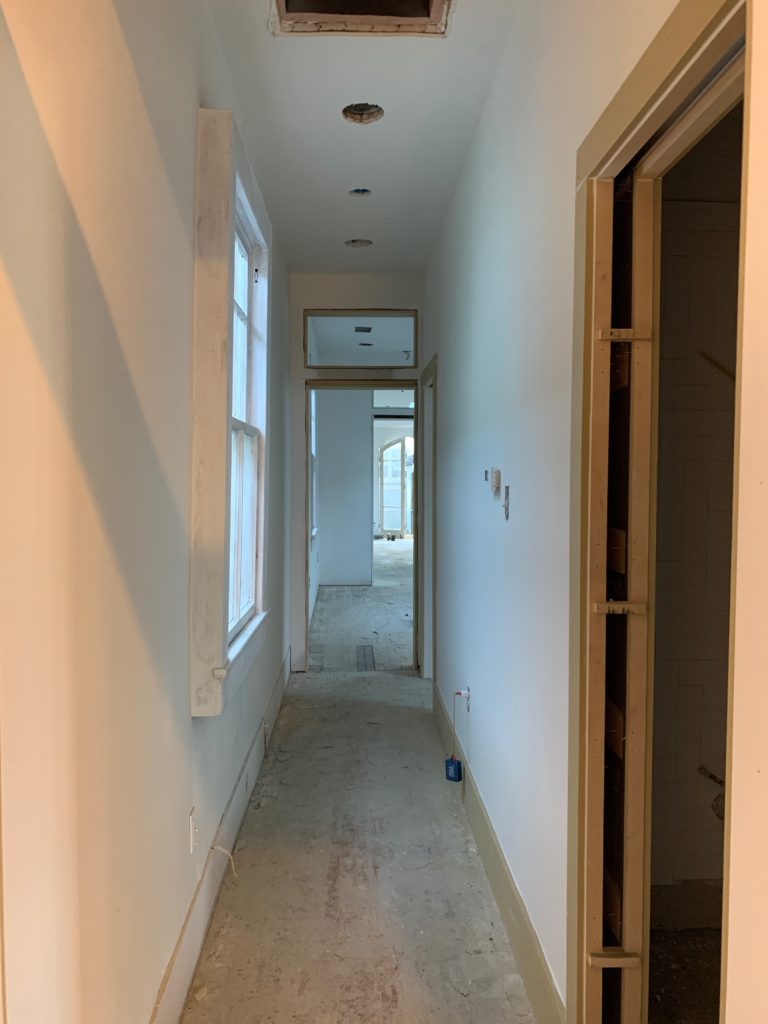
BM Simply White throughout
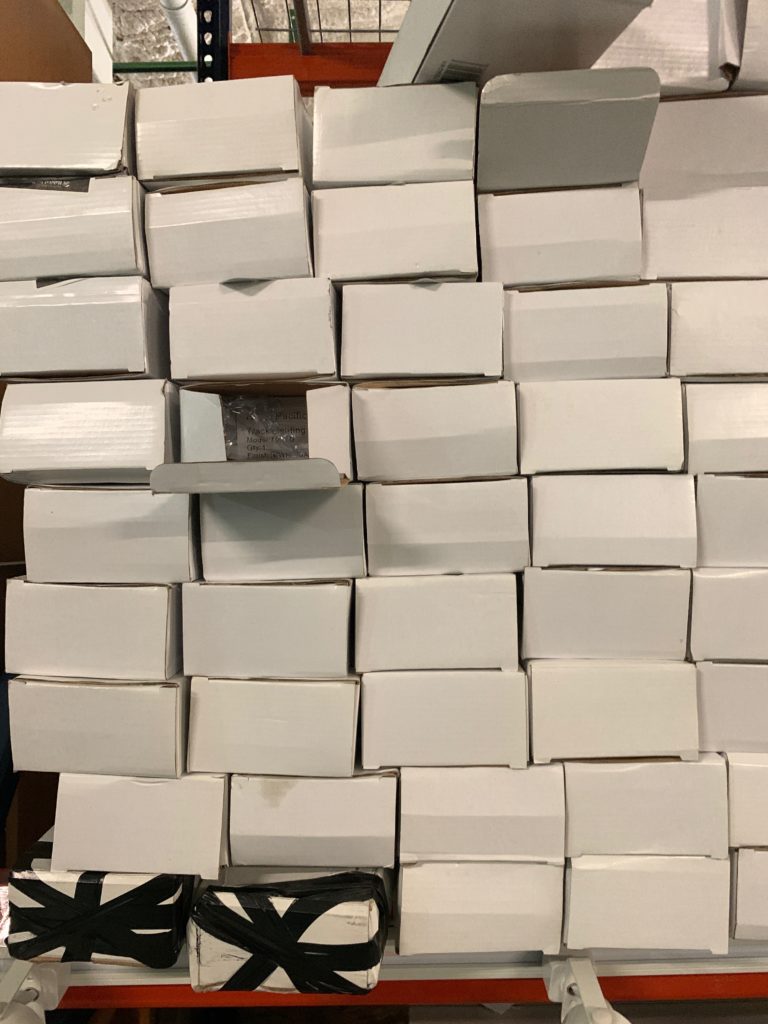
I used a lot of Ikea. Up cabinets for the kitchen, vanities for the bathrooms, lighting, closets and shelving.
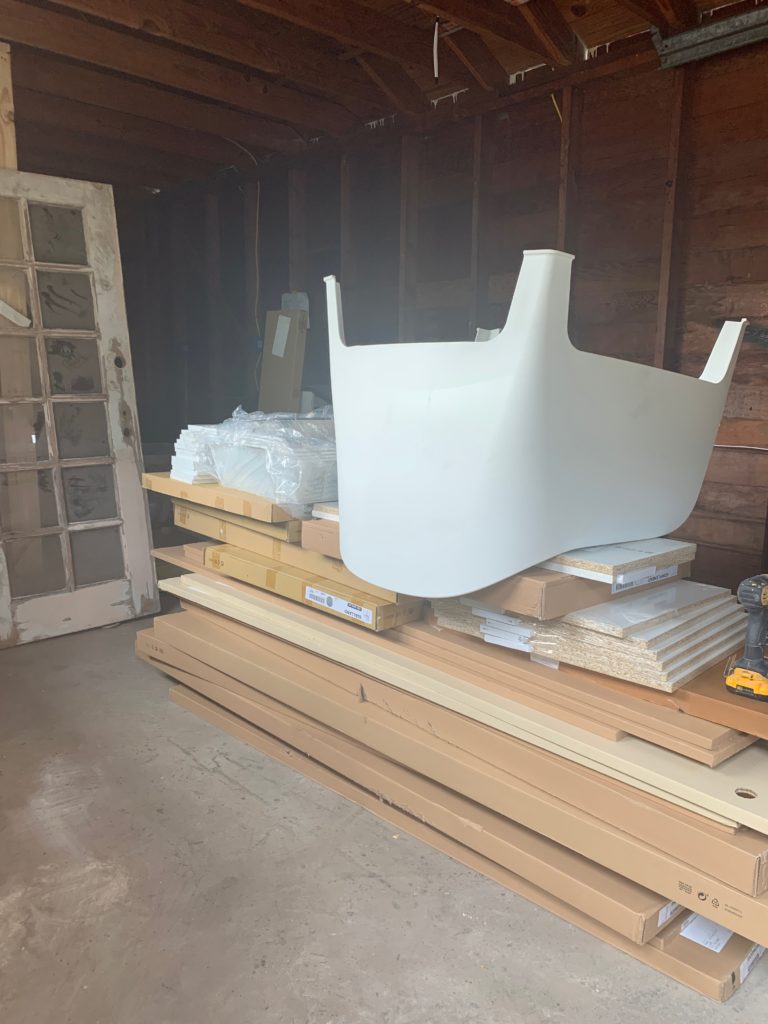
Ikea piles 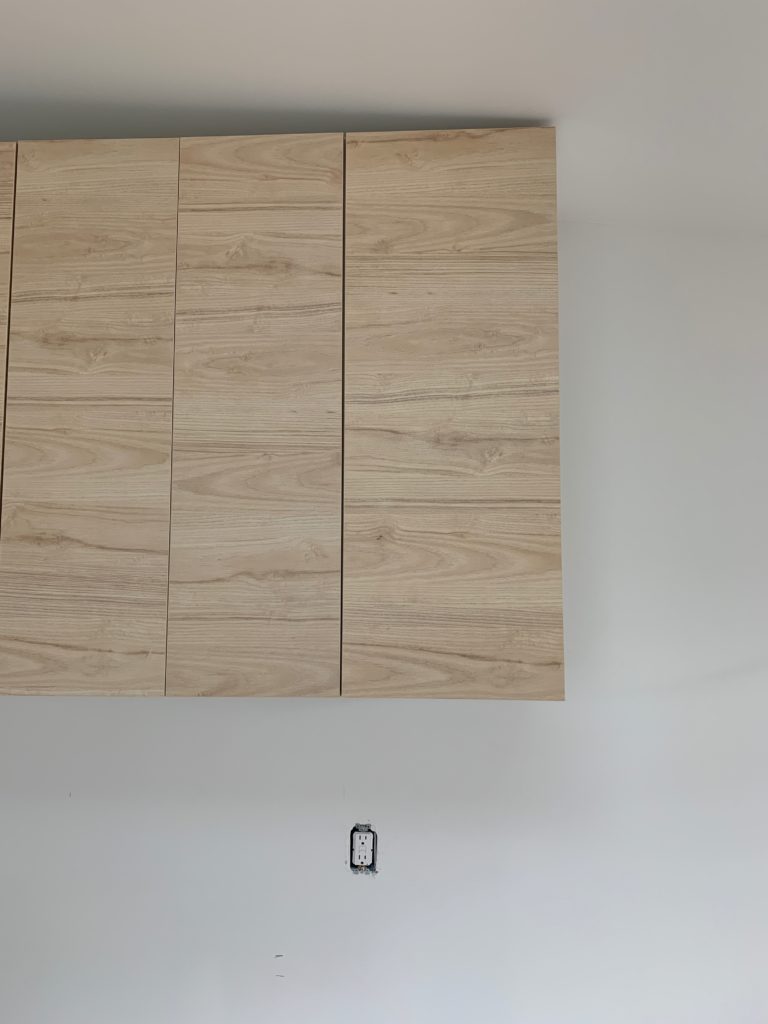
New Ikea up cabinets in birch
Floors happened next. We sanded the original floors throughout the house. We used the a product from Monocoat that I have used in another house renovation. It is a 2 part stain/oil mixture. You buff it on and and it seals the wood to a very hard finish and it is stain and water proof. I love this product.
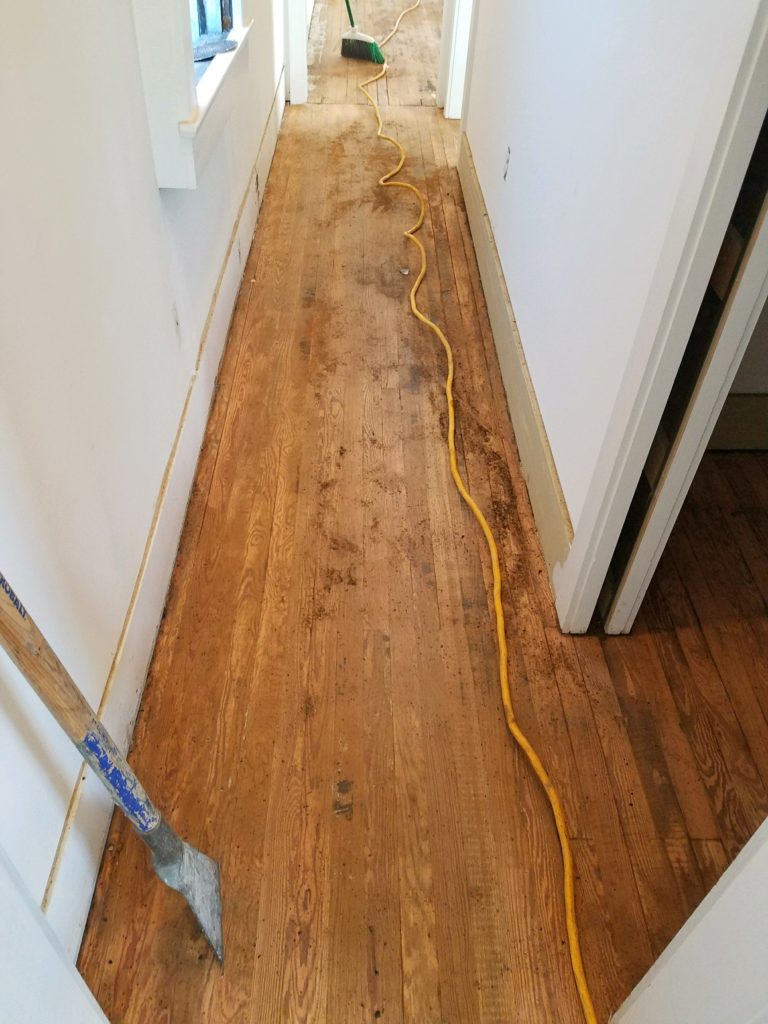
sanding 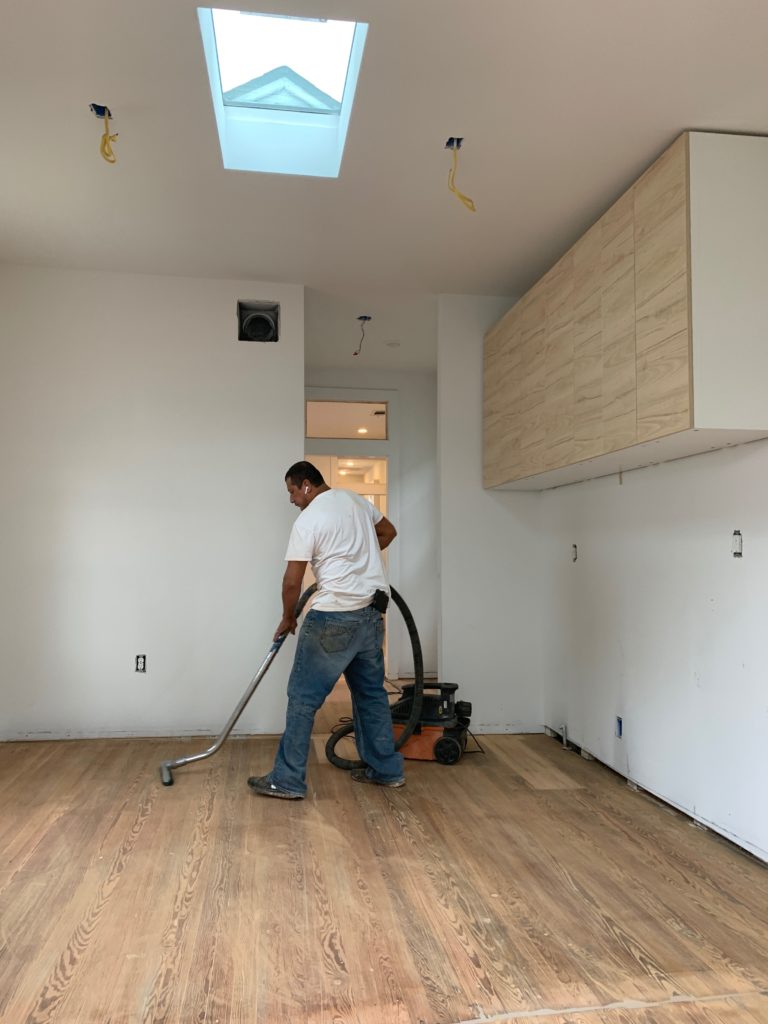
vacuuming 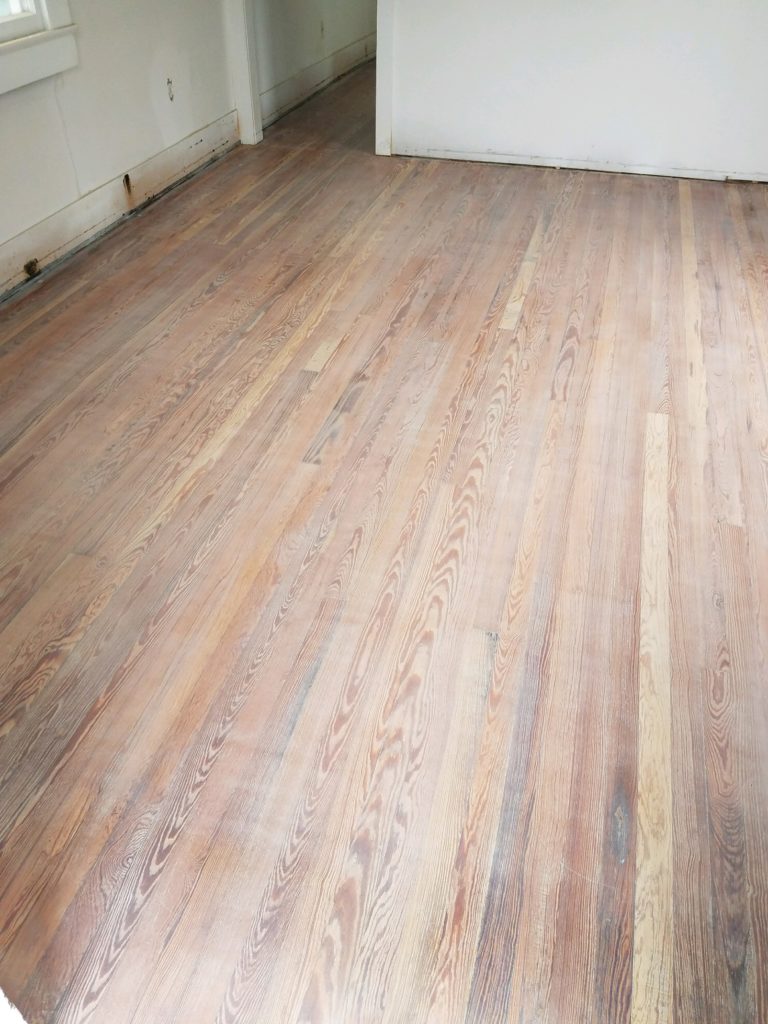
stain finish 
Floors refinished and Rubio Monocoat finish applied.
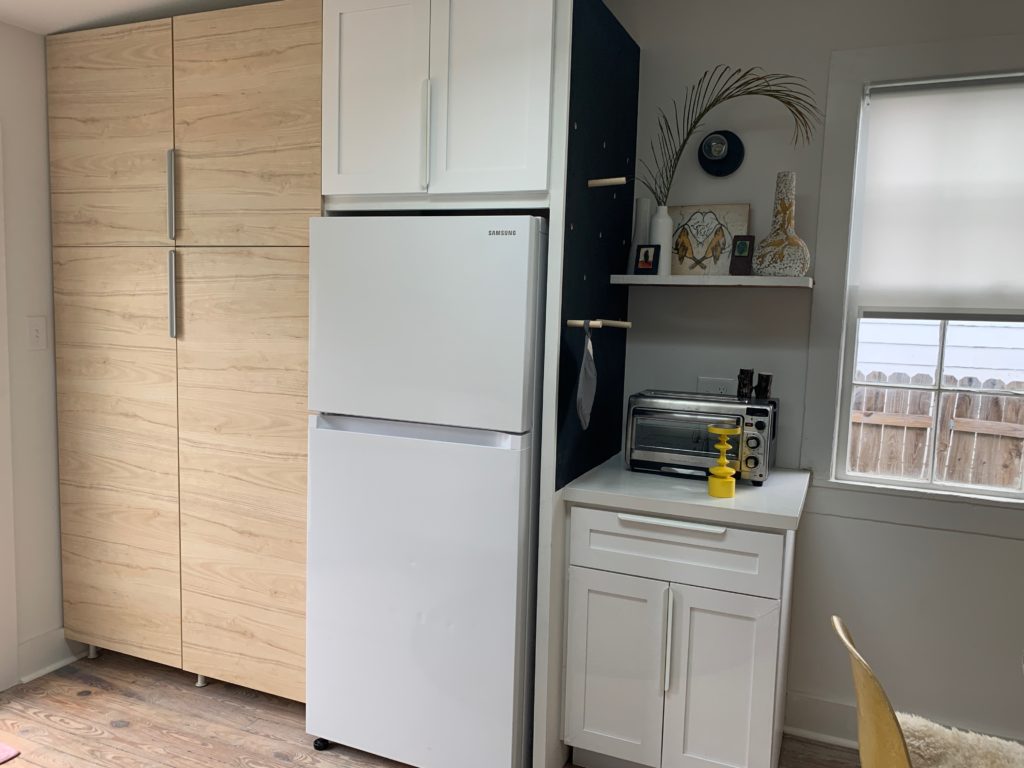
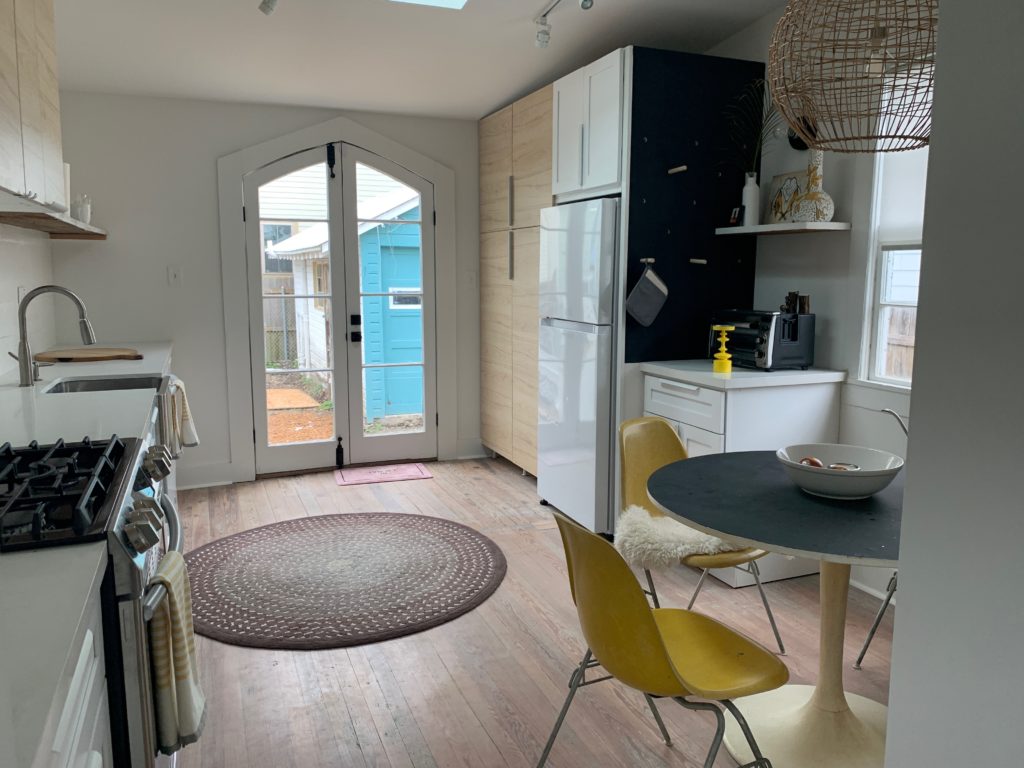
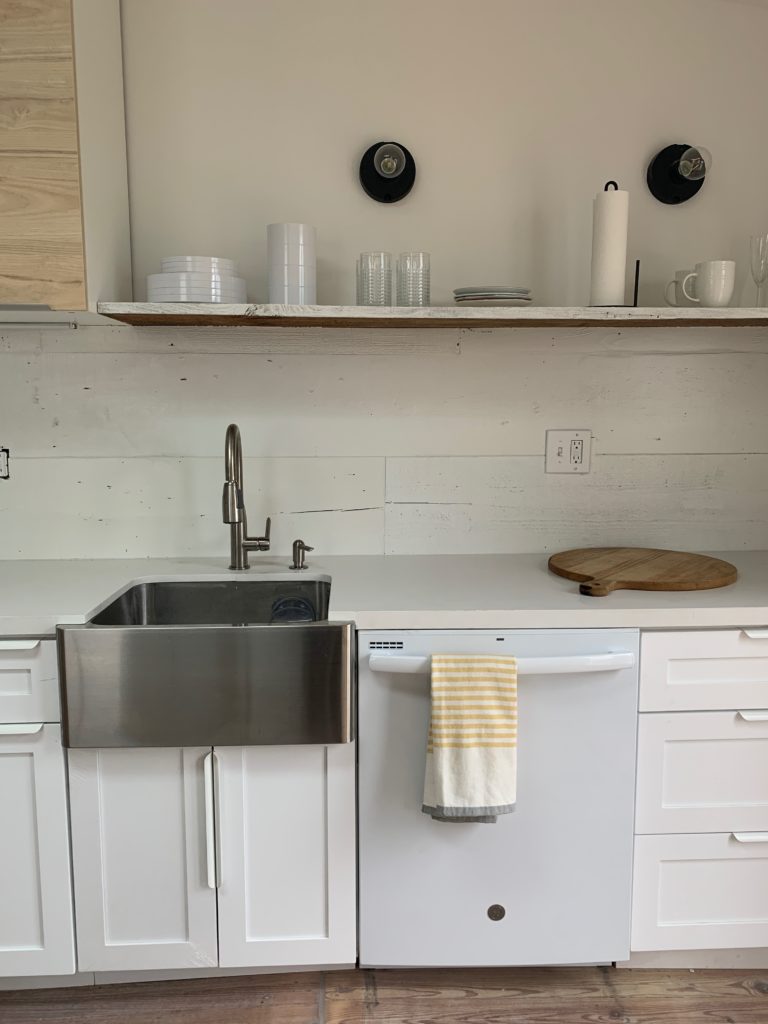
The kitchen started coming together. As I said previously, I used Ikea up cabinets and bought a cheaper white shaker base cabinet with white quartz countertops.
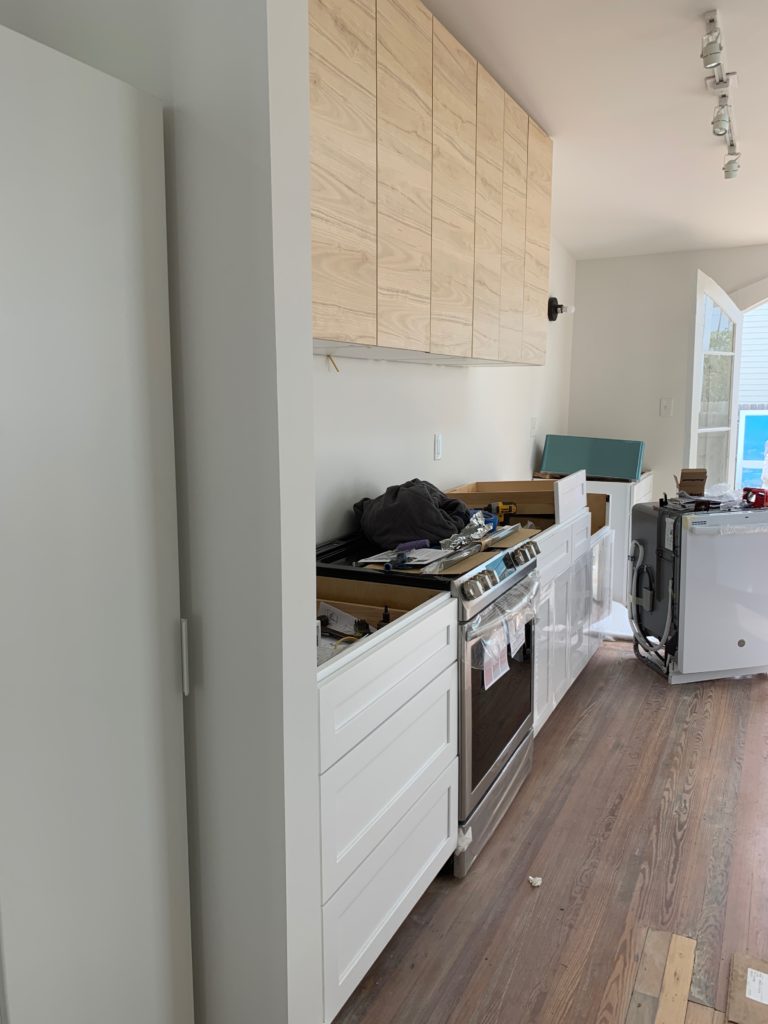
Kitchen coming together 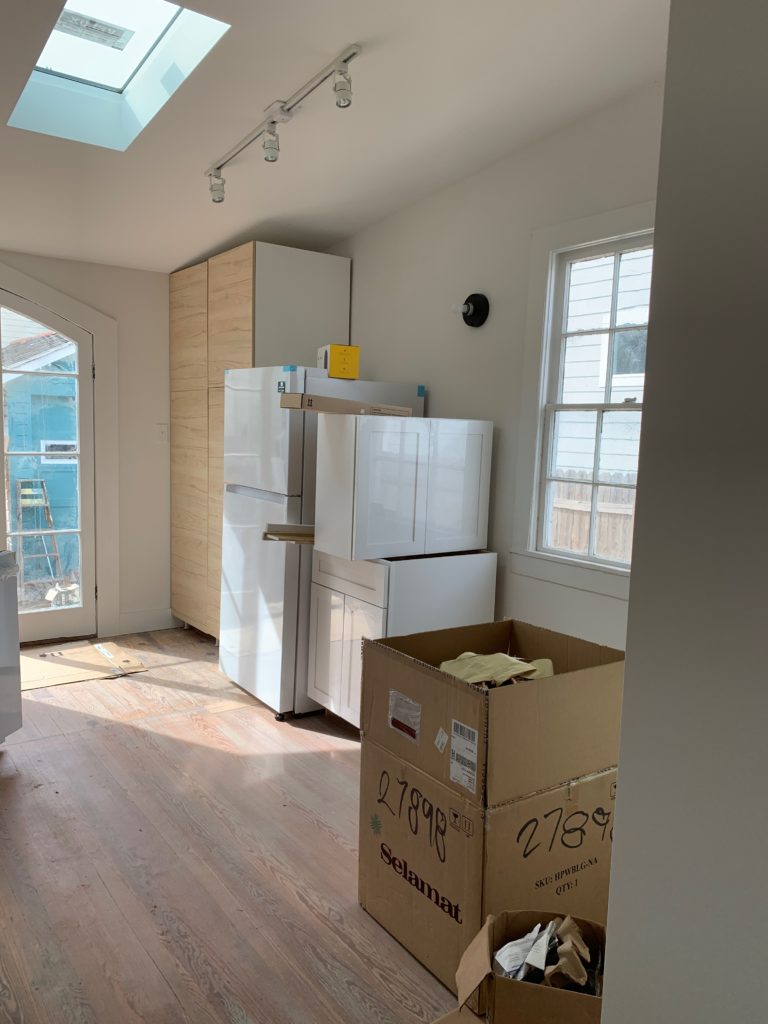
Home Depot appliances 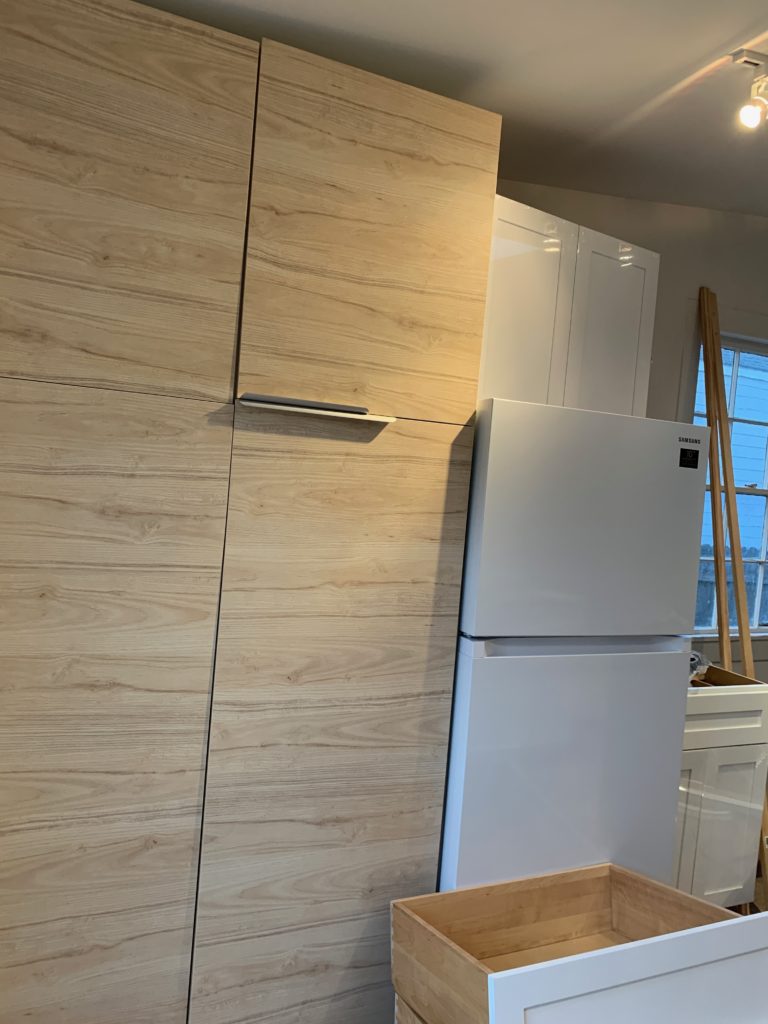
Ikea tall pantry 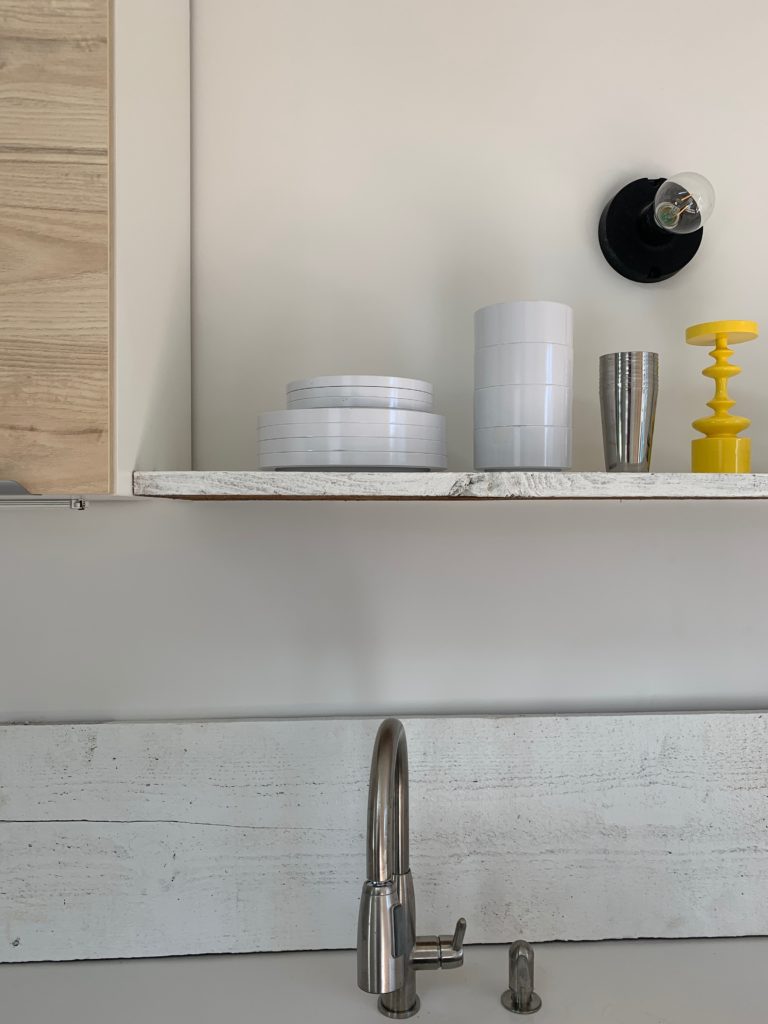
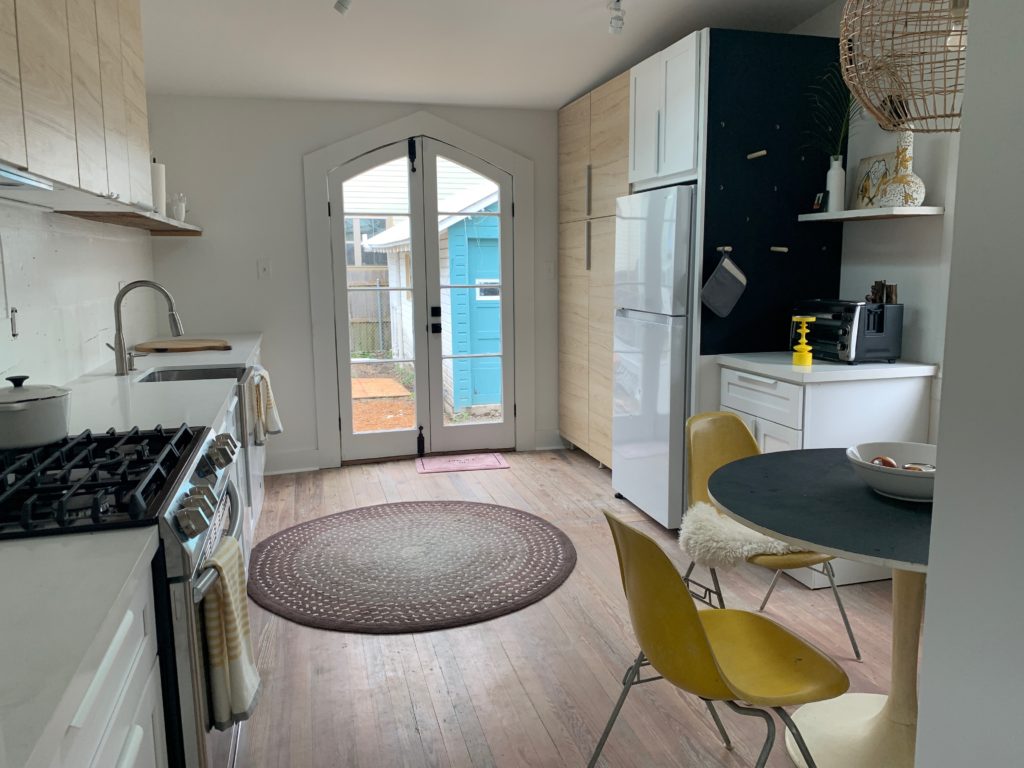

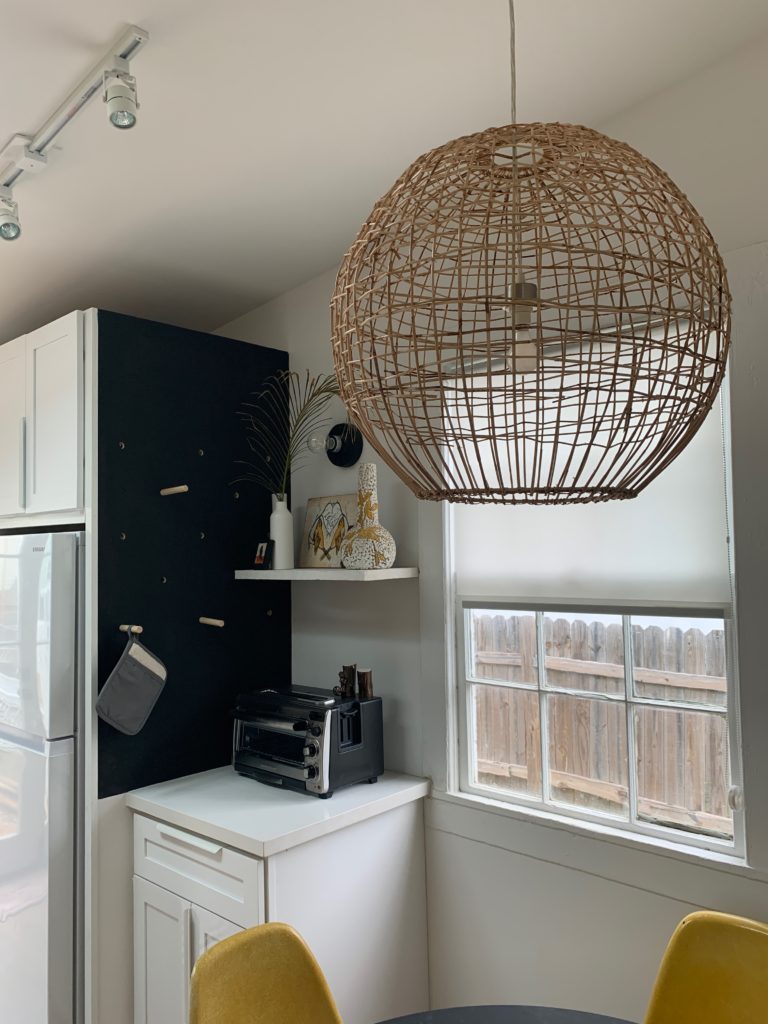
wicker cage chandelier 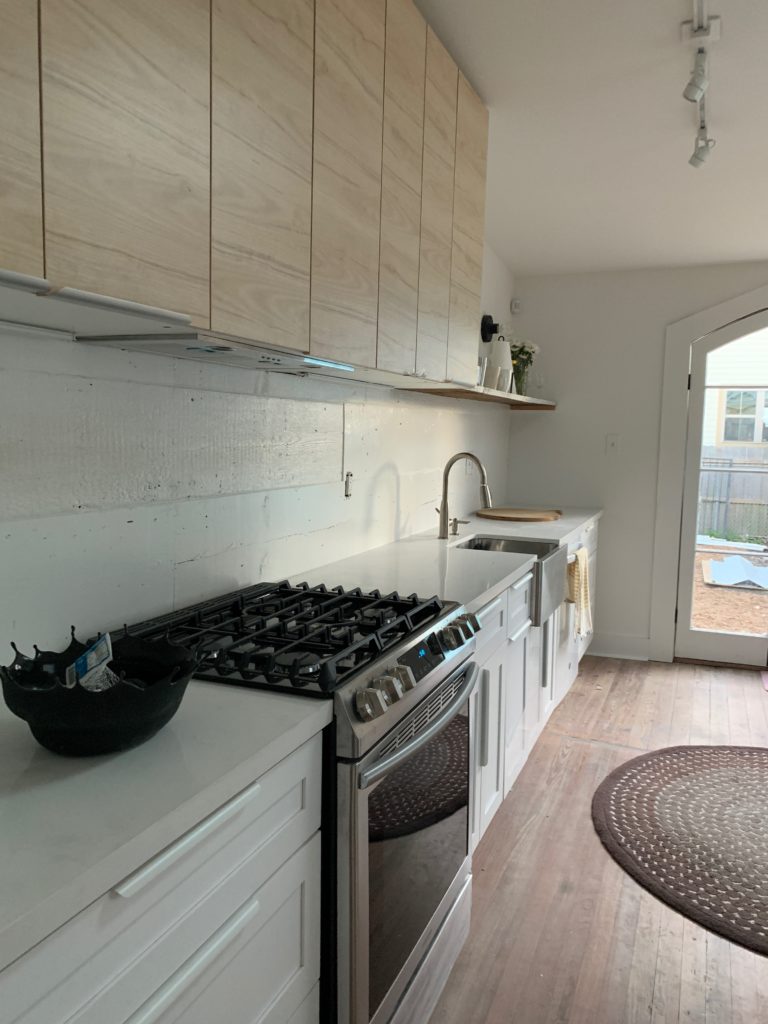
Samsung stove 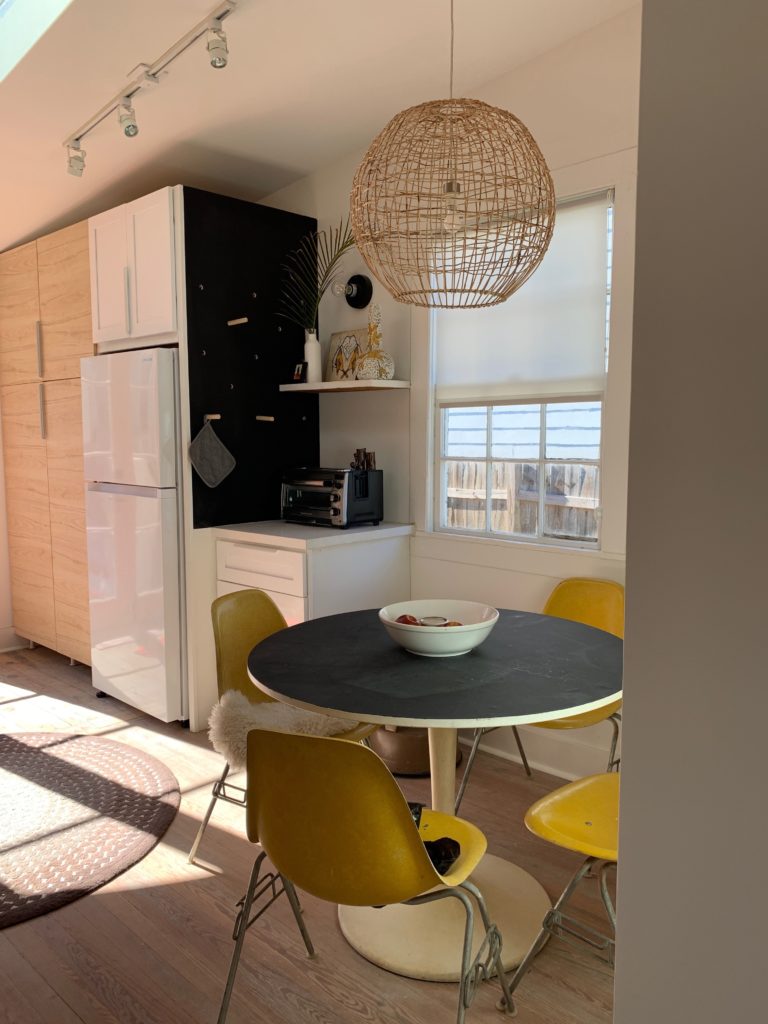
old Ikea table. I painted top in chalkboard paint

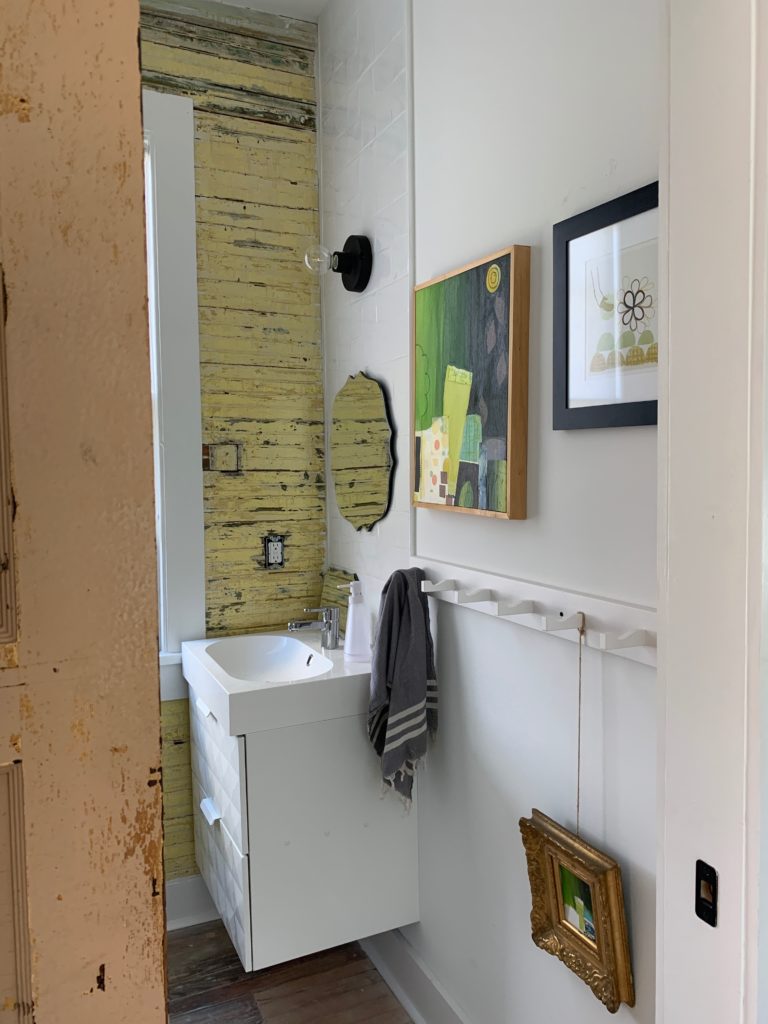
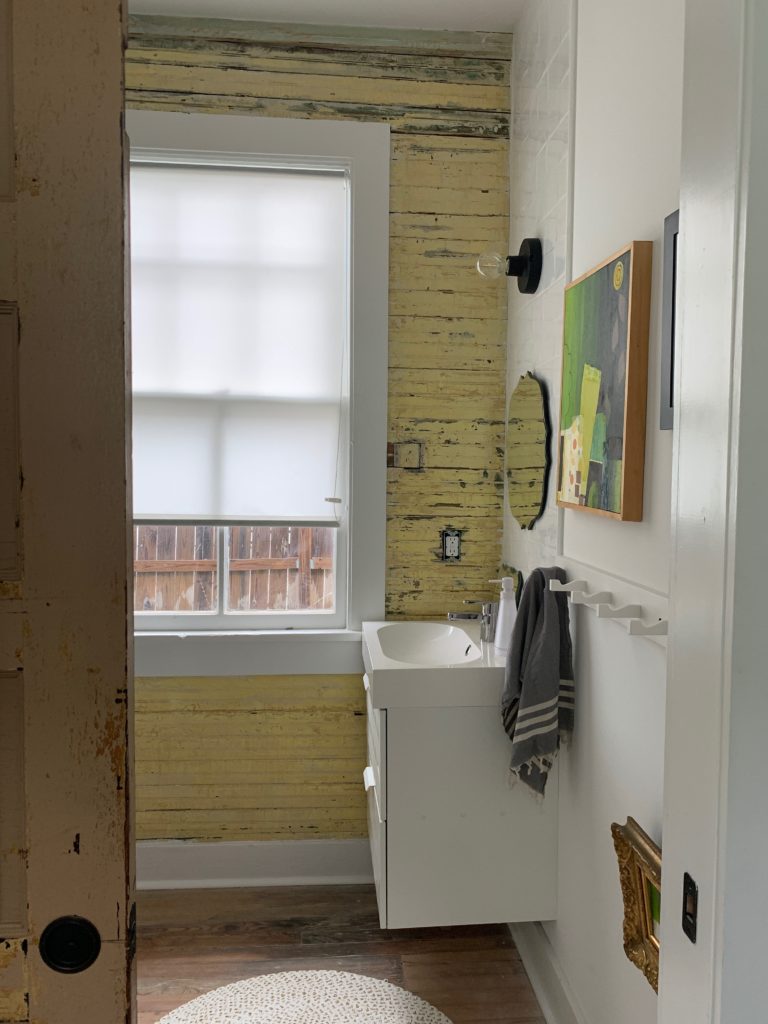
In the half bathroom we kept the bead board exterior wall as is. Same with the yellow paint to give homage to the original house.
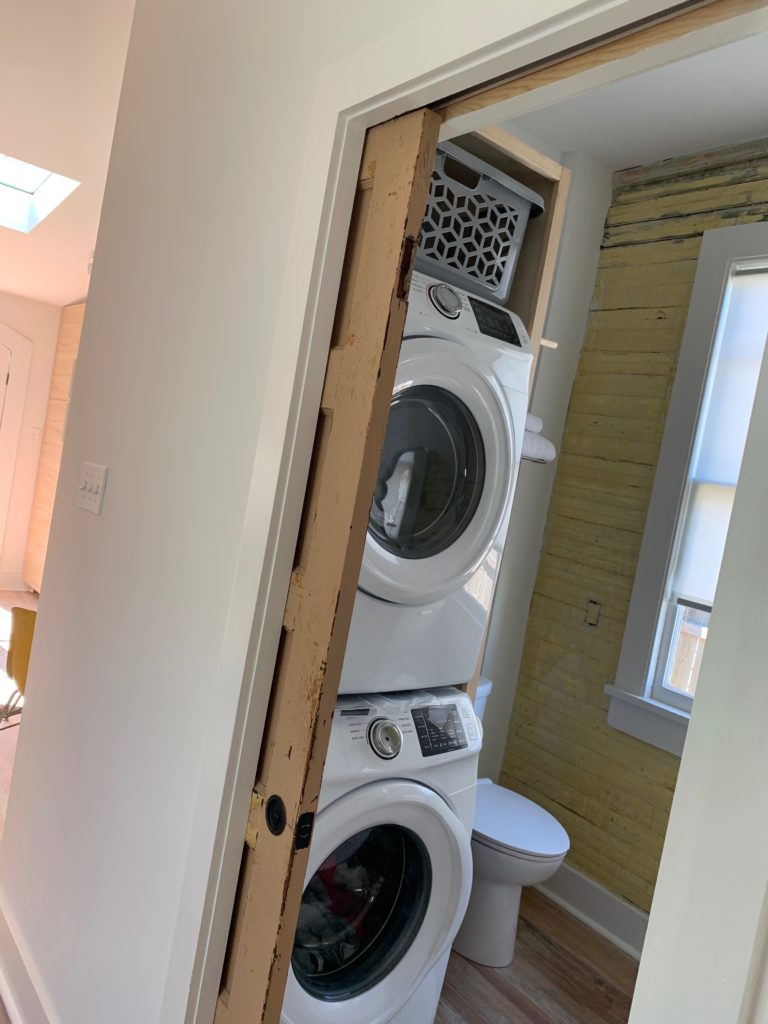
Stacked washer and dryer 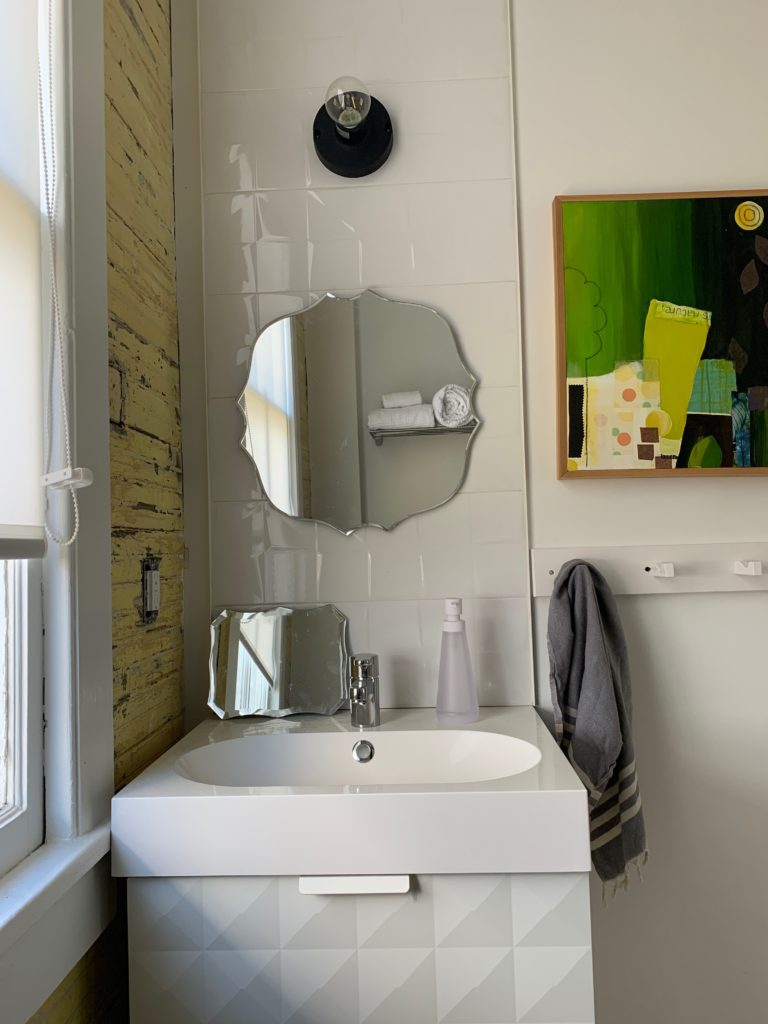
Ikea vanity and CB2 sconce.
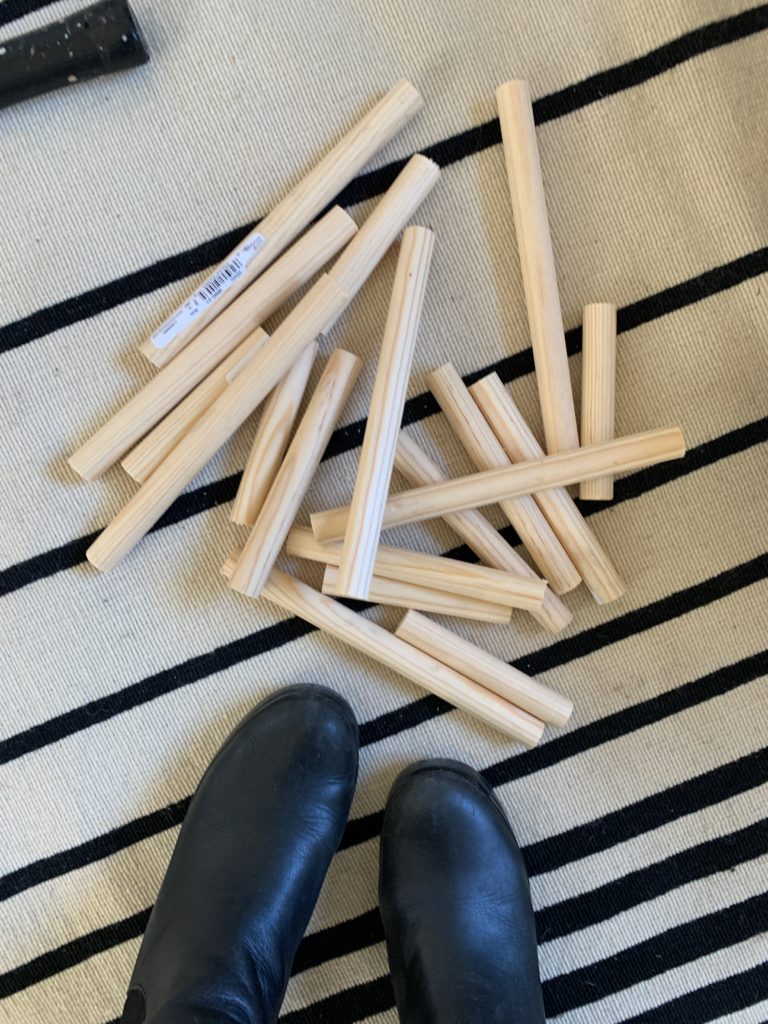
I used the same idea of enclosing the washer/dryer with birch plywood, adding the chalkboard painted, oversized dowel system for hanging towels or delicates to dry and it holds lots of extra toilet paper rolls.

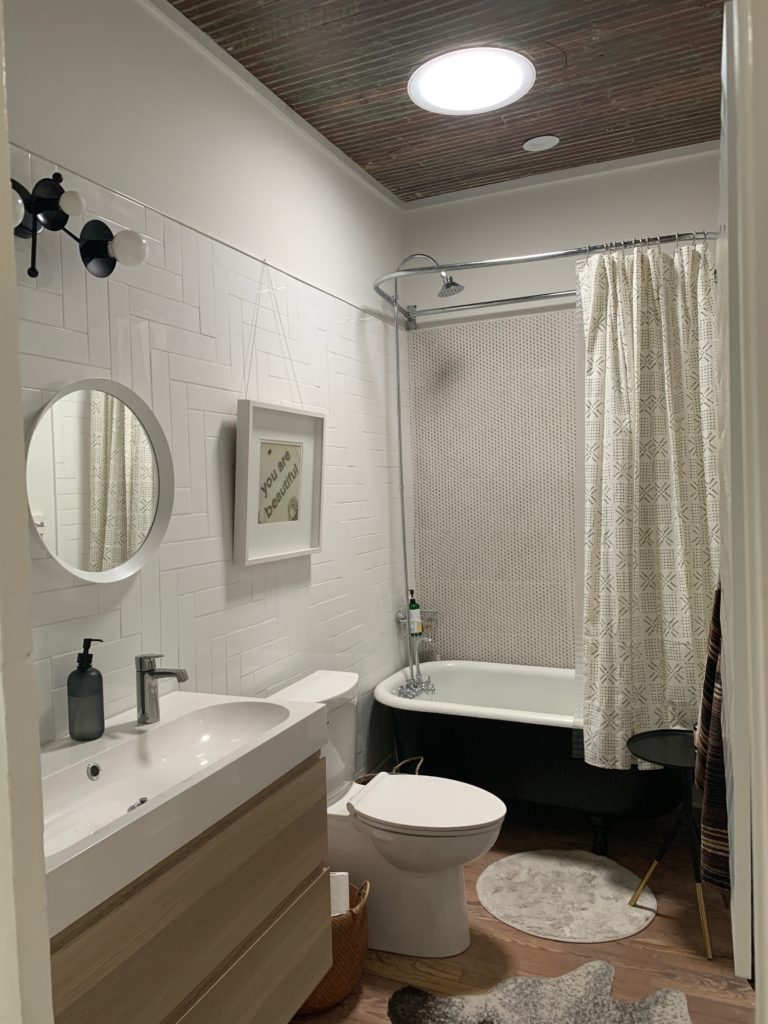
For the master bathroom we reused the clawfoot tub, but painted it black. The sconce is from local company Sazerac Stitches. All tile was on sale at Floor and Decor. Round skylight really made this bathroom. It did not have a window and the natural light makes a huge difference.

Ikea mirrors 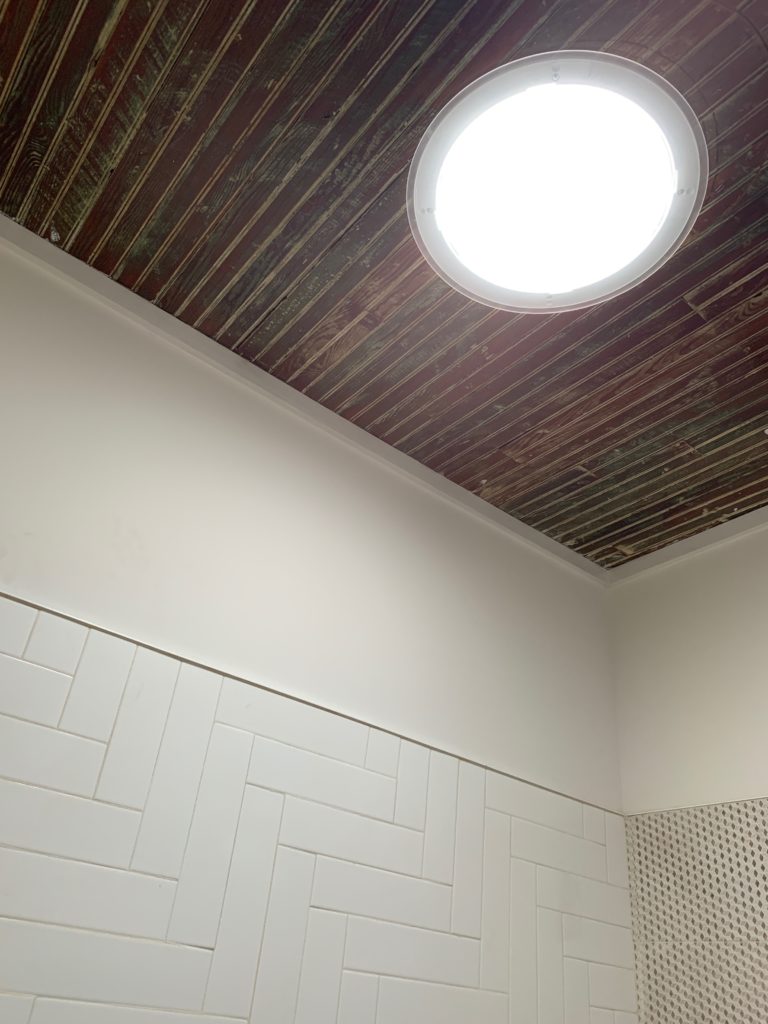
Original bead board ceiling 
Original claw foot tub 
Finished master bathroom. Ikea vanity, my own photograph, Clean toilet from Home Depot. Shower curtain from Target.
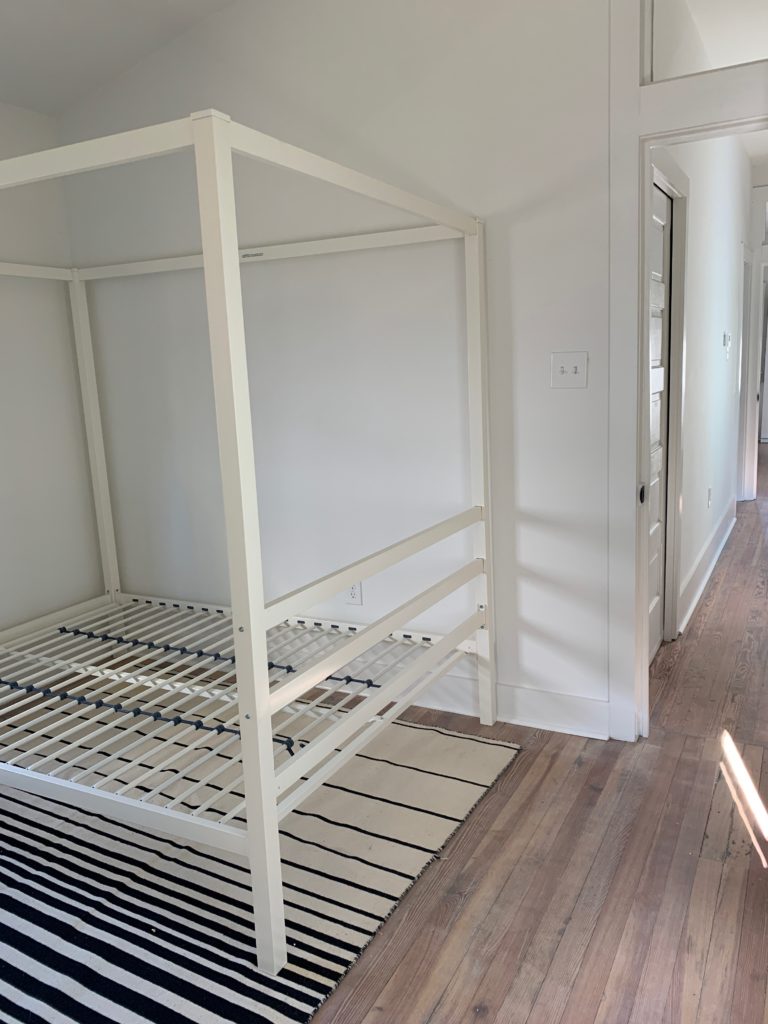
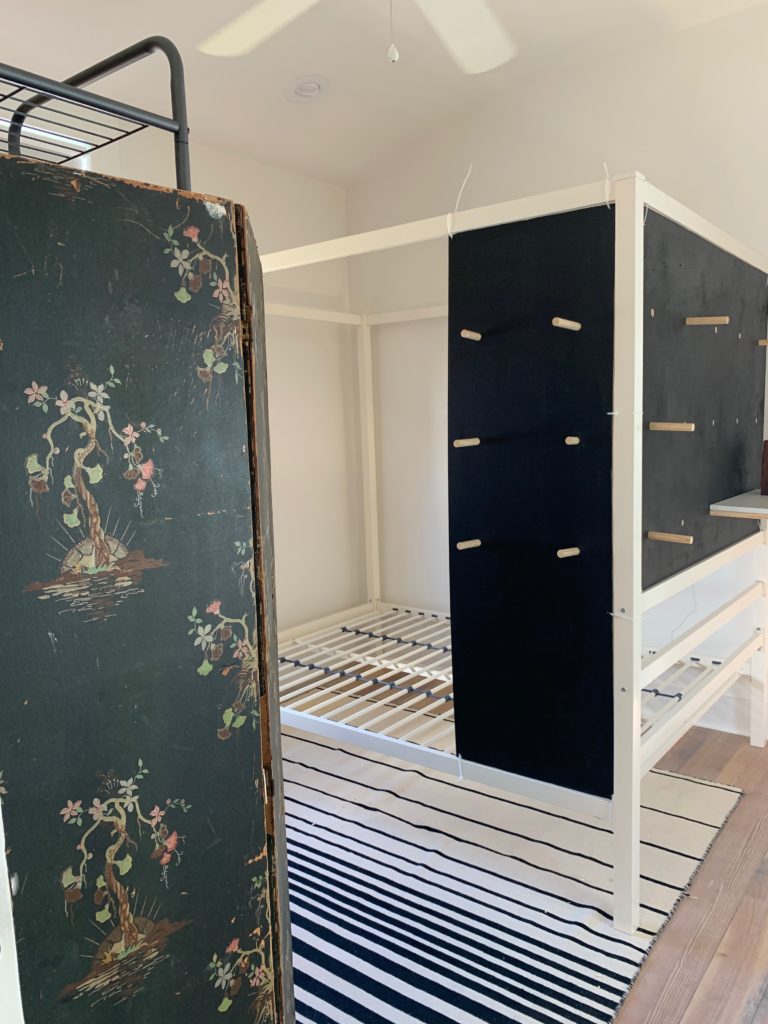
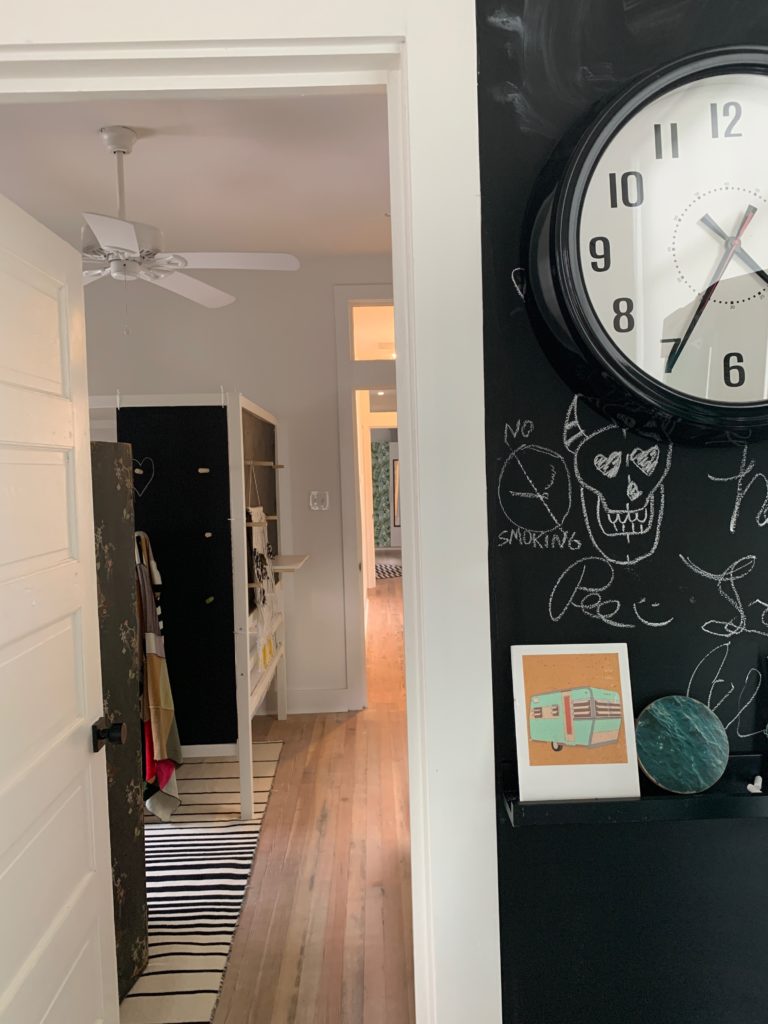
The guest room (since my daughter is in college we wanted her to have a roommate) does not have a private entrance. As with many shotgun houses in New Orleans you walk through it to get to the kitchen. I decided to make a “hallway” of sorts using a privacy screen on the canopy bed and a vintage screen to hide the closet. I used the same birch plywood, painted chalkboard oversized dowel system on the bed.
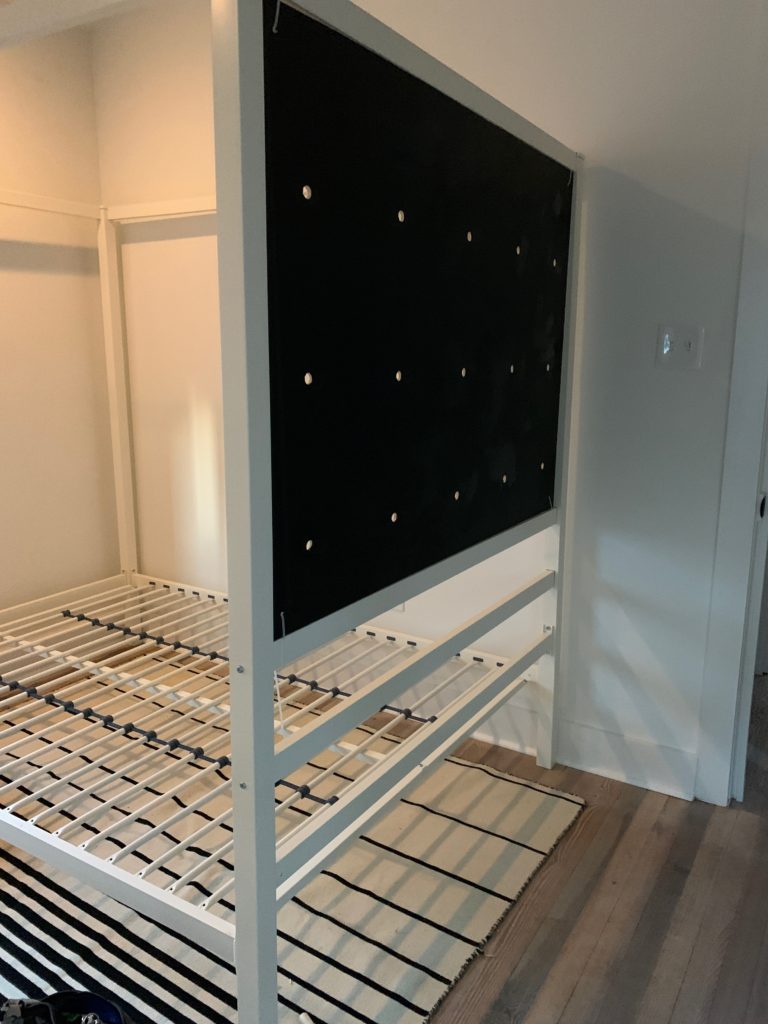
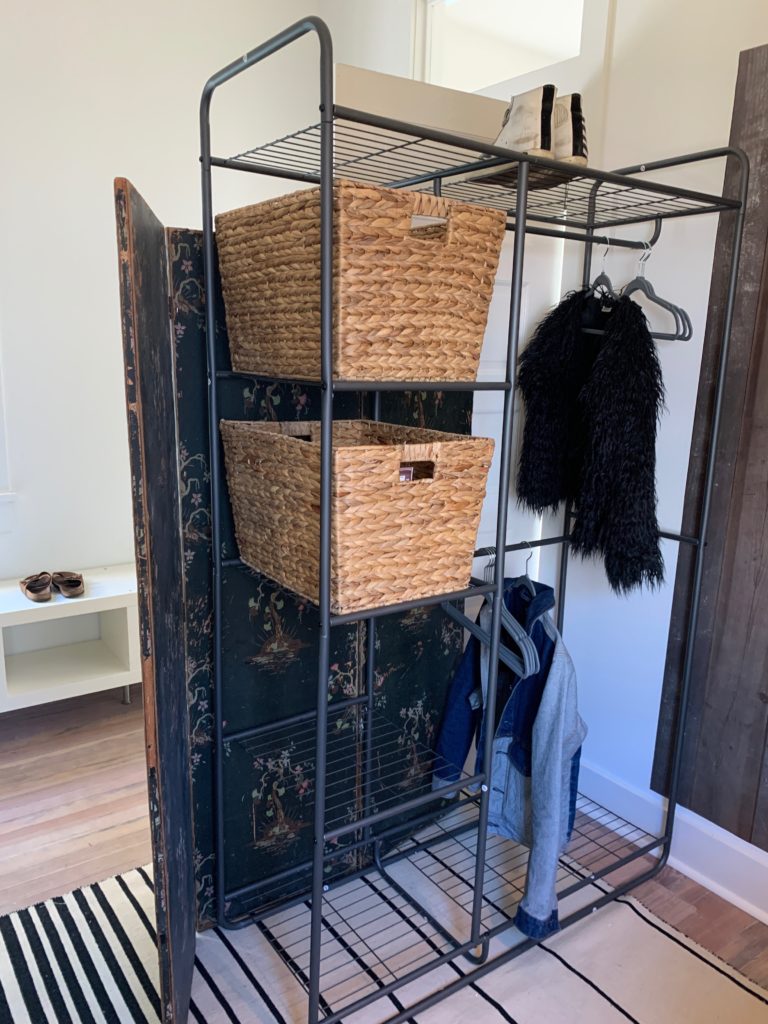
Closet system from Lowe’s. 94$ 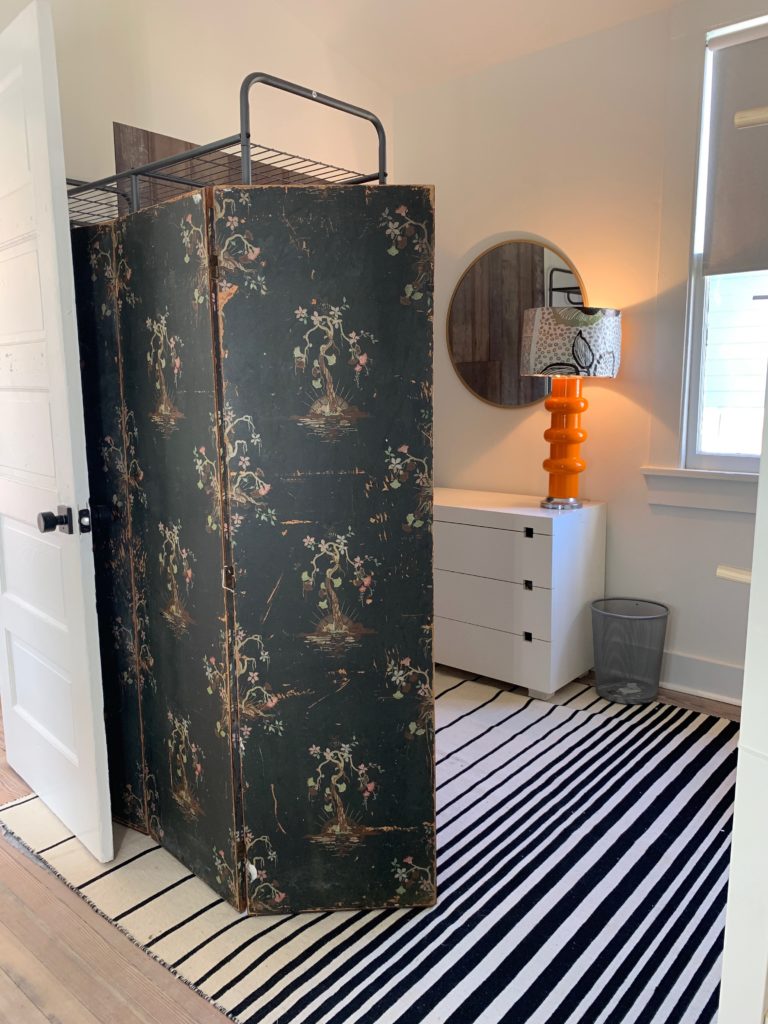
All second hand frunishiungs. 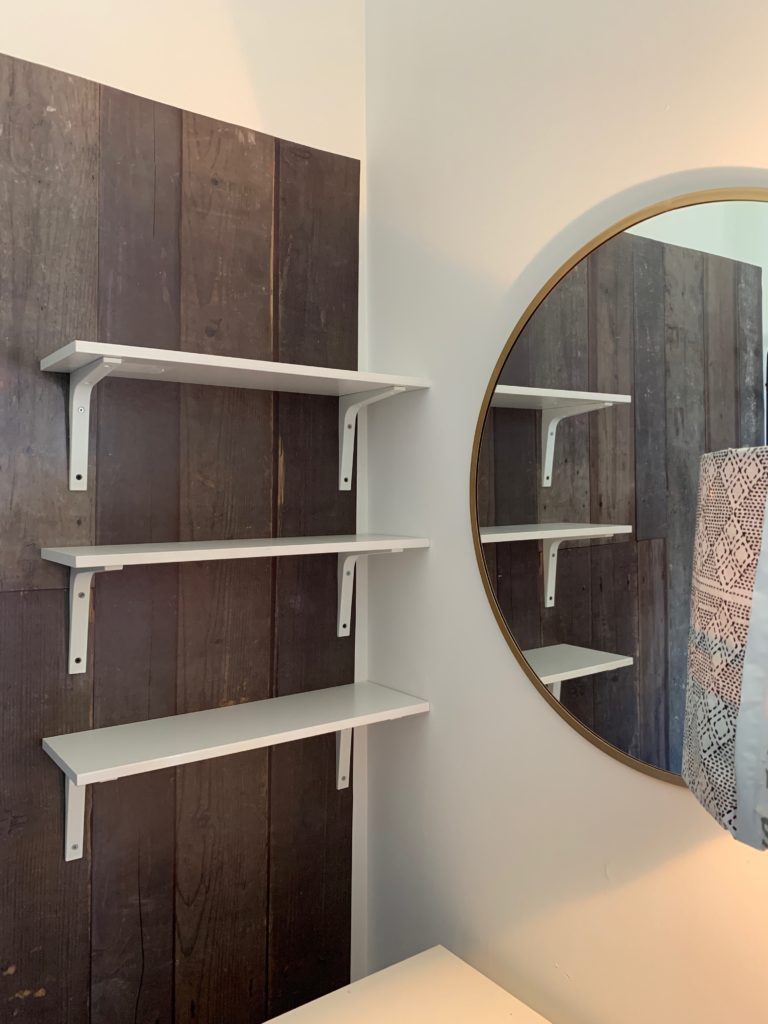
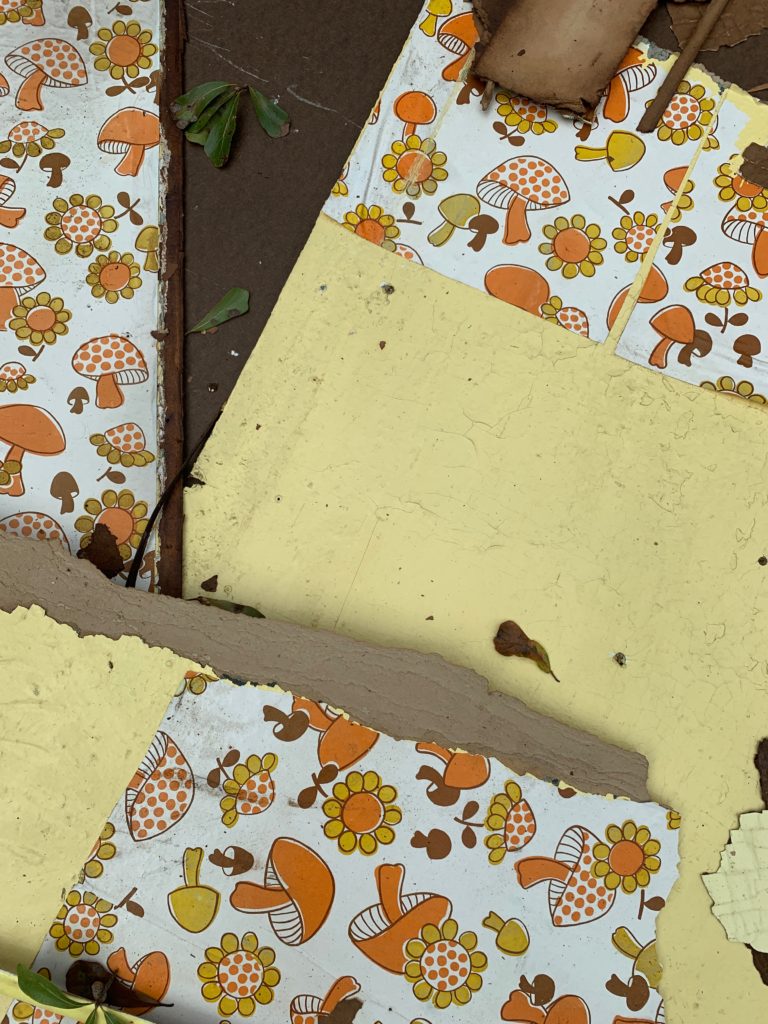
Wood wallpaper scrap.
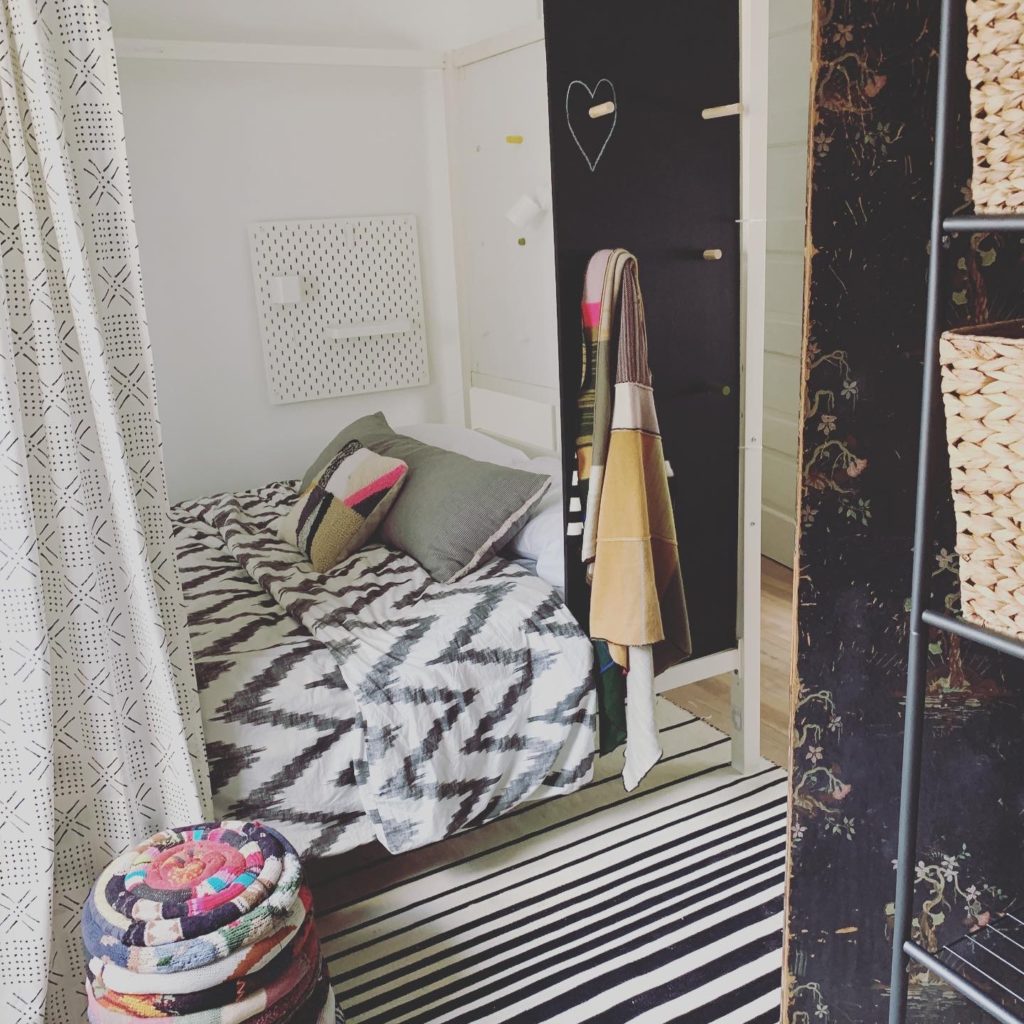
Ikea lights and storage inside. A Target shower curtain hangs (zip tied to bed frame) for added privacy when sleeping.

My daughter has a small private bedroom off the new hallway. We decided on a loft double bed to maximize space. The bed has shelving and a desk underneath. Ikea wardrobe and hook system.
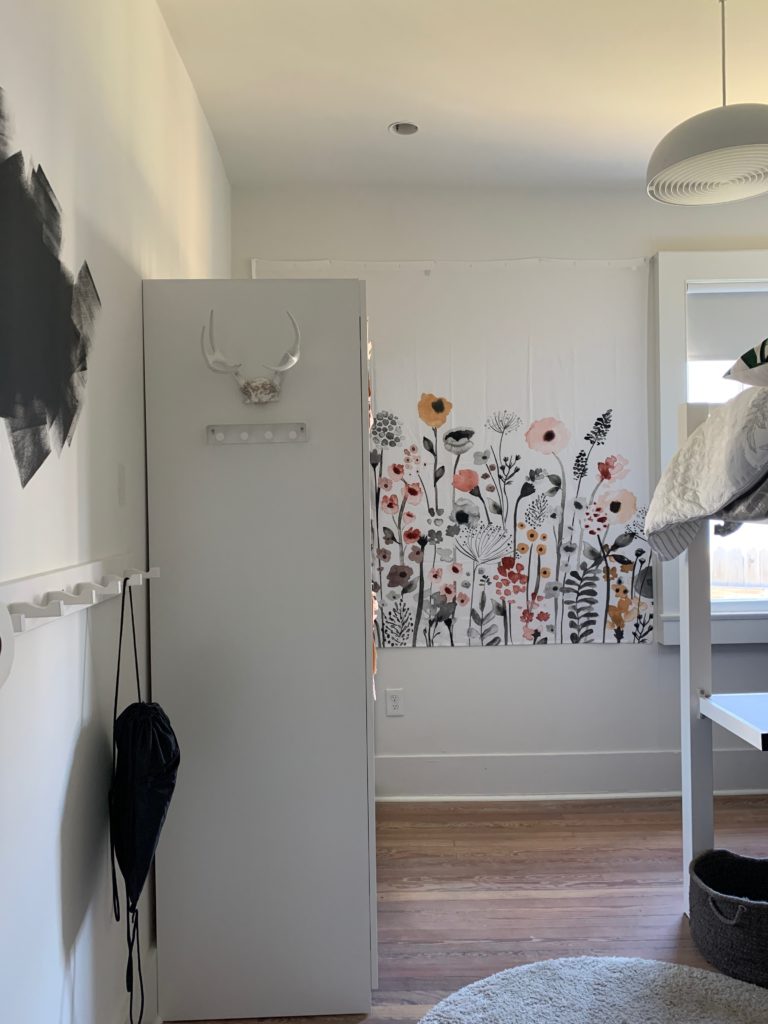
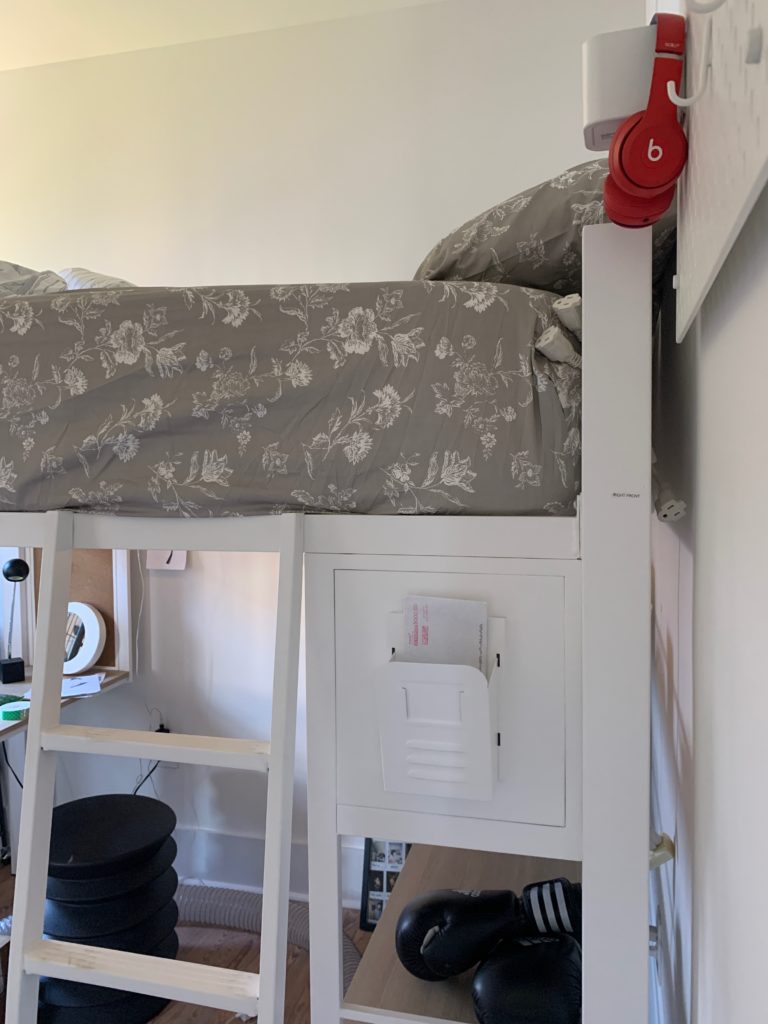
loft double bed with storage 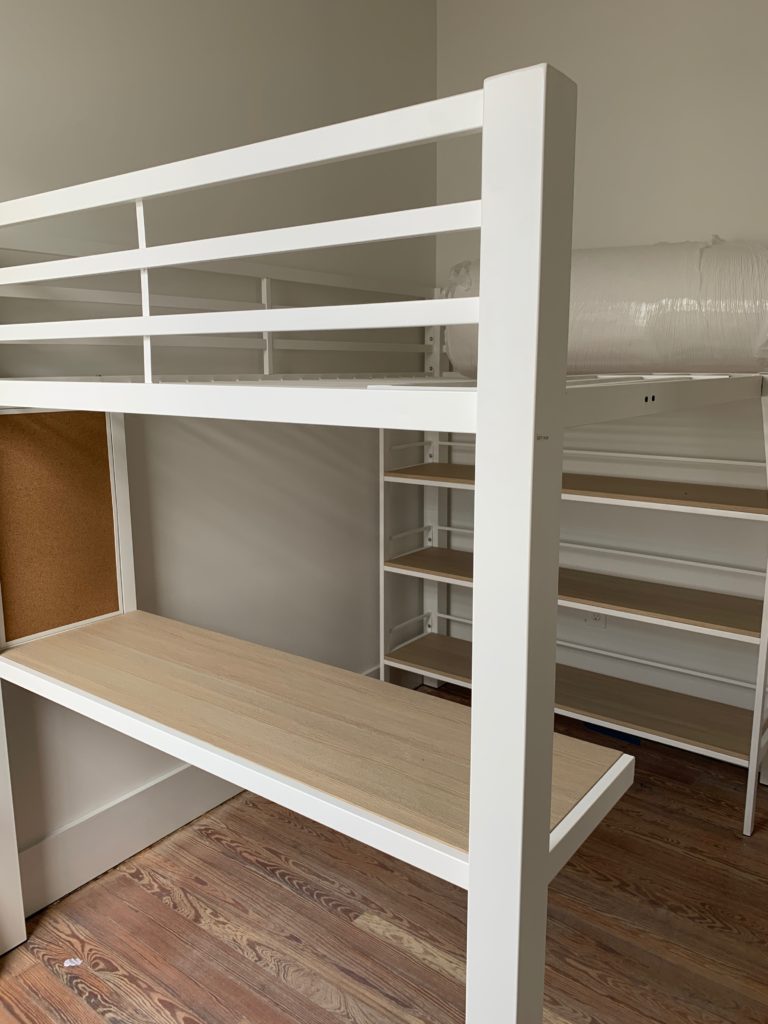
desk and shelving

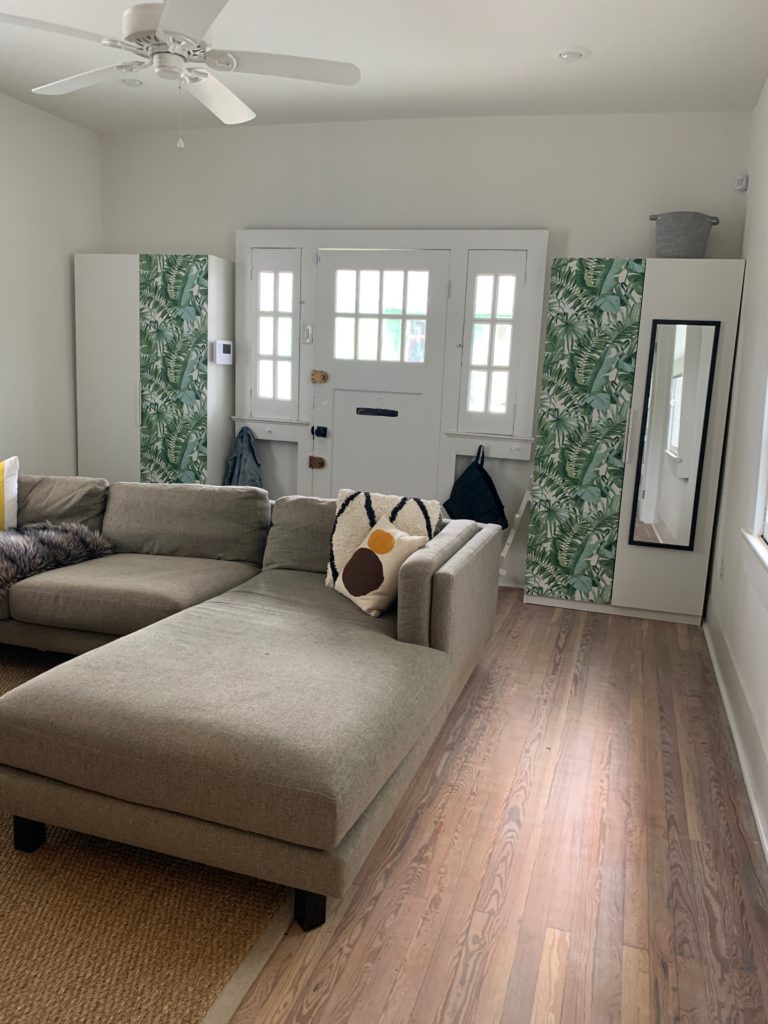
The living room contains a large second hand sectional sofa for movie nights with friends and just lounging.
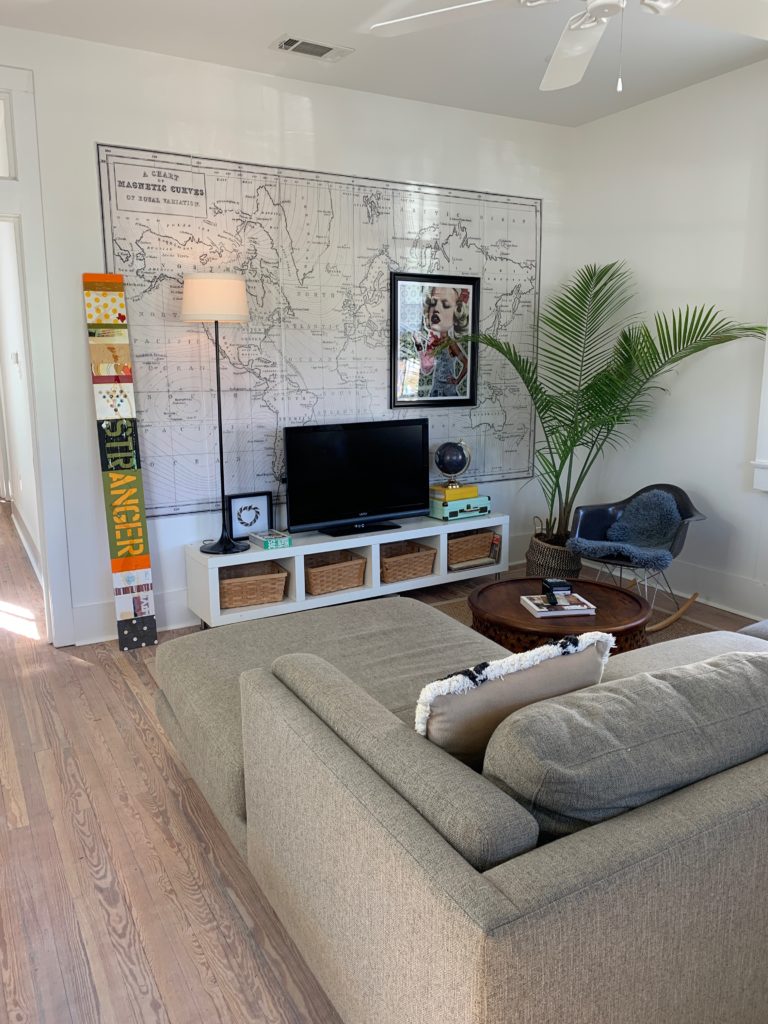
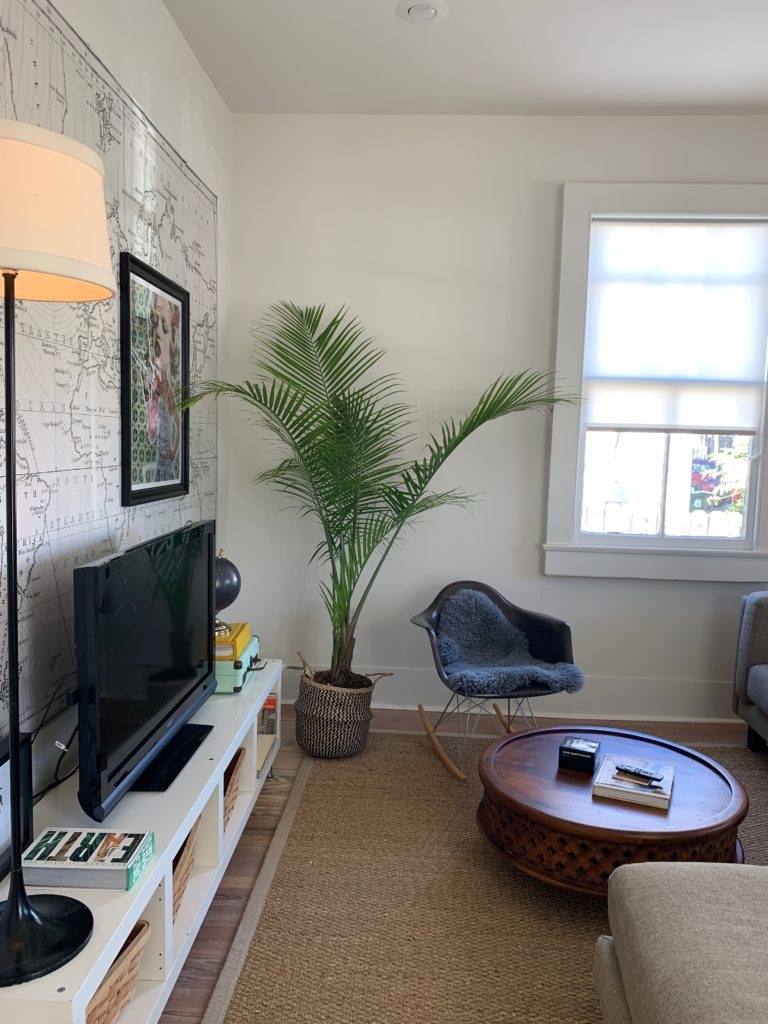
Eames rocker 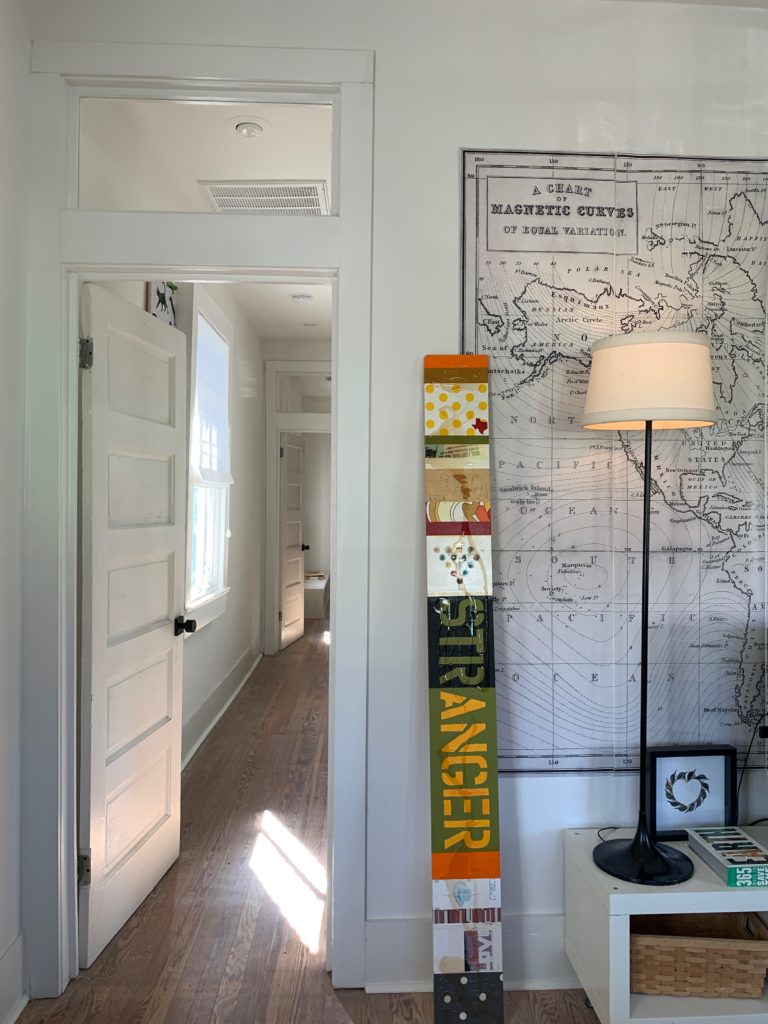
vintage floor lamp 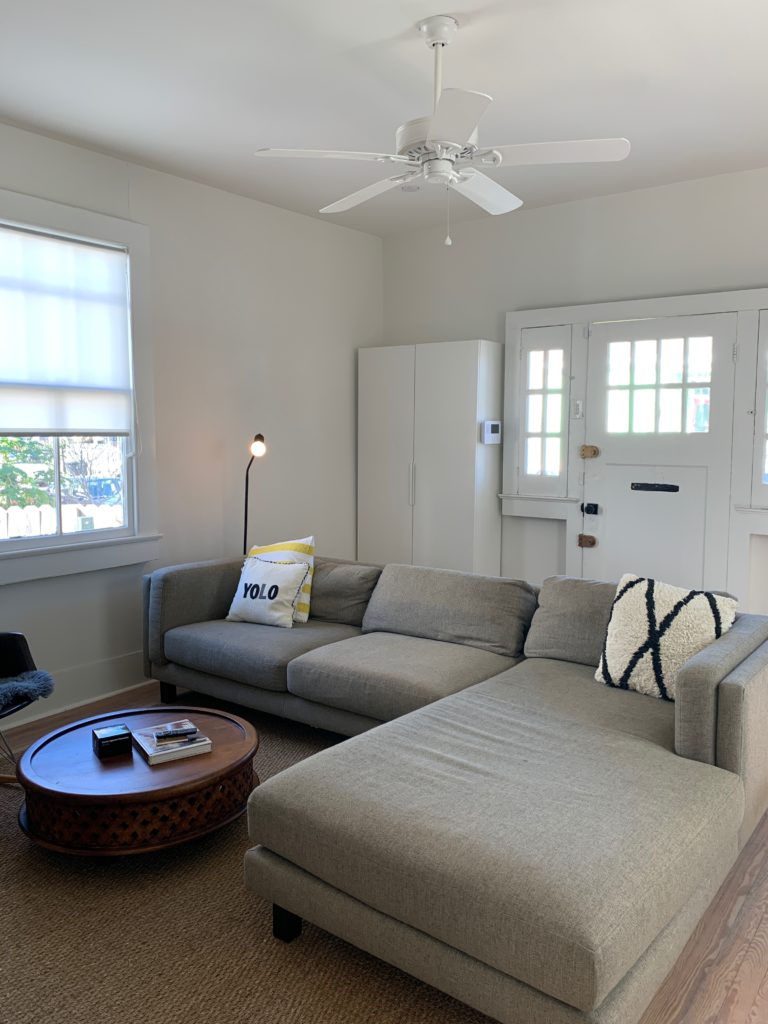
Ikea closets
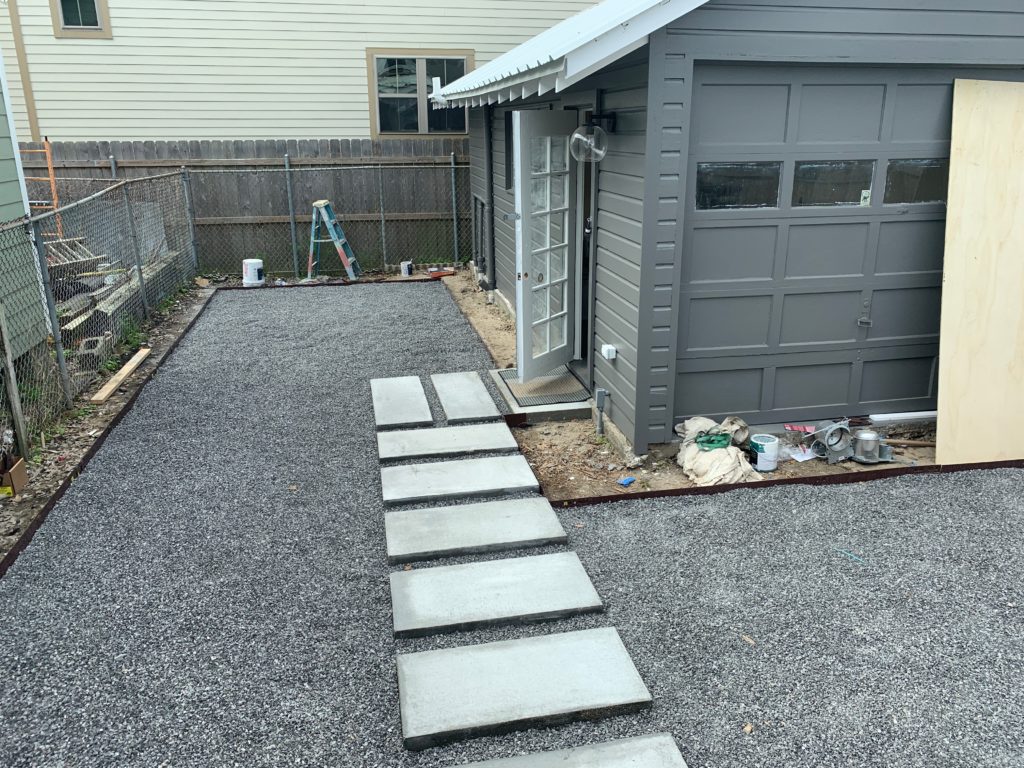
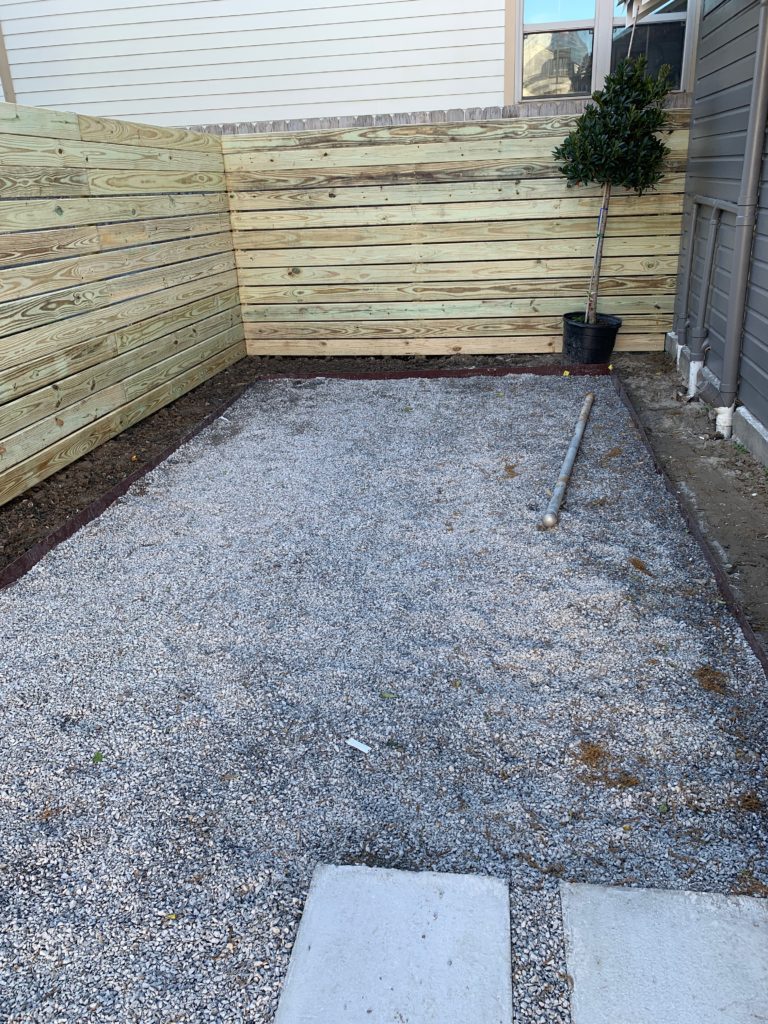
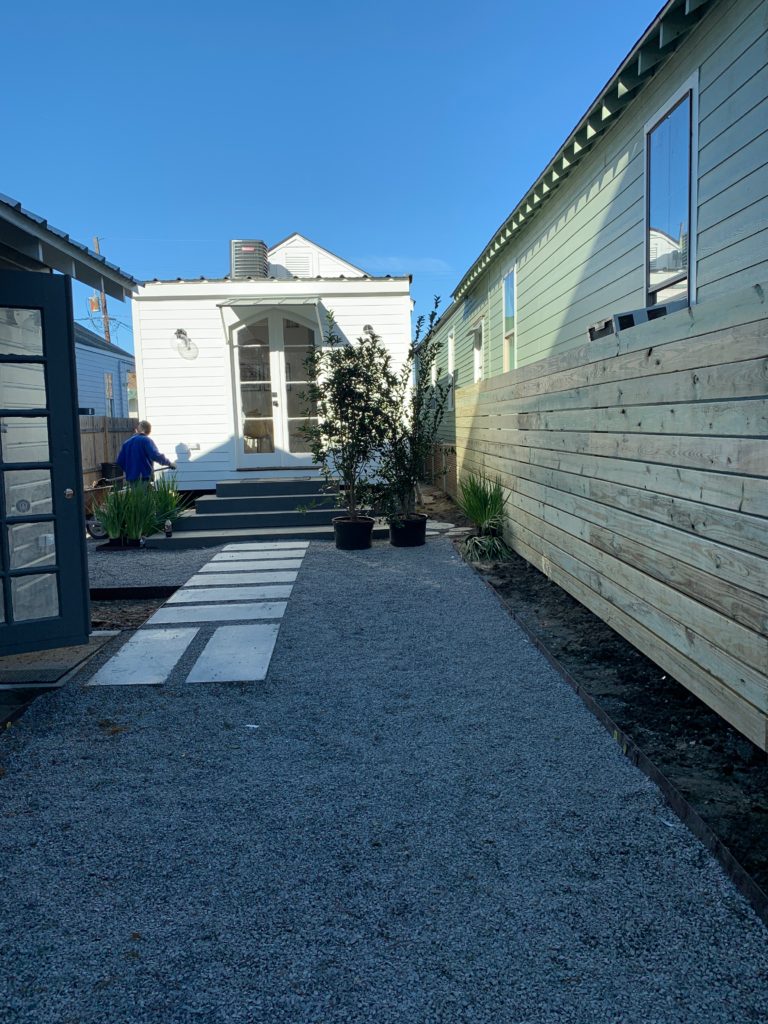
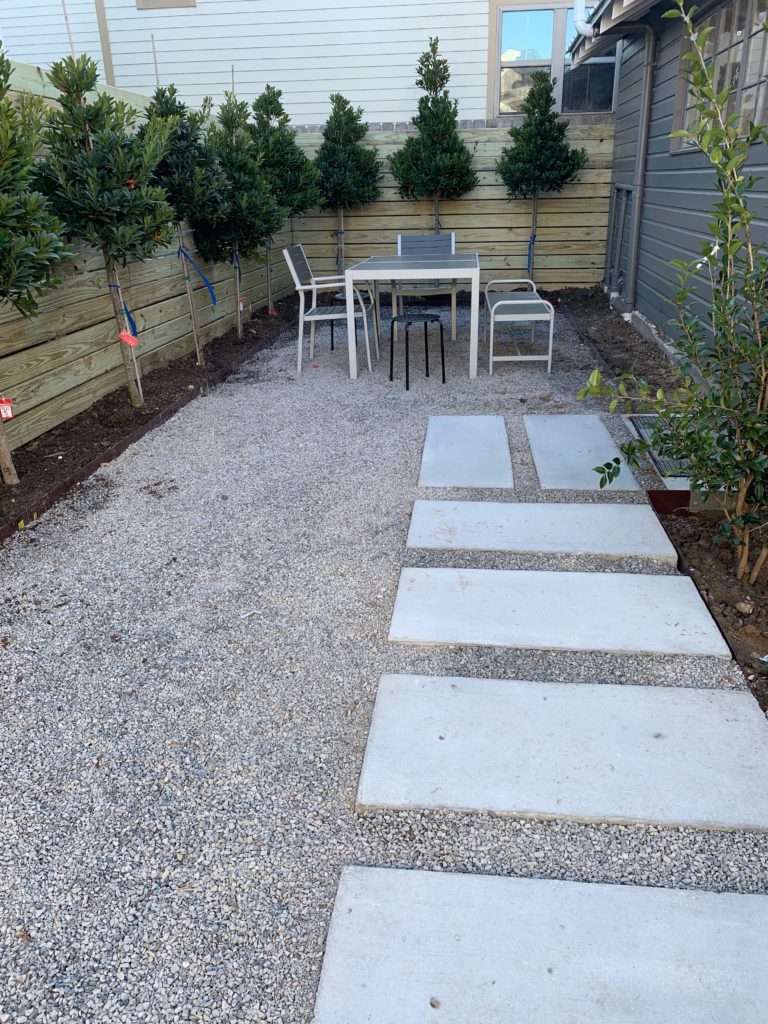
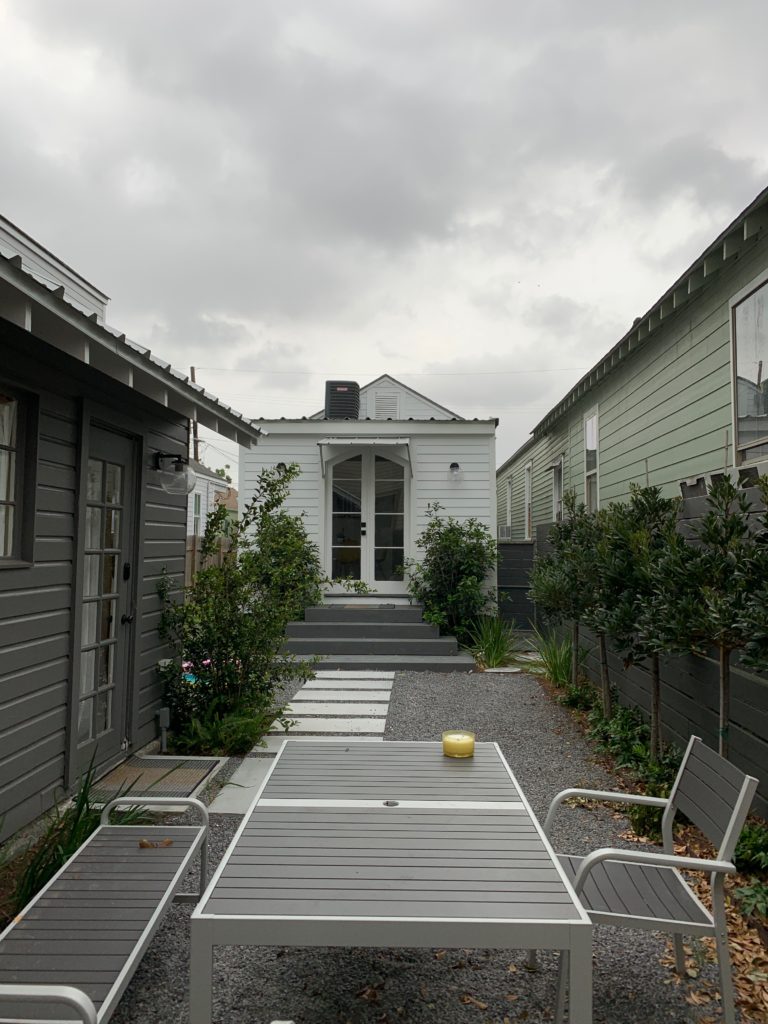
The yard was finished recently with crushed limestone and concrete steps.
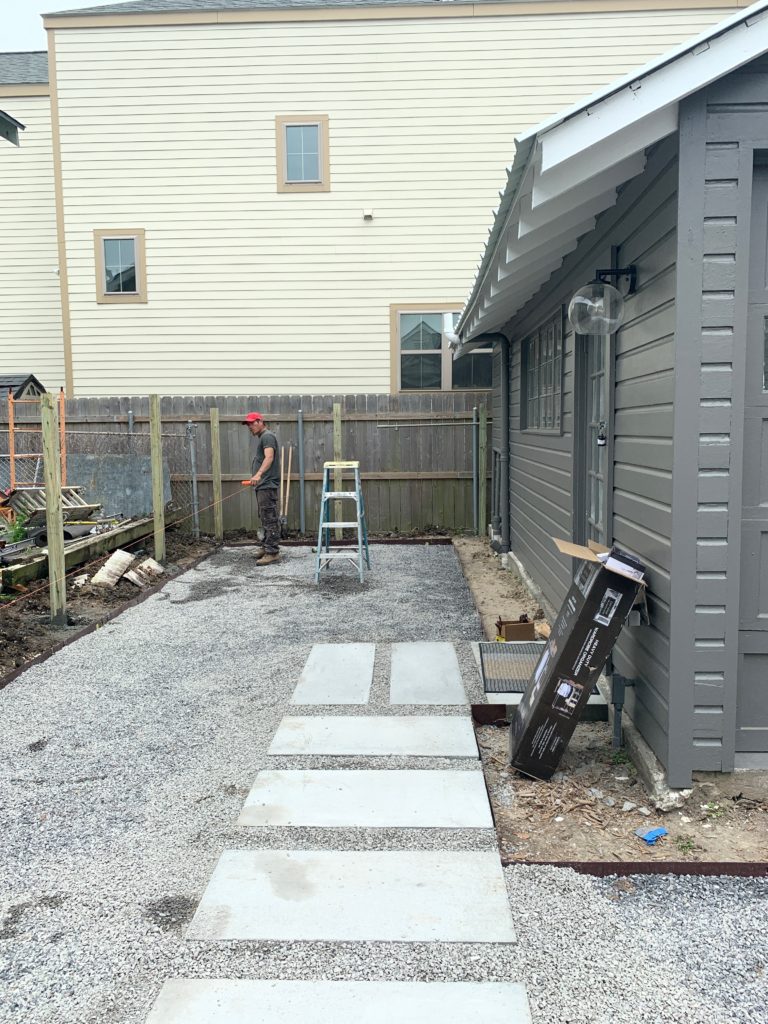
Adding the fence here
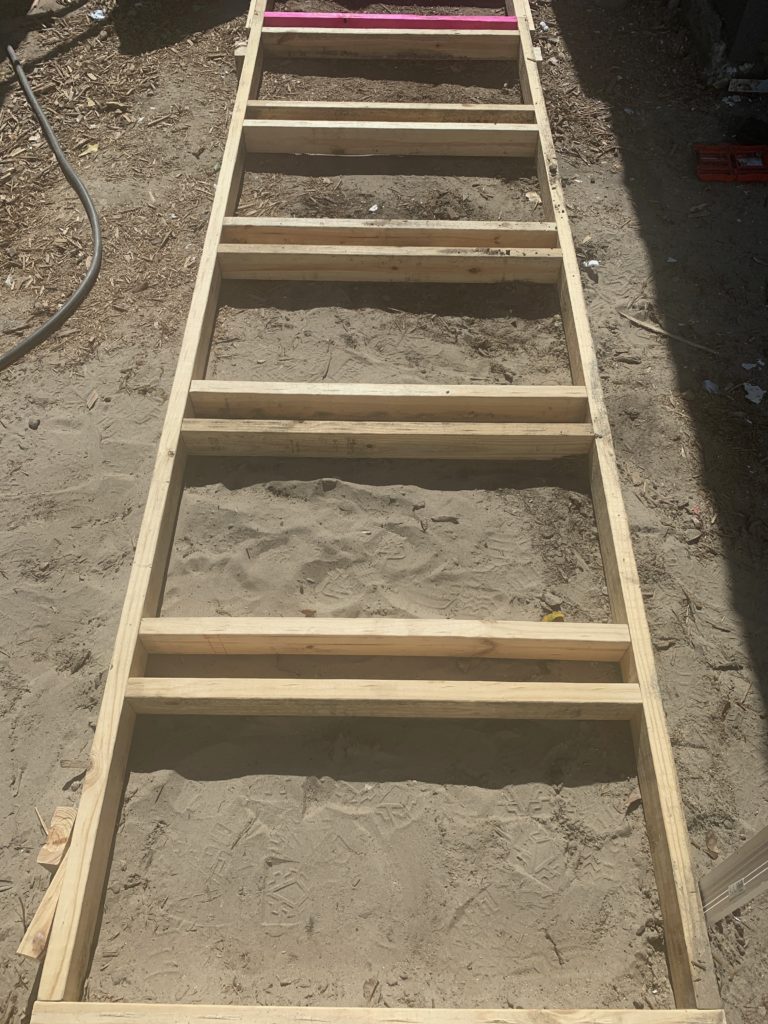
concrete step frames 
view from the house 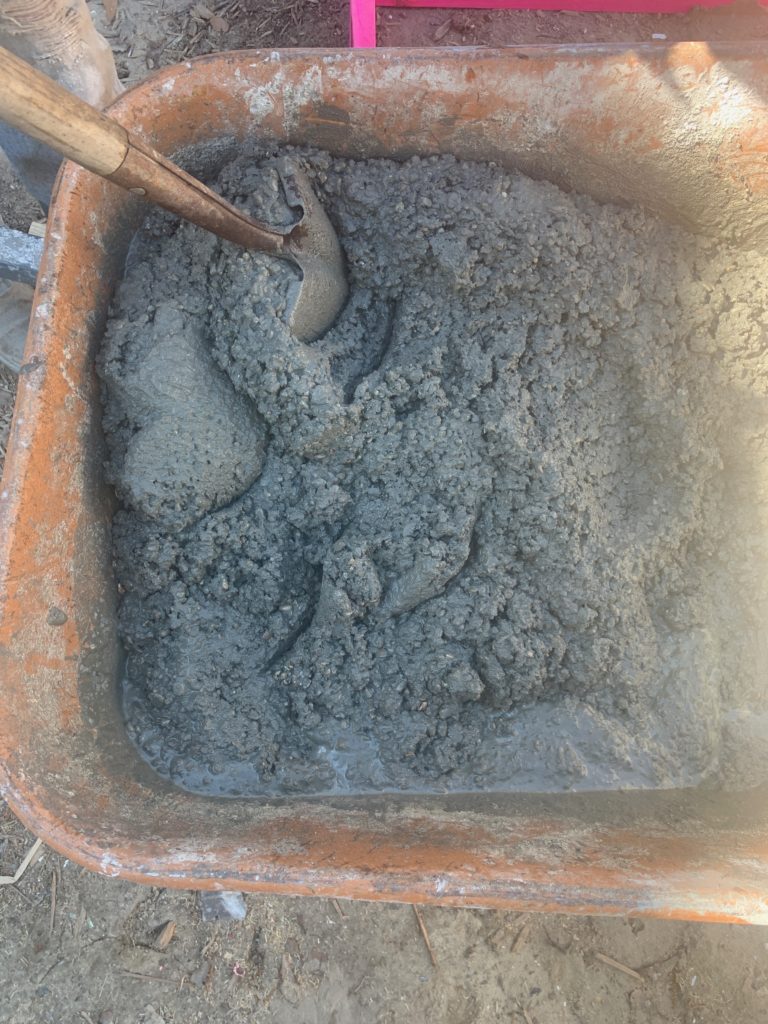
concrete mix 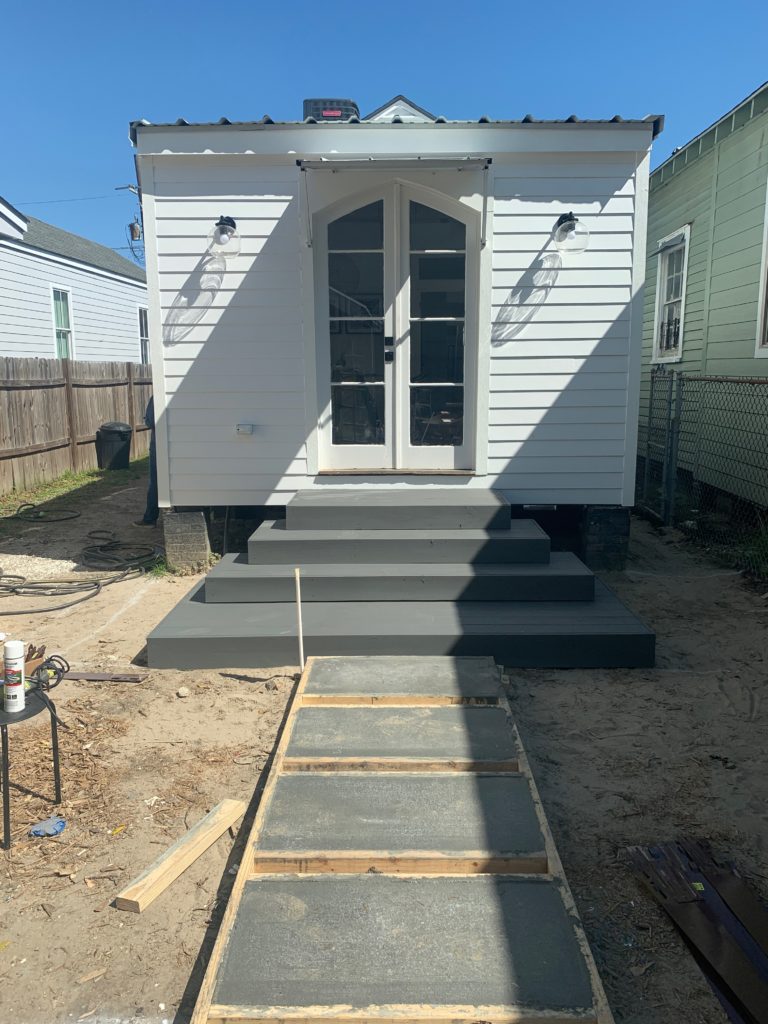
The staggered stairs off the back of the house. Stained BM Kendall Charcoal.
fence 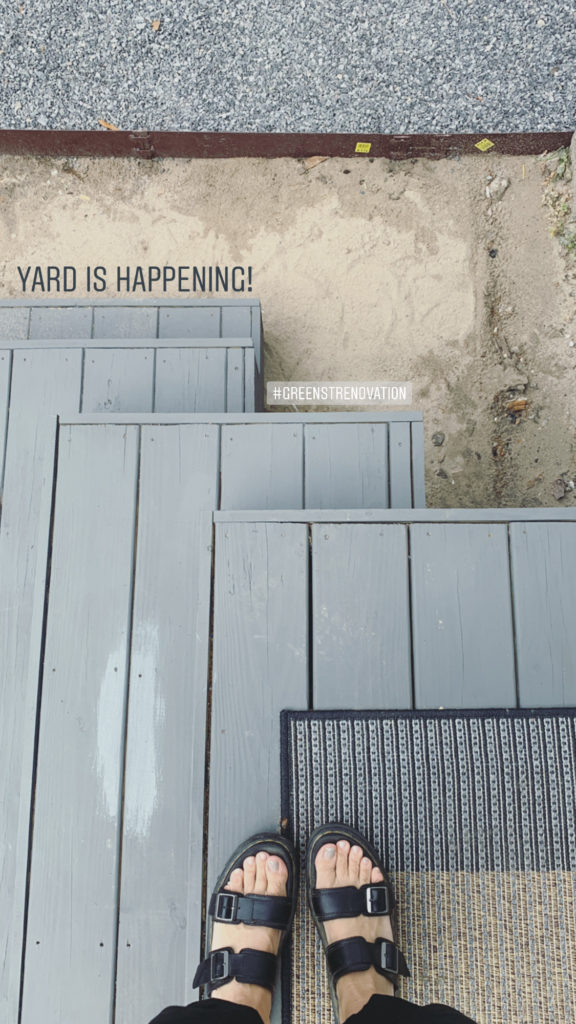
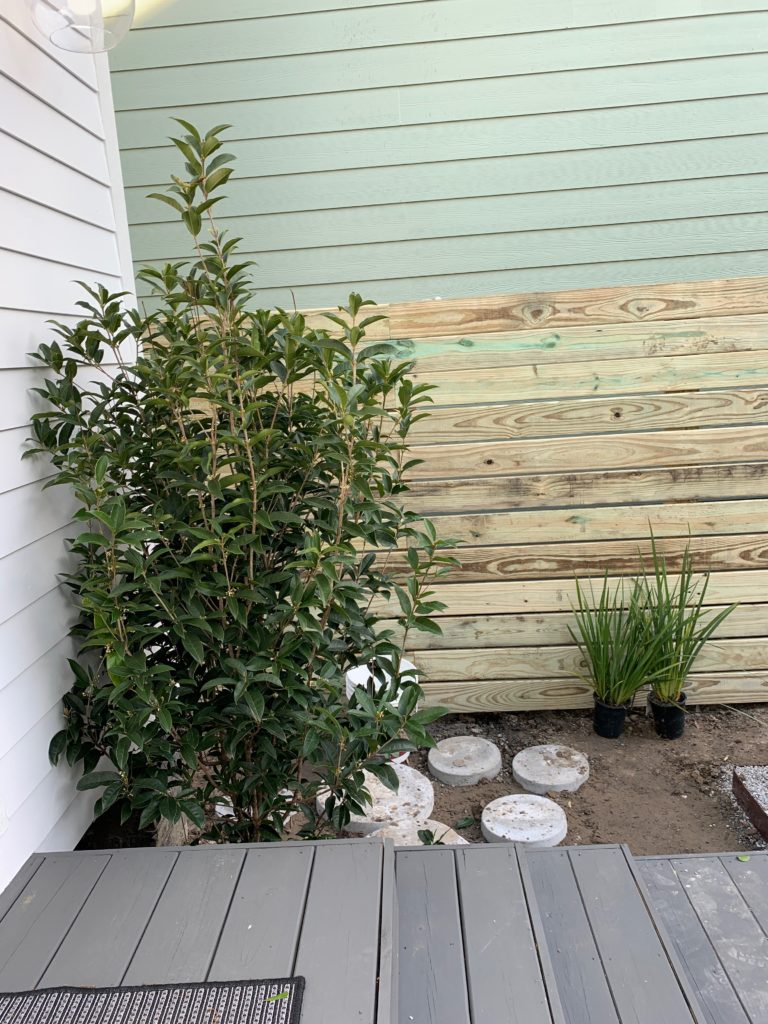
Sweet Olive tree 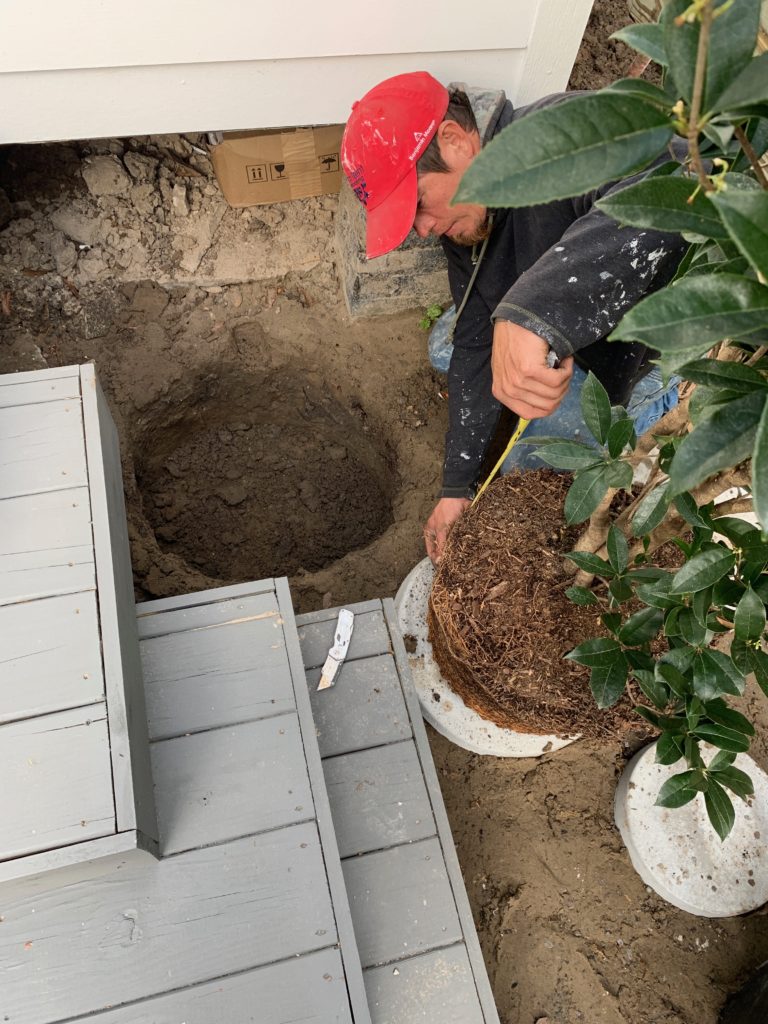
Chili is a serious hole digger

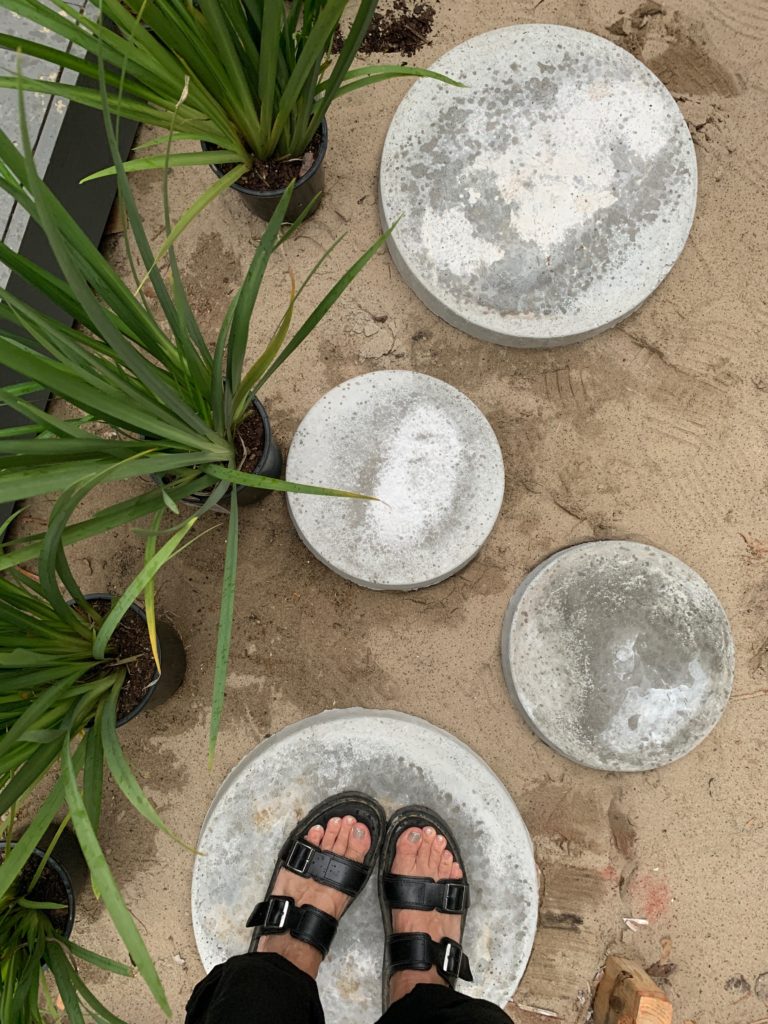
round stepping stones 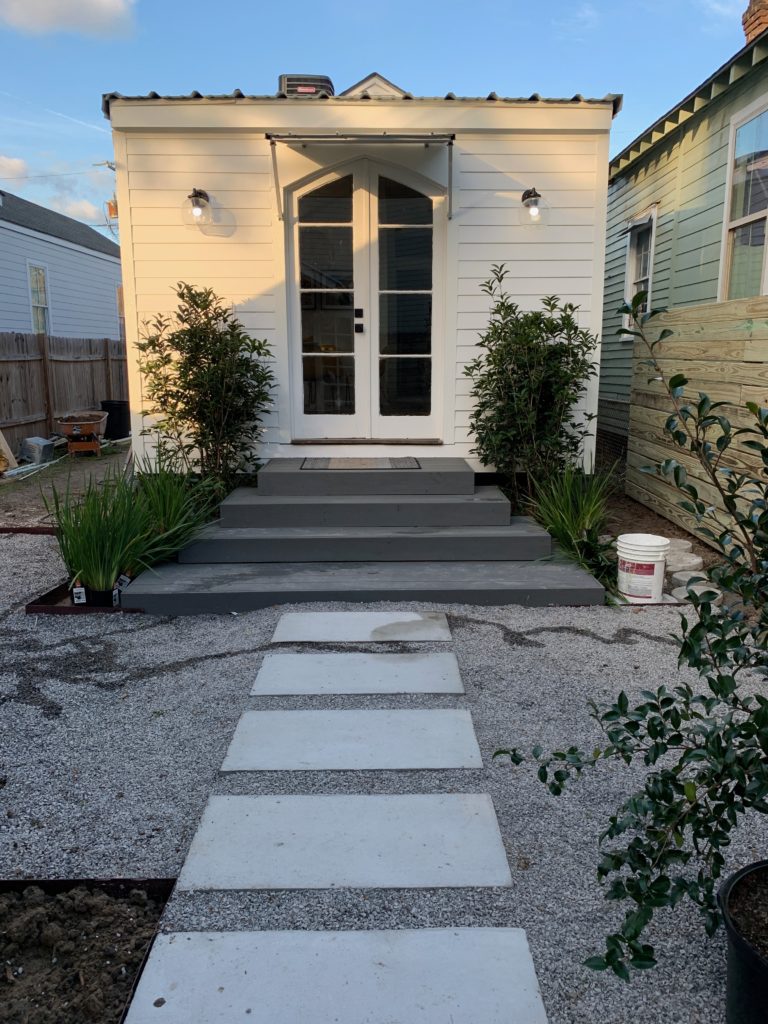

Finished yard. Still have some side yard planting to do, but next phase!
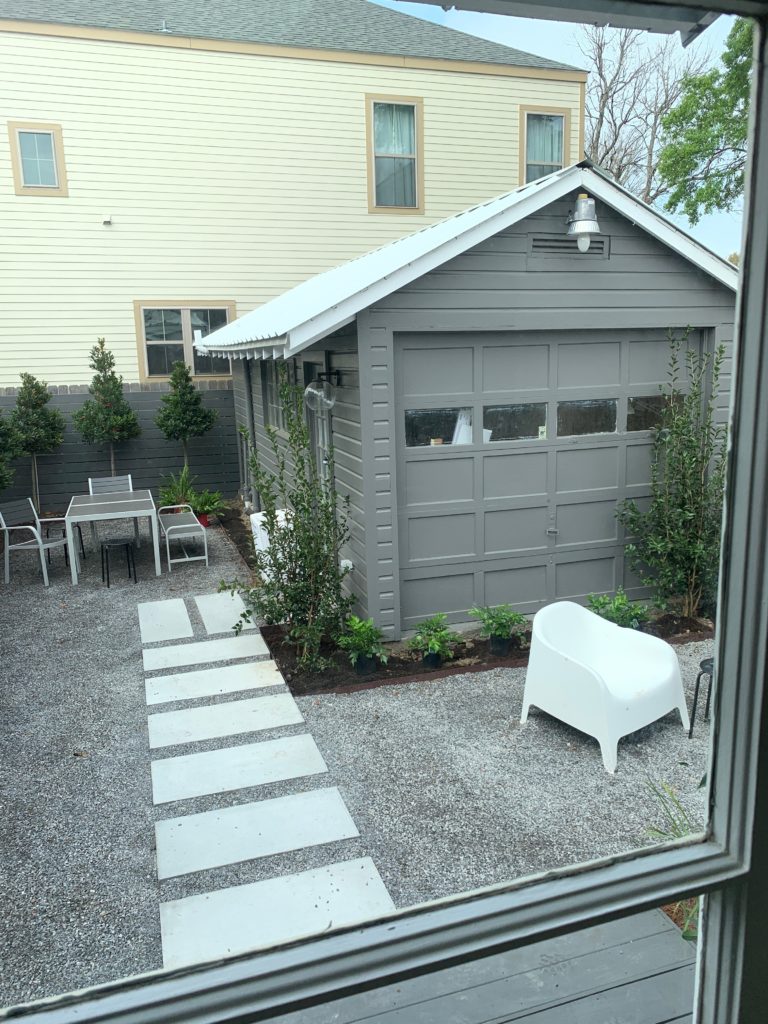
Yard furniture from Ikea. Holly ferns and African Iris’s round out the back plantings.
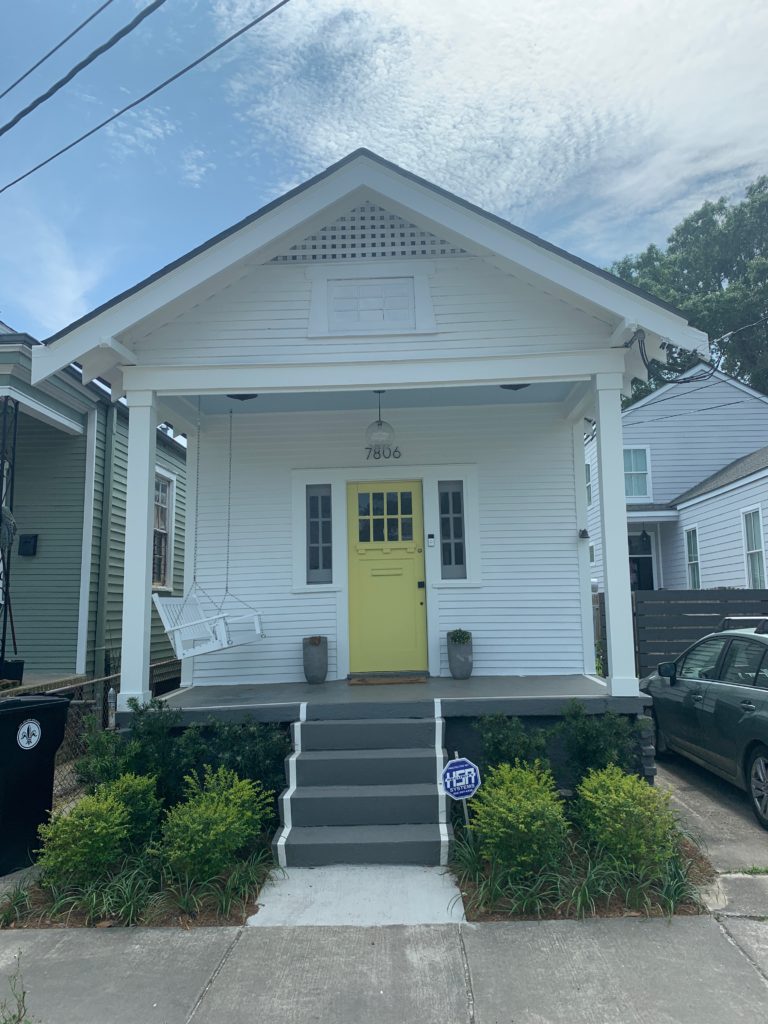
We painted the front of the house. House color BM Simply White. Door color BM Yellow Finch. New landscaping in front plus new fence.
Front- Before and After

Front living room- Before and After

Hall addition- Before and after
Master Bath- Before and After

Master bedroom- Before and After


Guest room- Before and After

Kitchen- Before and Afters


Half bath- Before and After

Washing area- Before and After

Kitchen roof- Before and After

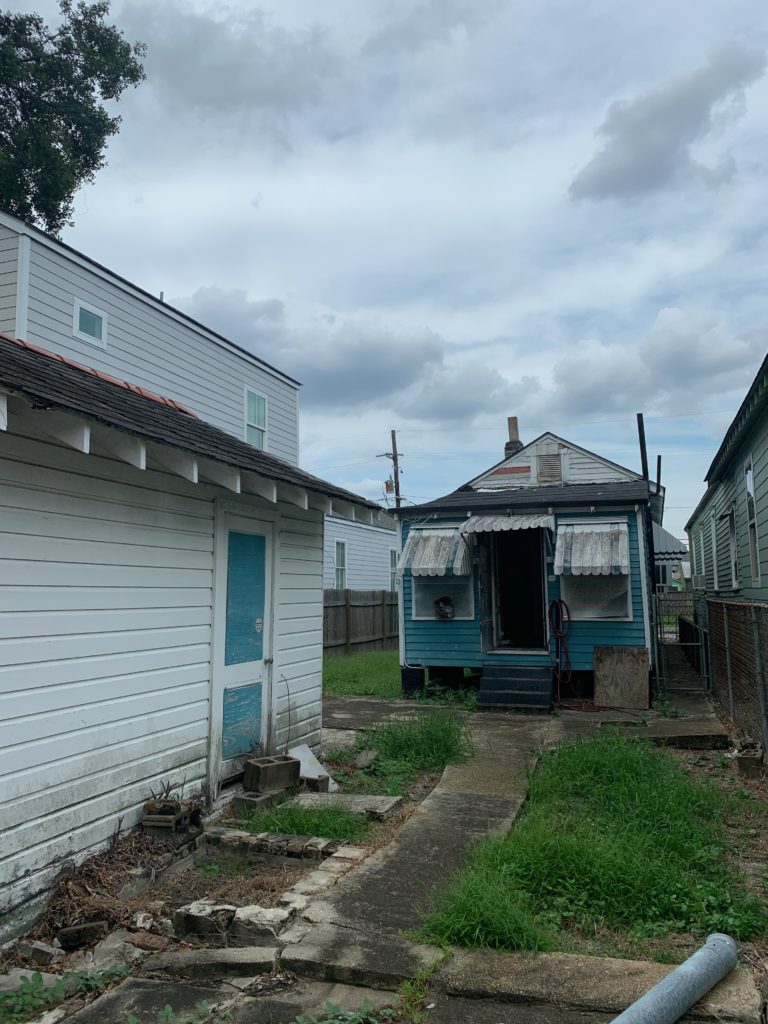
Outside- Before and After

Back of house- Before and After
Comments