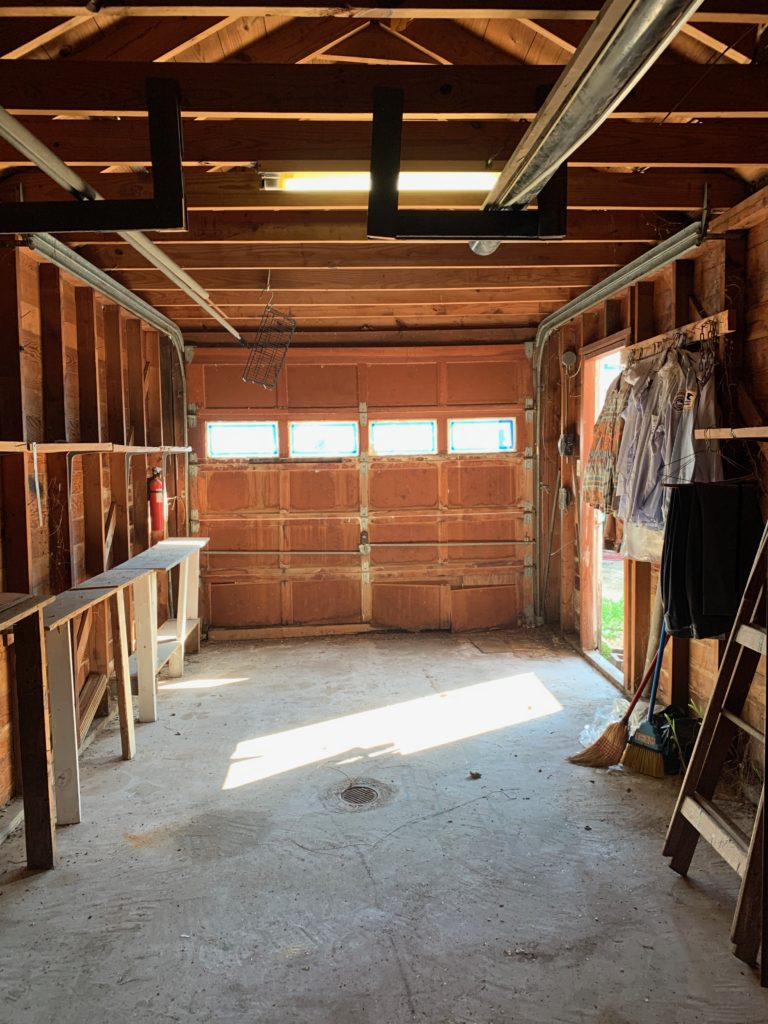
The little house on Green St. had a garage in the rear of the property. Initially I thought we could use it as a art studio or music room. But then I thought we should make it livable, (since I have 2 young adult children who may need a place to crash in the future). This was a really fun project. I love small spaces. See the Airstream Ann blog post. For this tiny house renovation I really wanted to reuse as much as I could from the demo and recycle what we could. I also tried to only buy second hand.
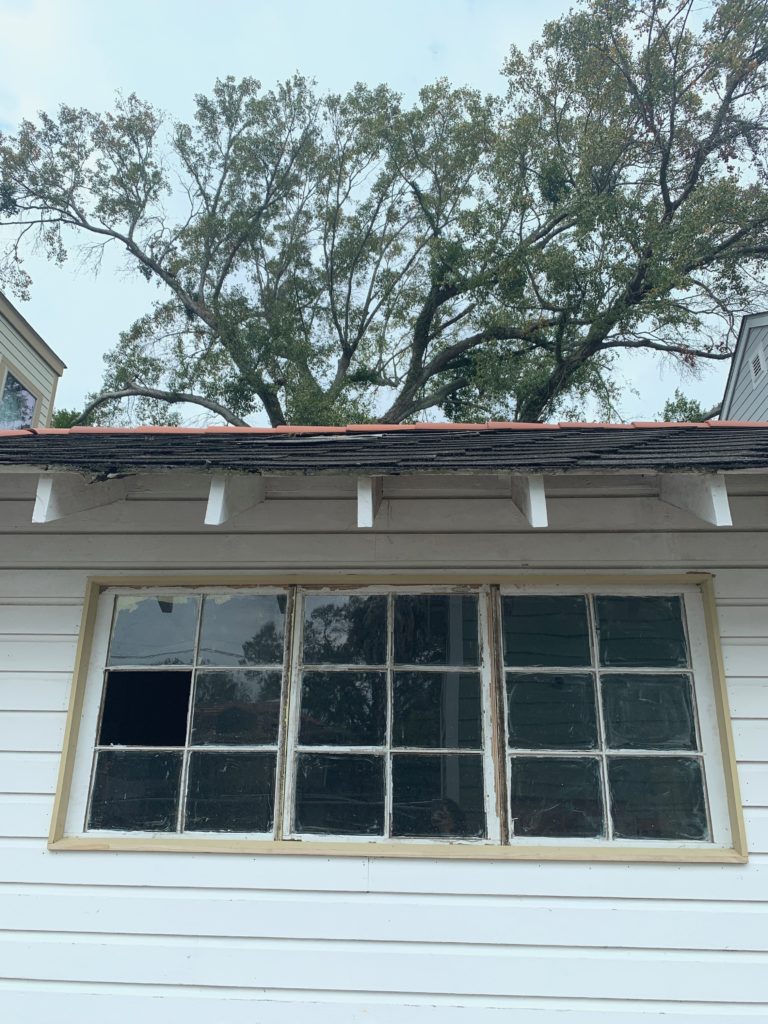
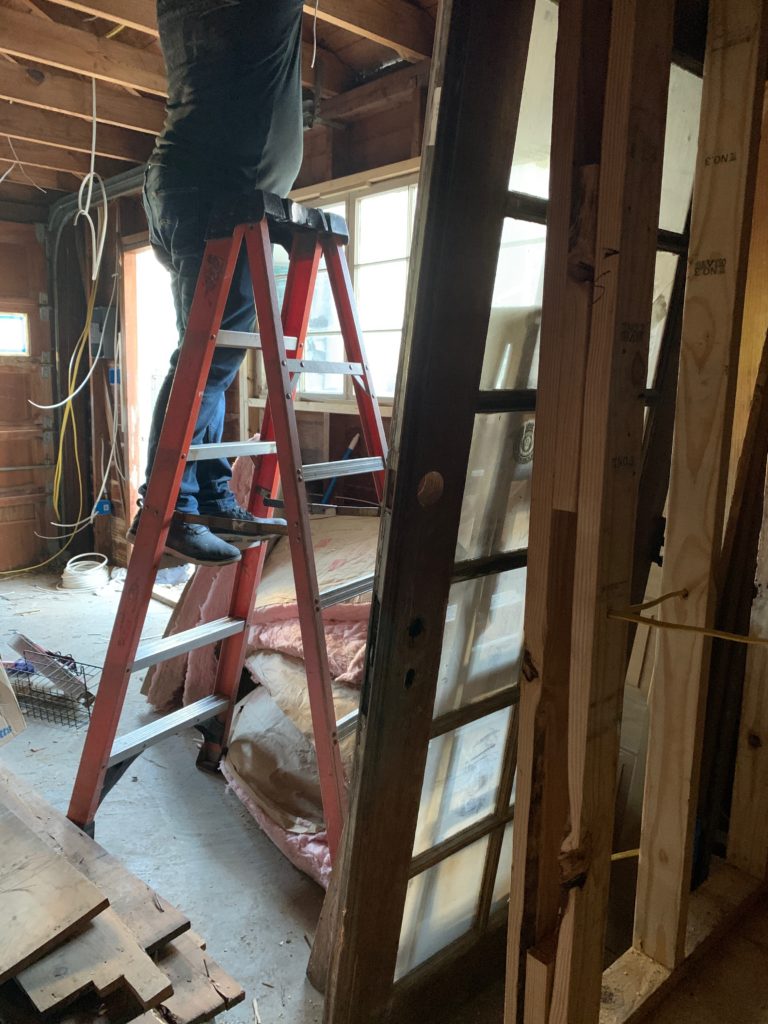
these windows were added from the house. 
windows from the inside
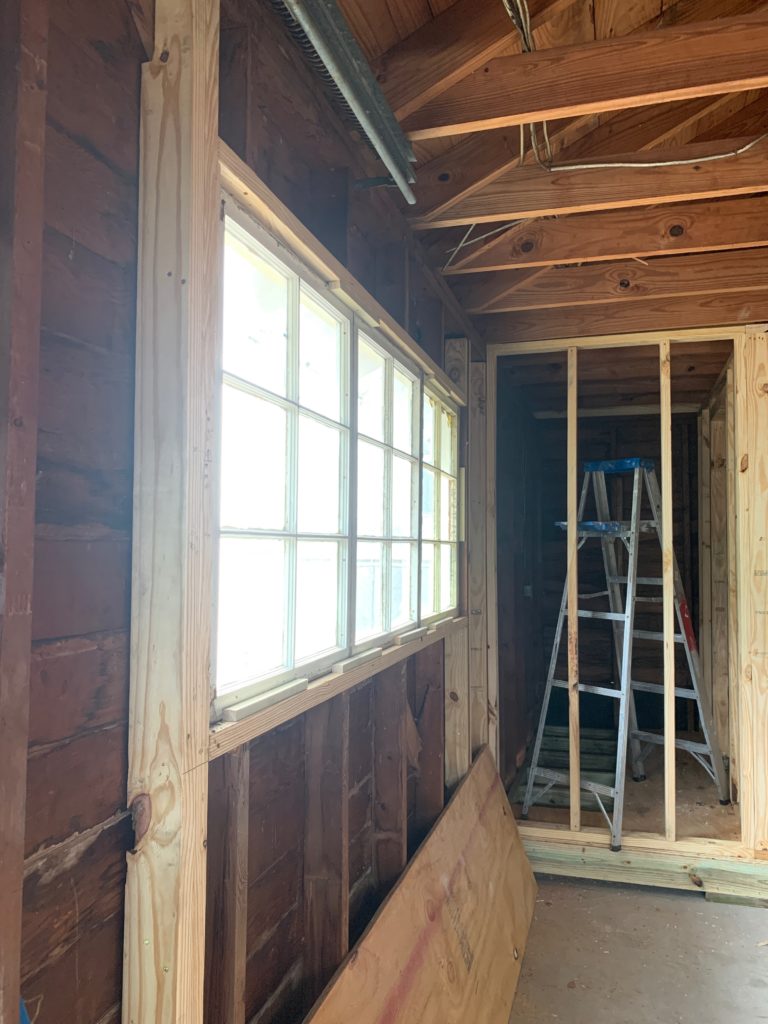
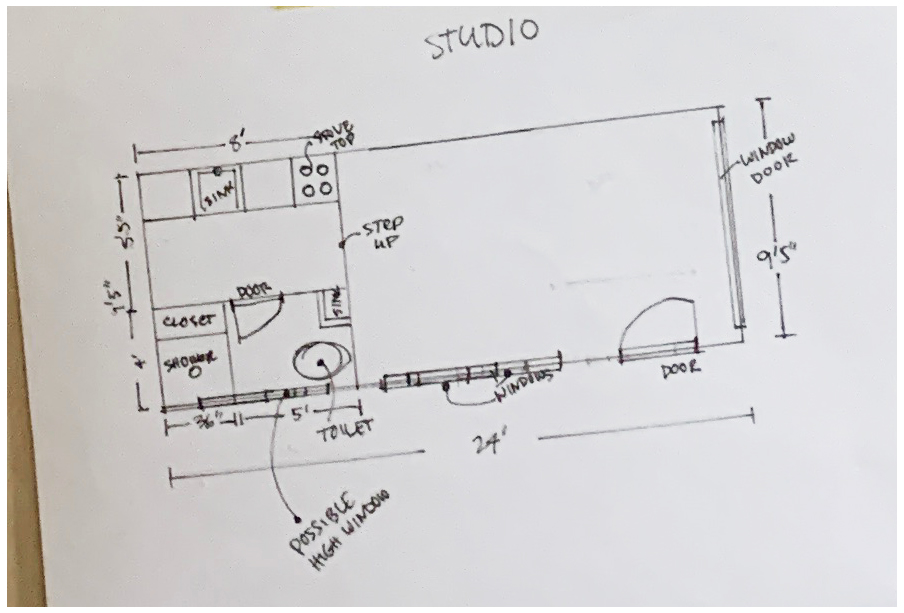
The plan for the studio included a galley kitchenette, a full bath and a closet which turned into a pantry. I needed to raised the floor in the kitchen/bath for the plumbing. We ended up painting the floor and adding windows from the main house. A new door was purchased from The Green Project.
I decided on using birch plywood in this project. I was just feeling like the wood would give the space a warmer feel. Something different. We had to add all new electrical which we did while renovating the main house.
electrical going in 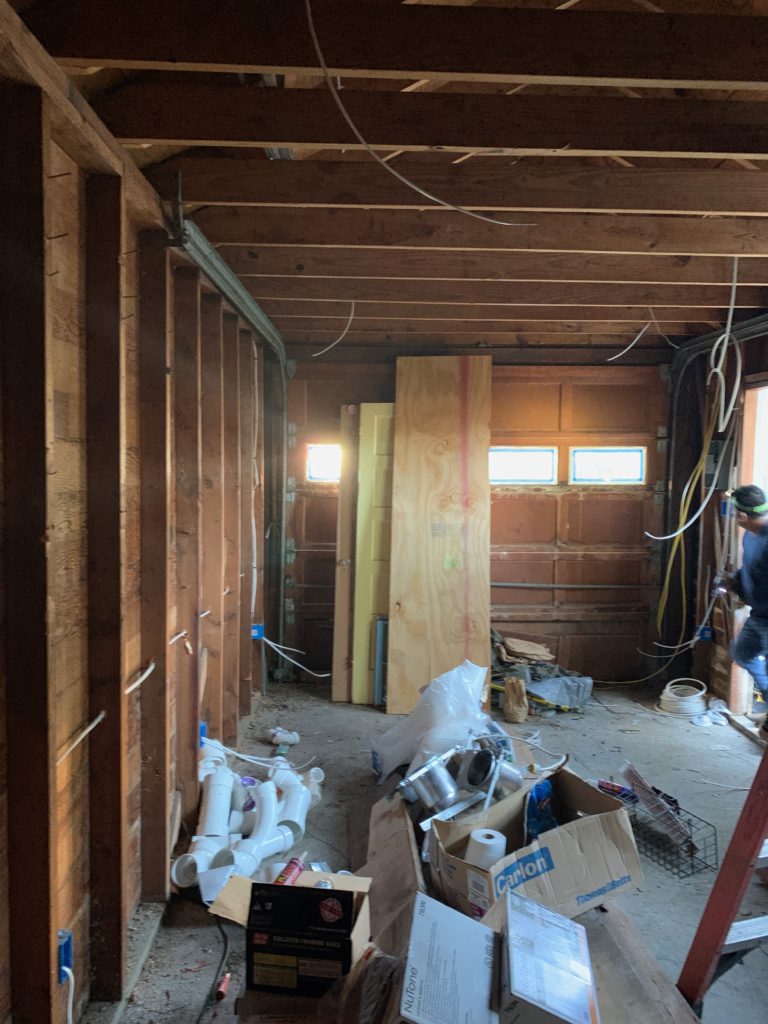
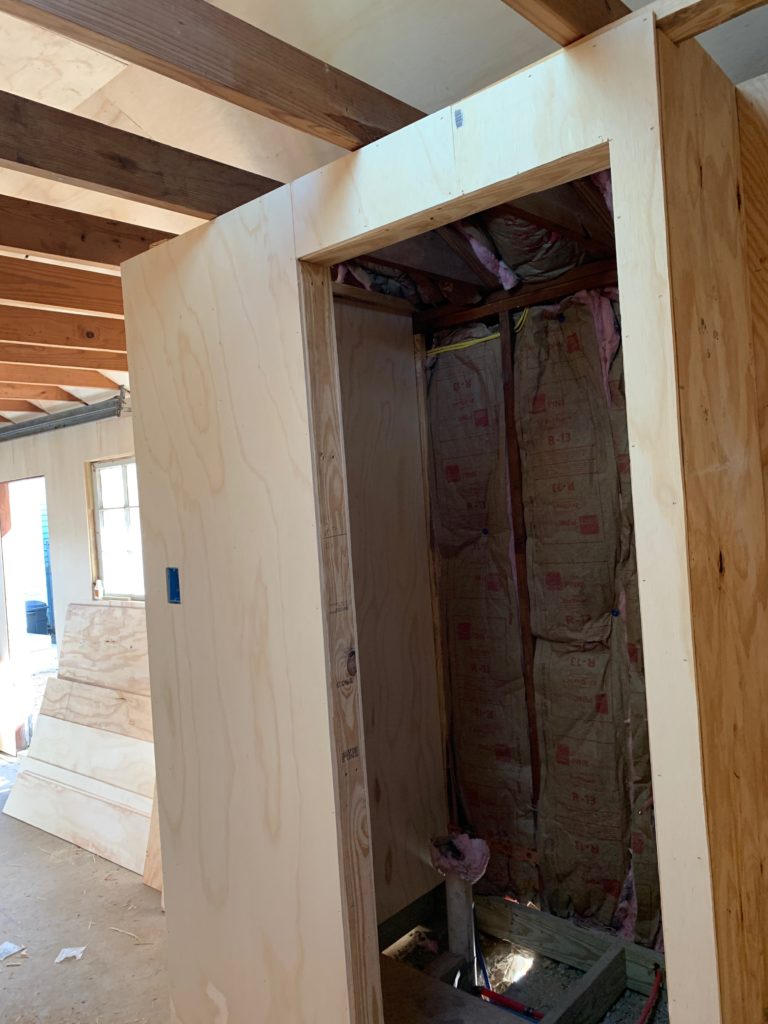
bathroom framed
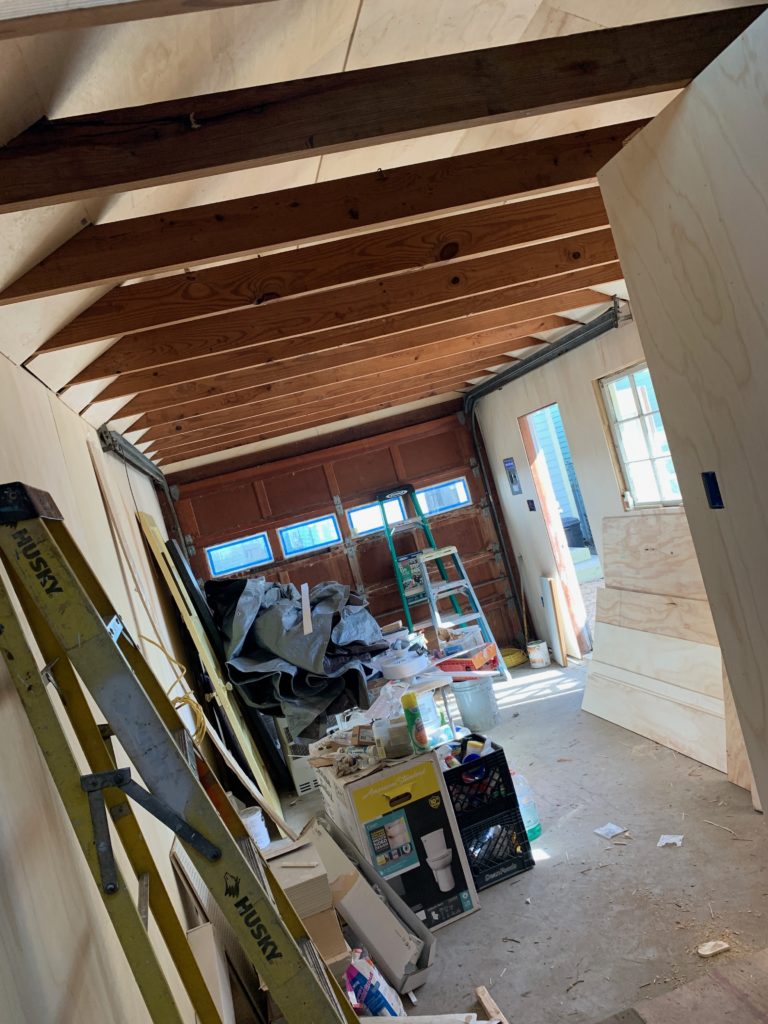
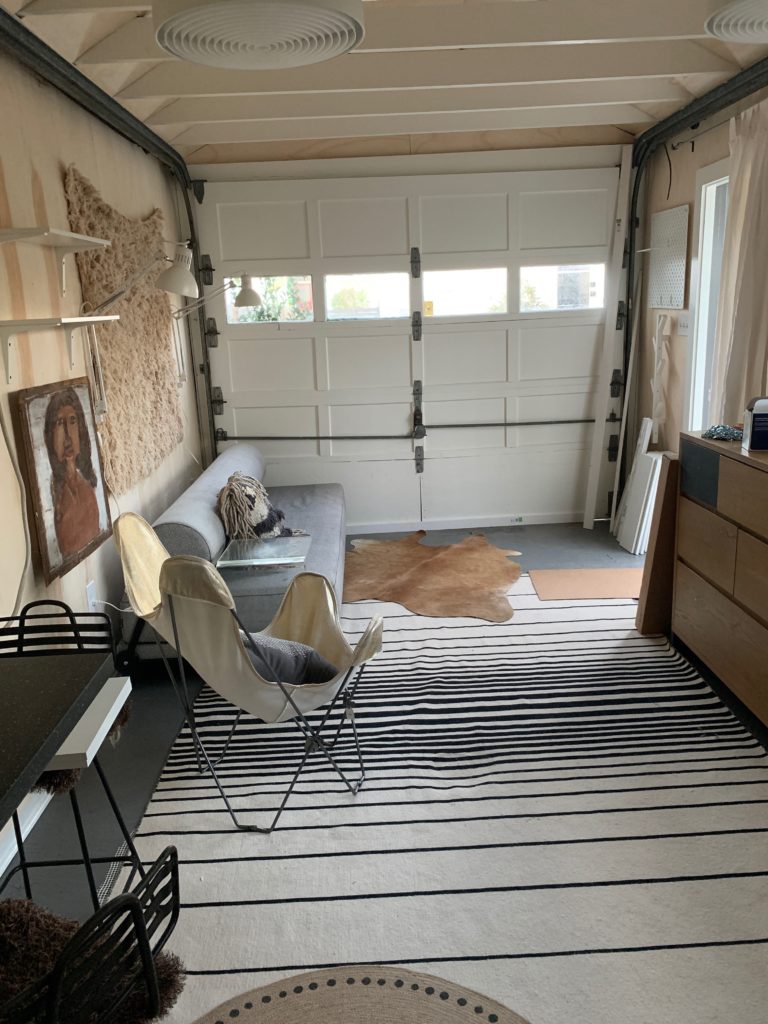
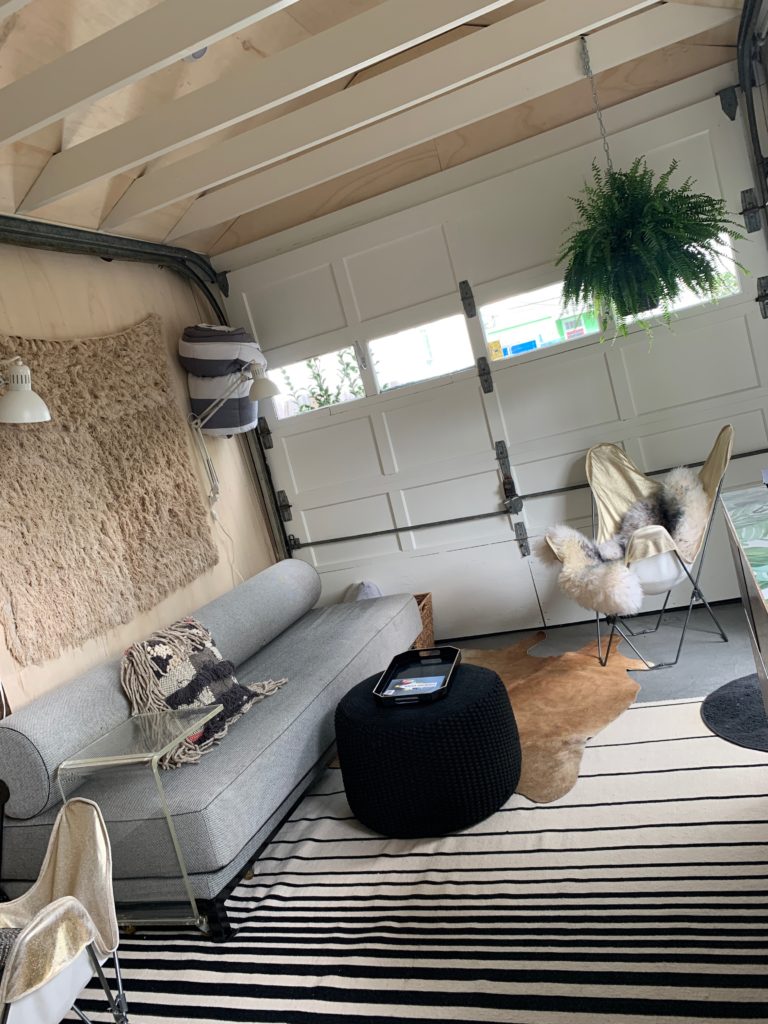
Love these beams. A really cool part of the studio is the garage door is still operable, so if there was a need to open it for say, a party or on a nice day, that could happen.
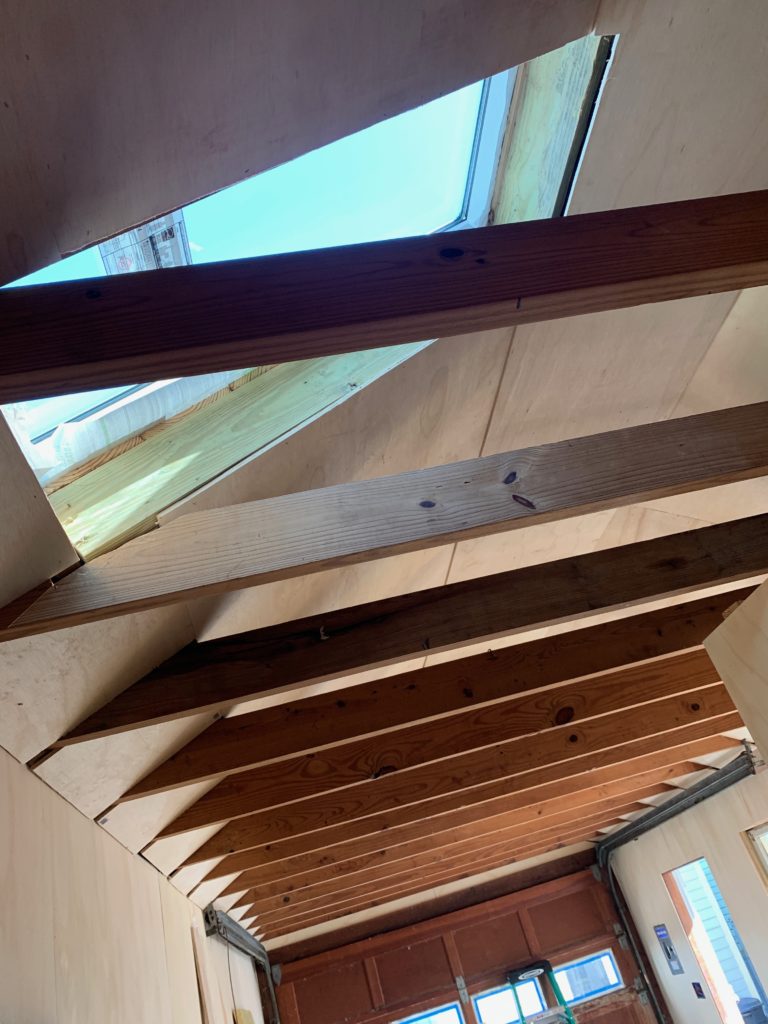
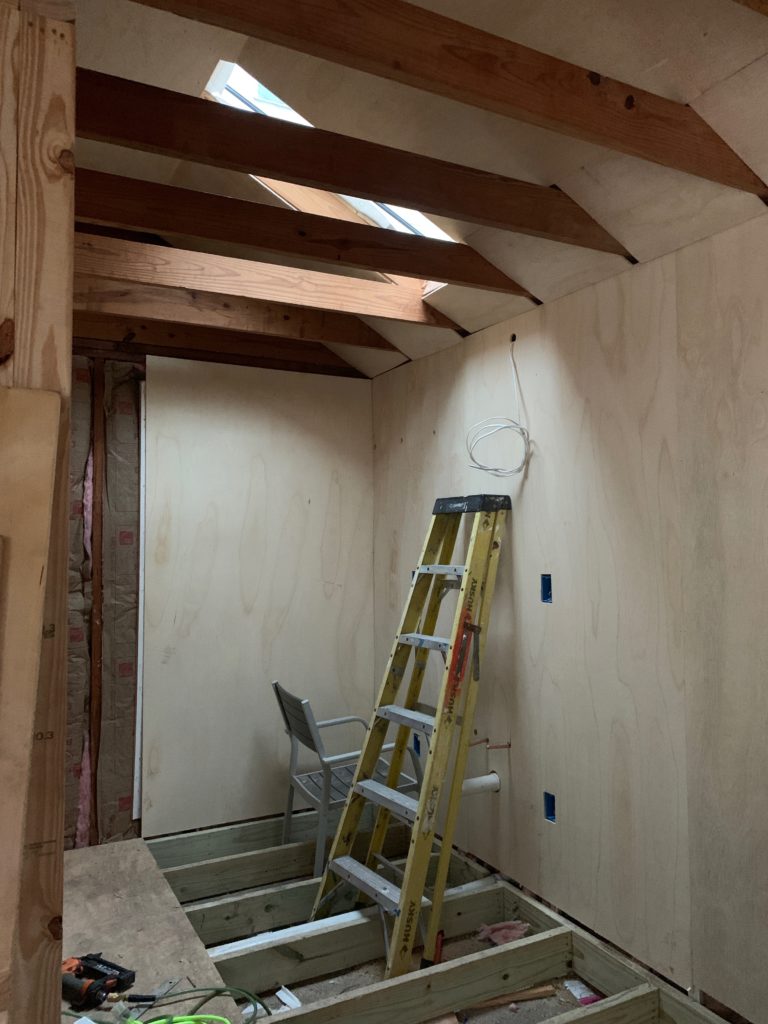
Adding a skylight was a huge improvement in this space. Balancing light is very important in small spaces.
floor going in 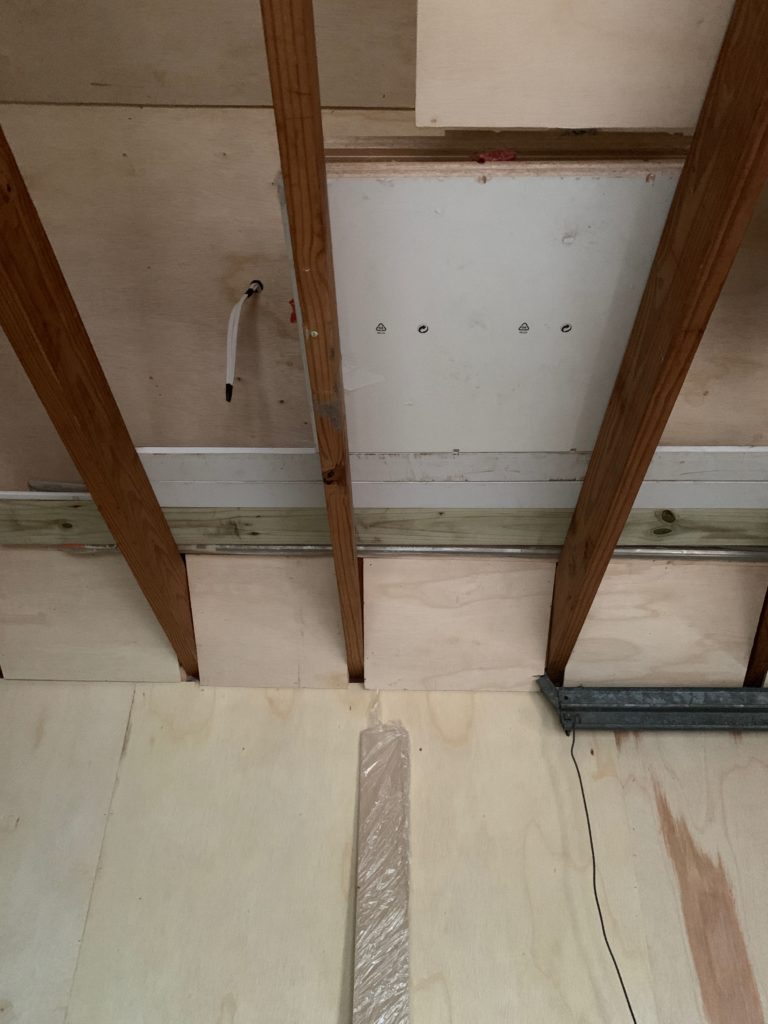
ceiling 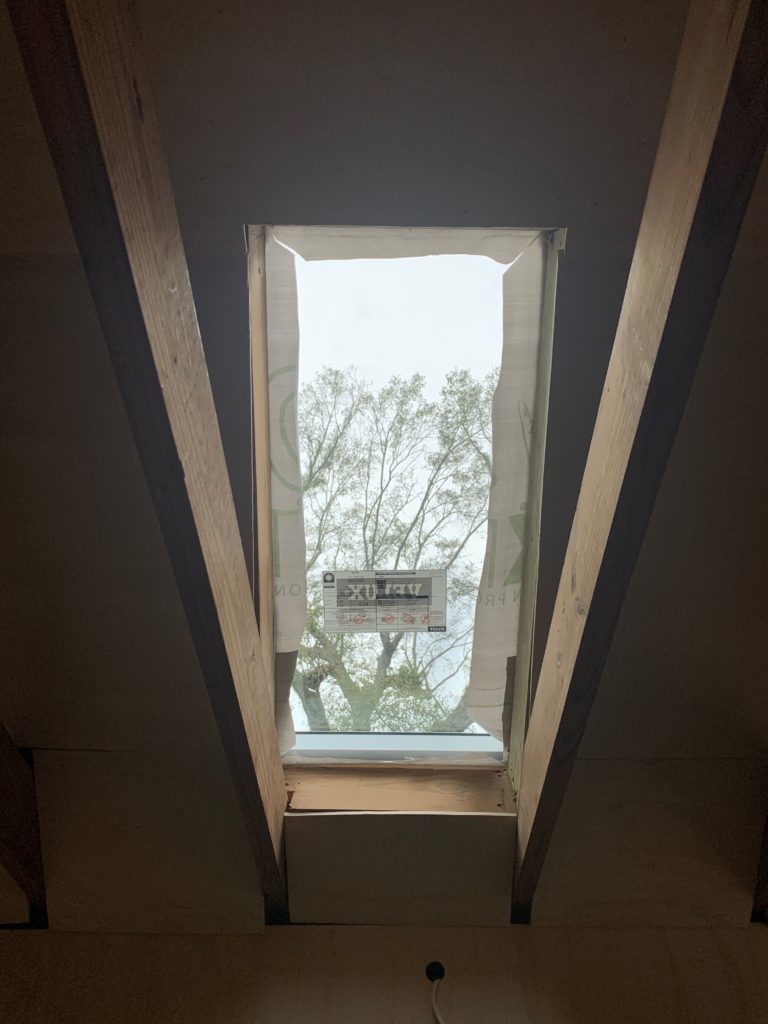
skylight
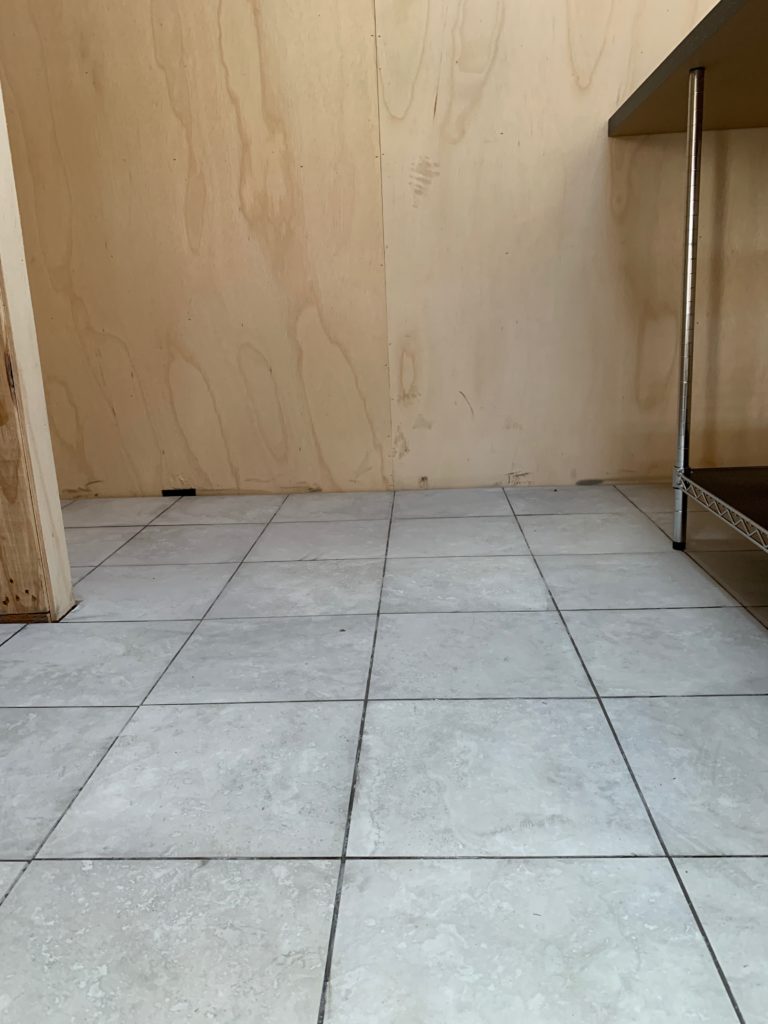
I bought the tile we installed on the floor of the kitchen and bathroom at Habitat ReStore for about 50$ total.
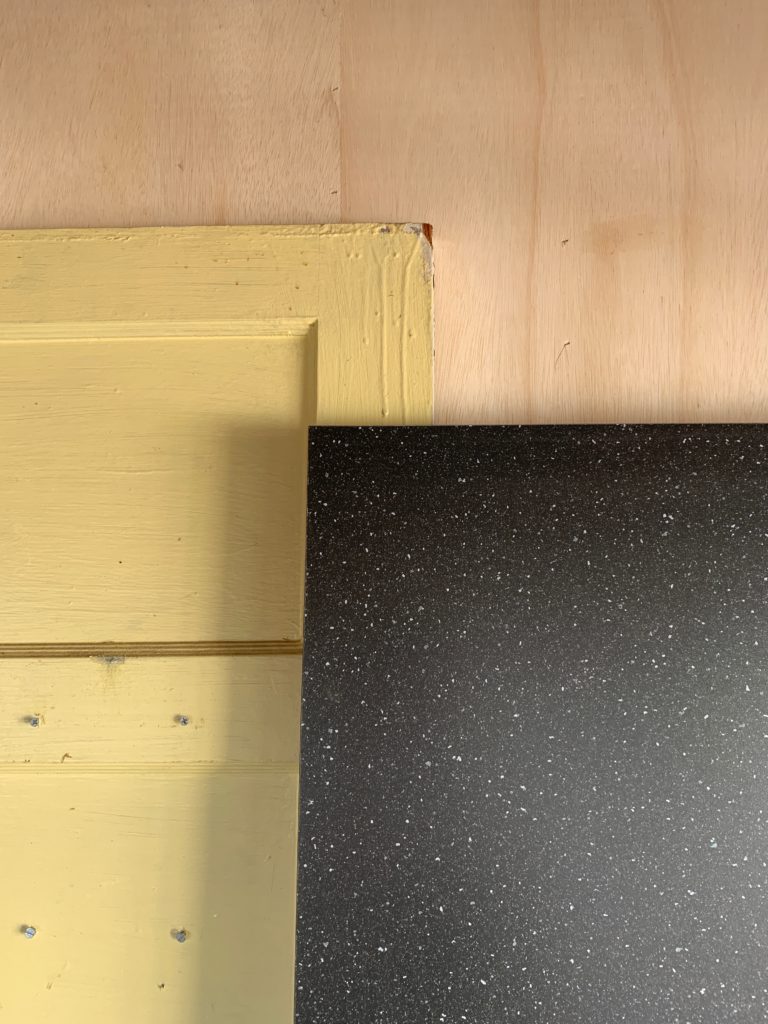
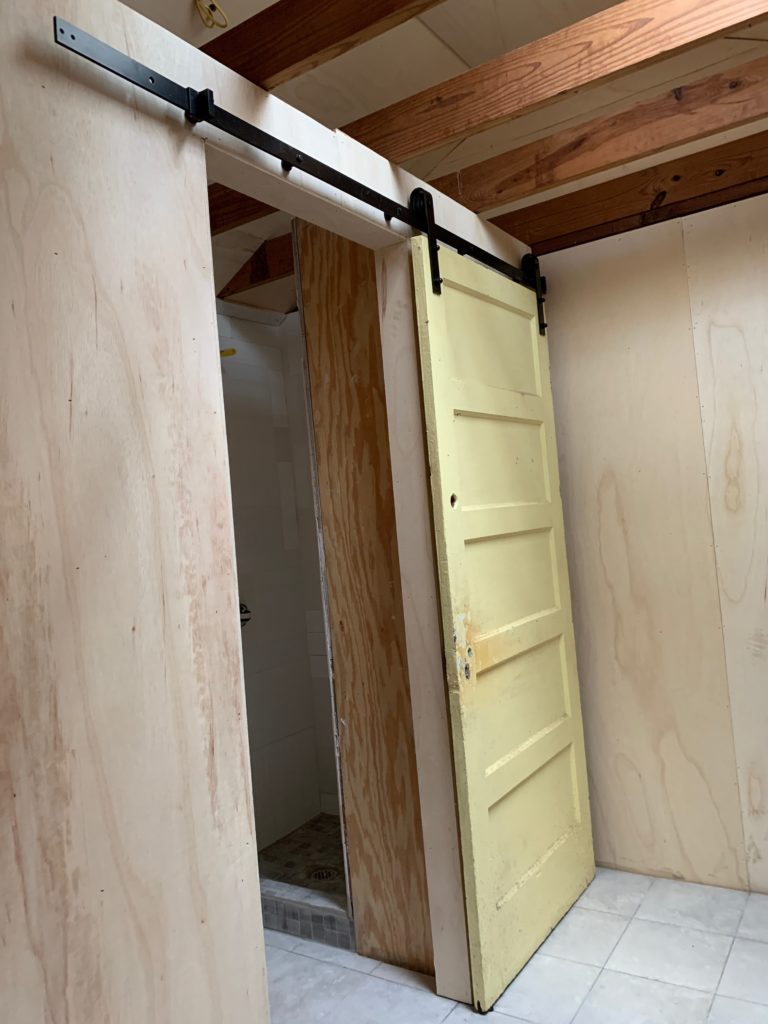
Renovation still life. Countertop for Kitchen was ordered from Ikea. Yellow door reused from the main house.
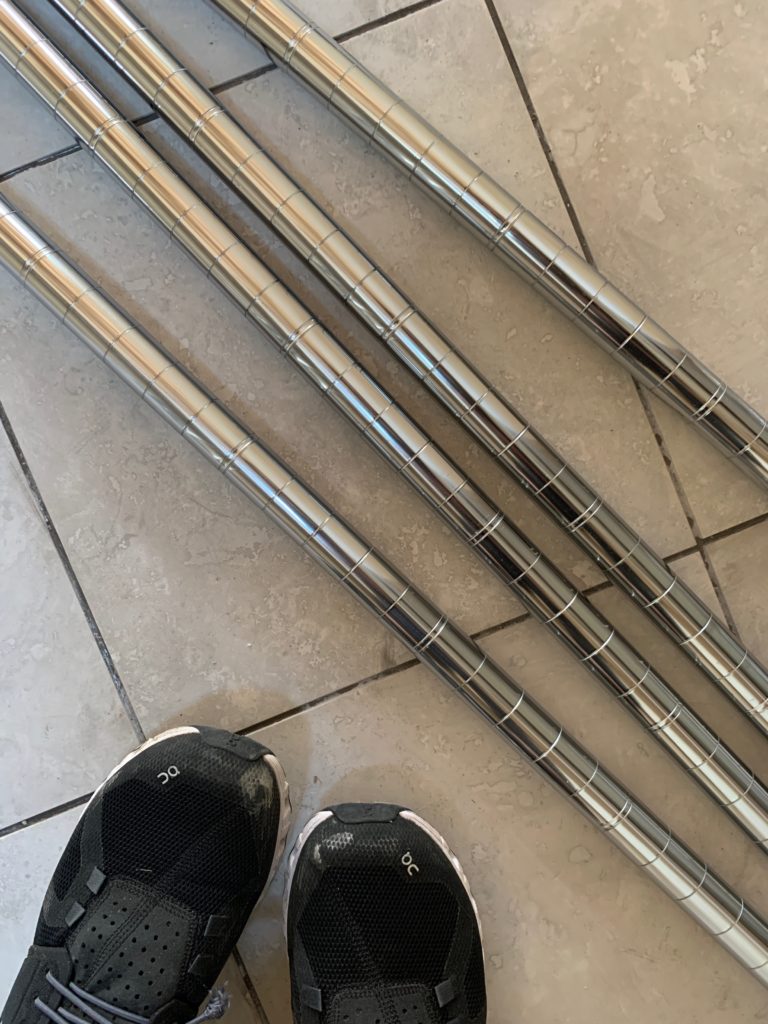
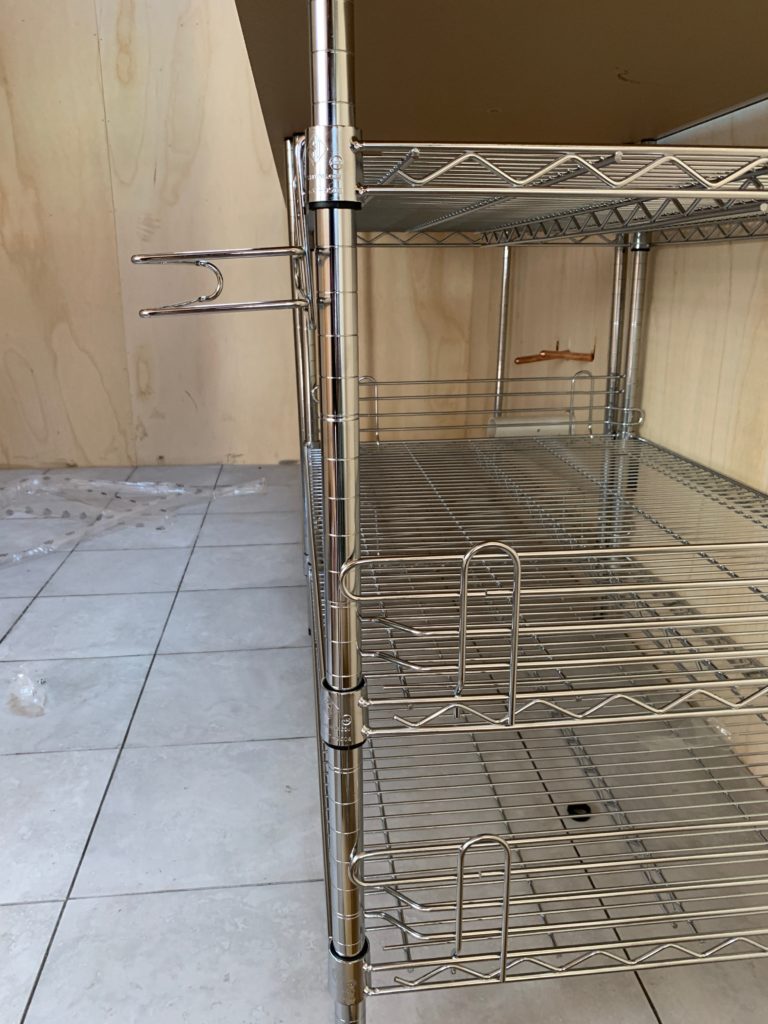
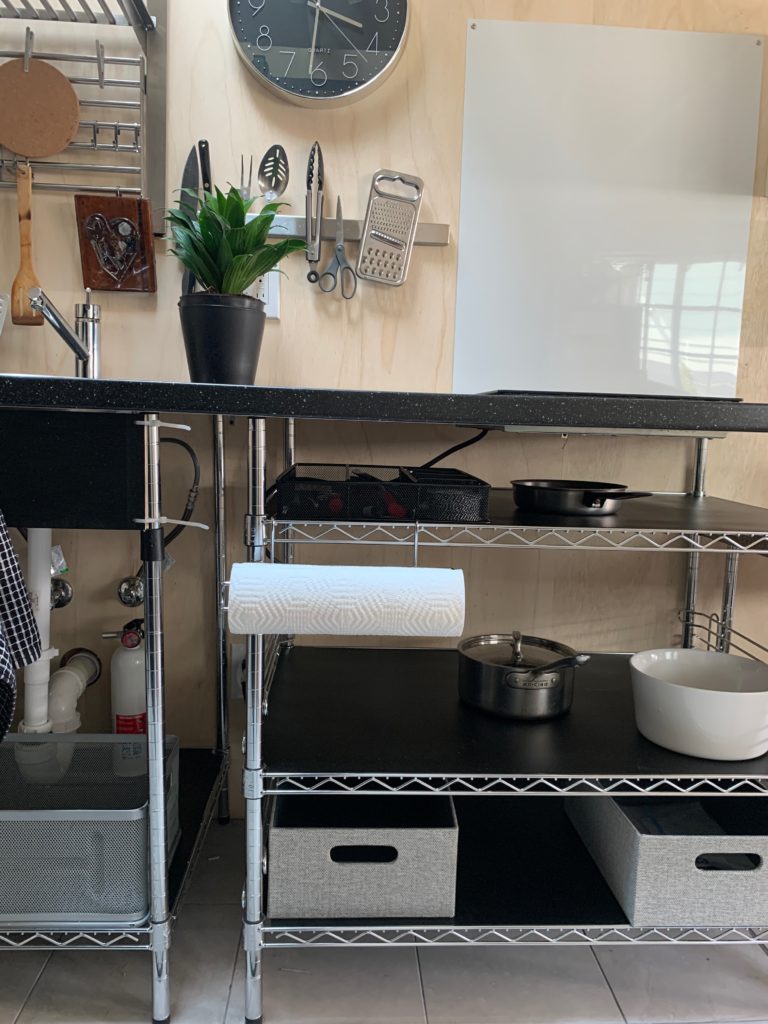
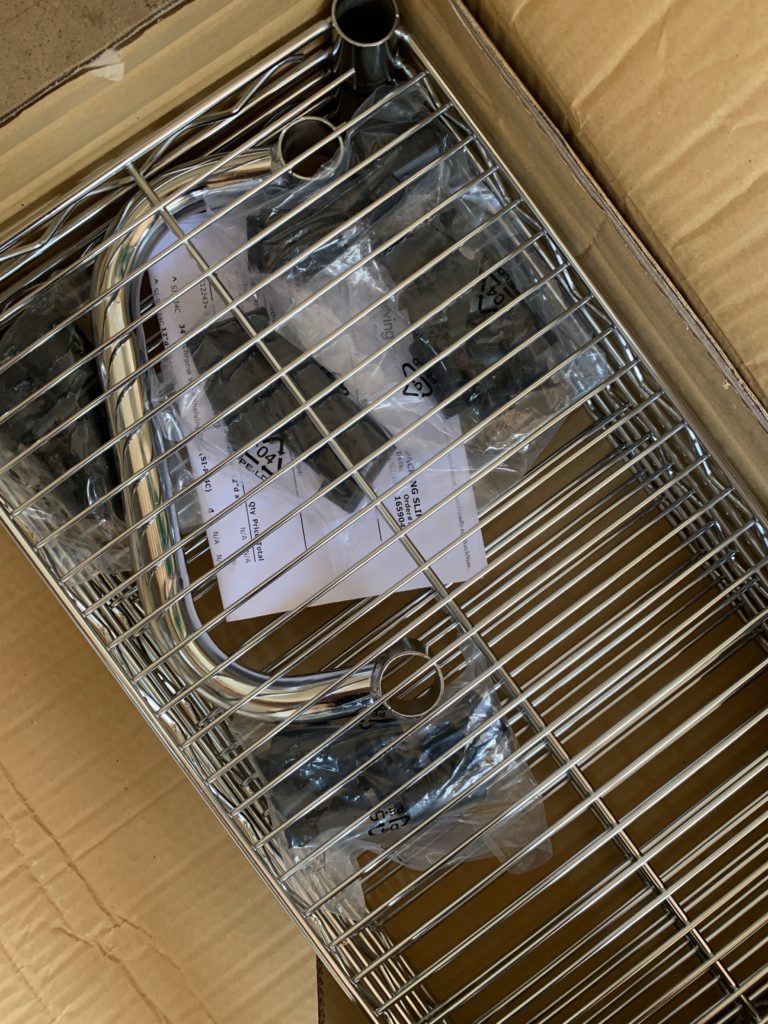
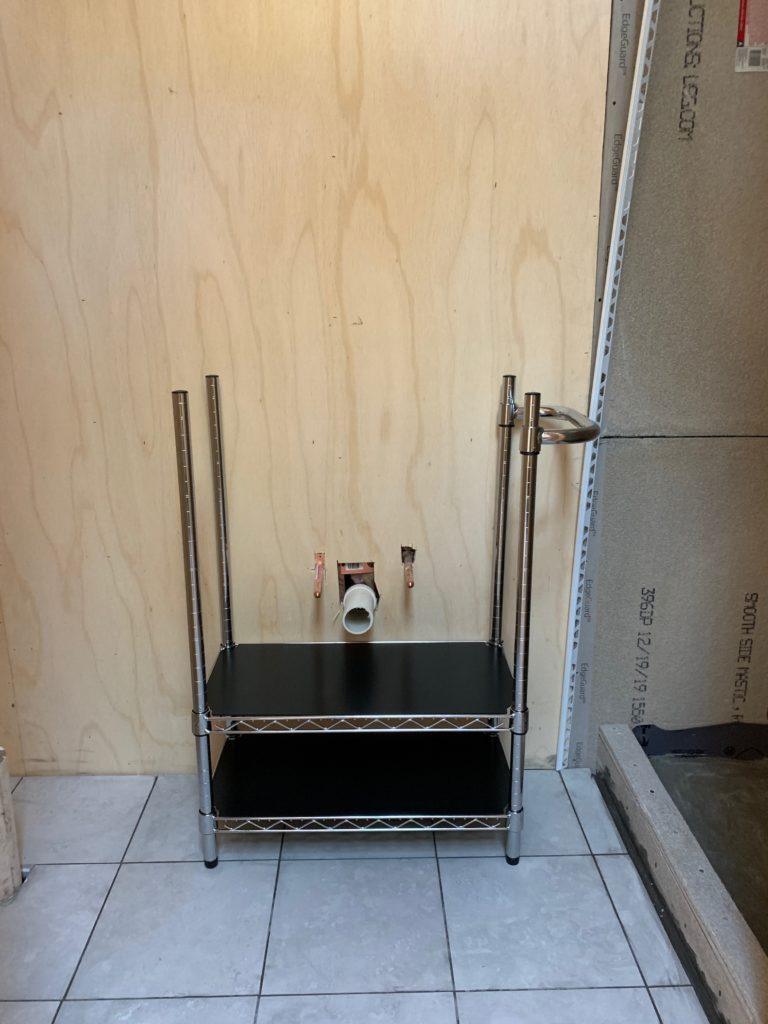
I saw an article in Dwell Magazine that inspired the kitchen cabinetry and subsequently the bathroom vanity. It was built from silver wire shelving bought from Shelving.com. Lots of cool accessories can be added to this wire shelving that I never knew existed. Side panels, paper towel holders, shelf liners in many colors.


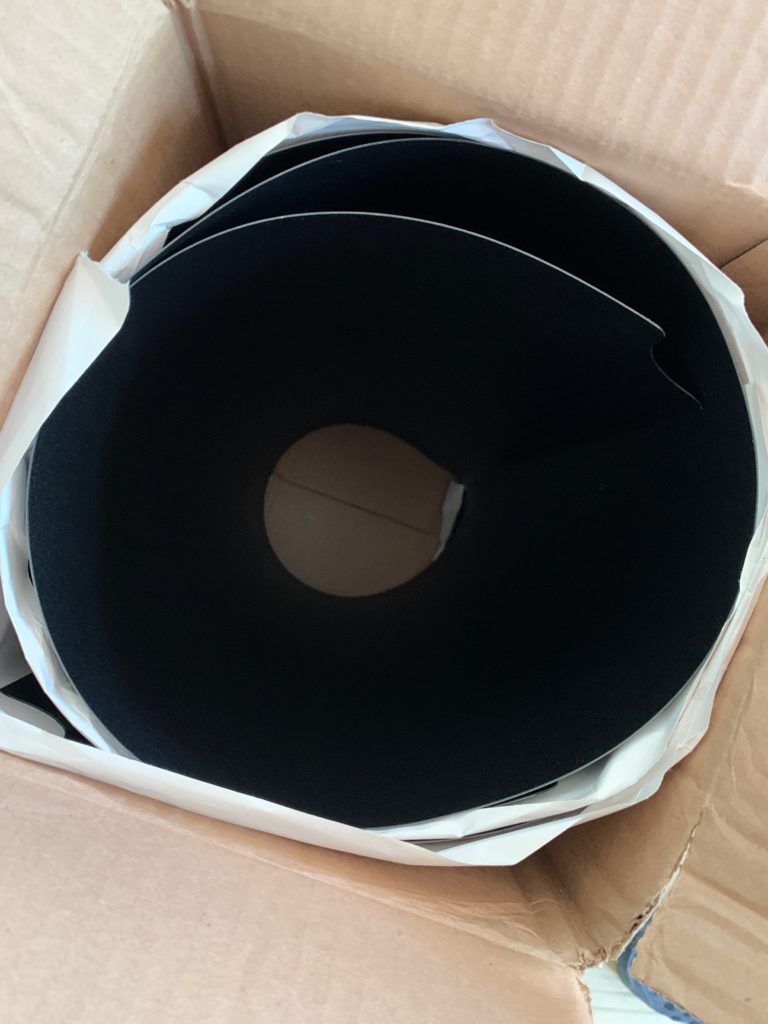
Shelf liners.
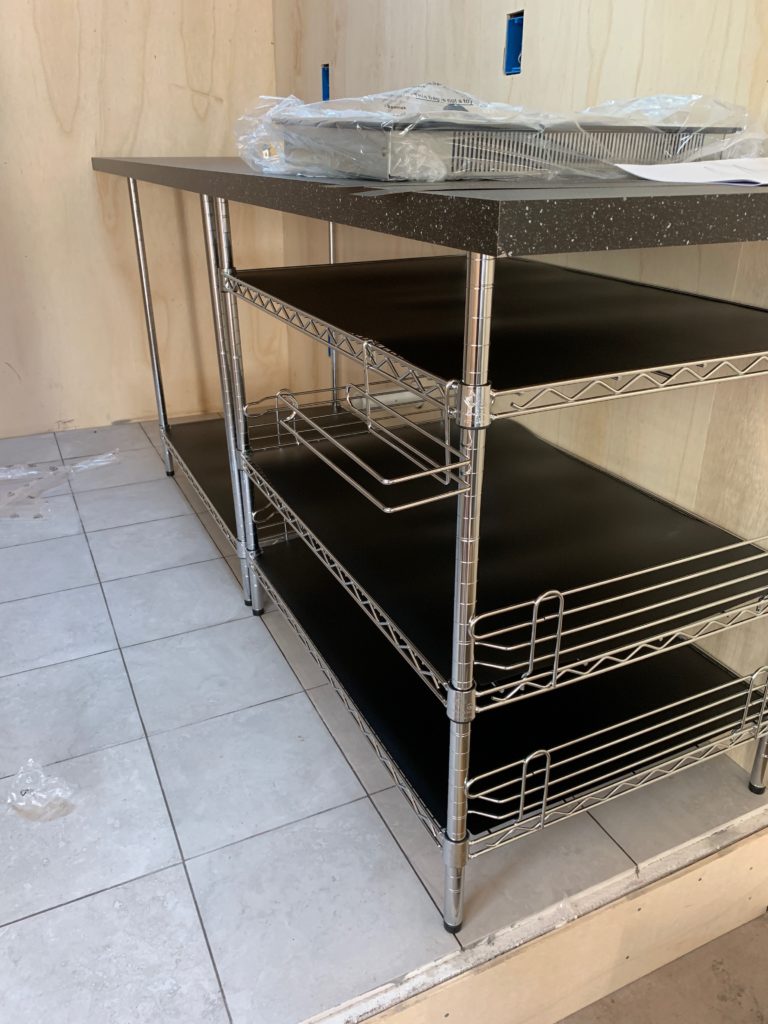
Black liners in place.
To complete the kitchenette I added a induction 2 burner cooktop and the round Boholmen sink from Ikea.
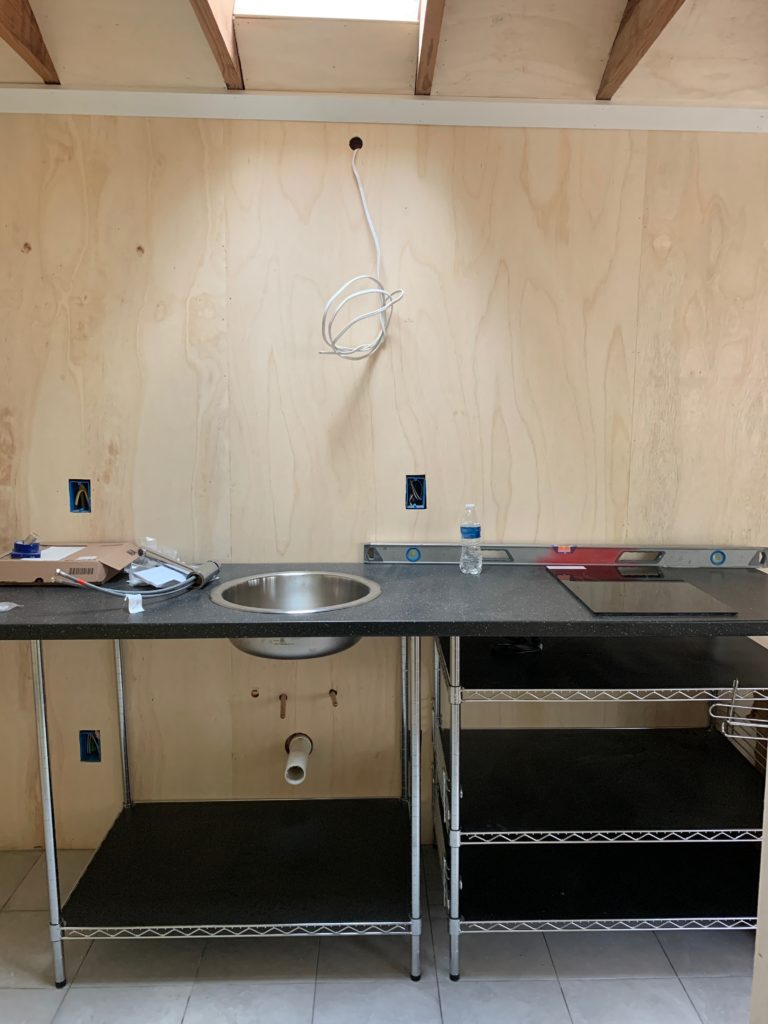
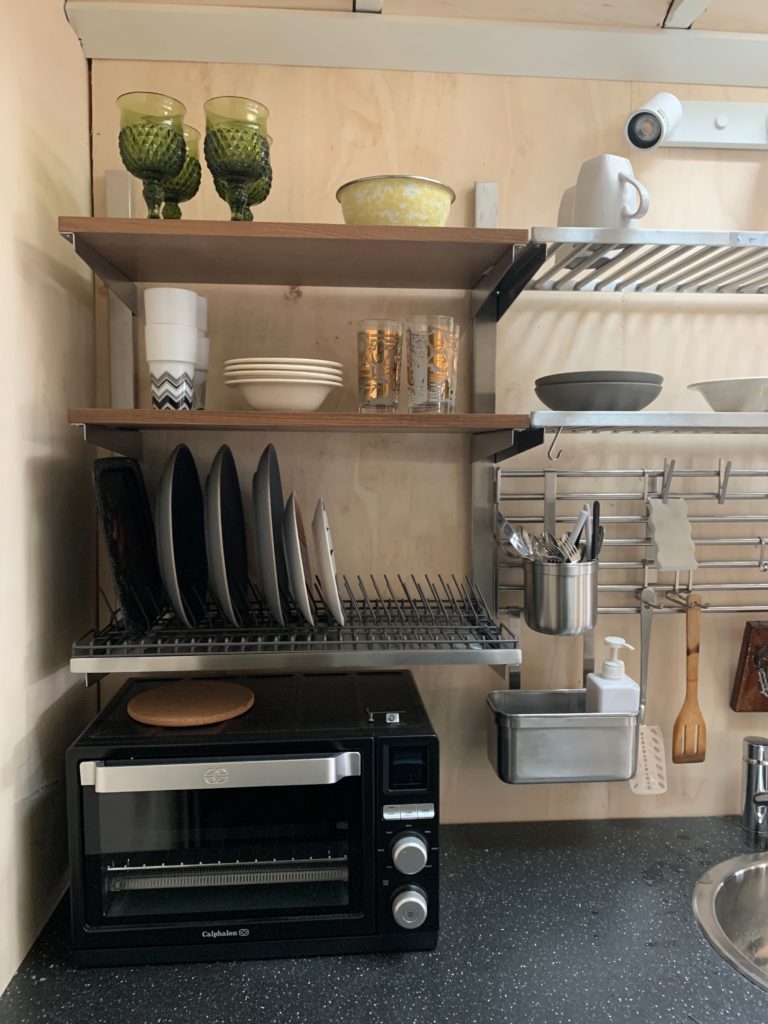
This kitchen does not have your typical cabinetry, so I needed to get creative with the storage options. I bought this Ikea shelving system that you can customize with different shelves, hooks, bins, drying racks, etc.

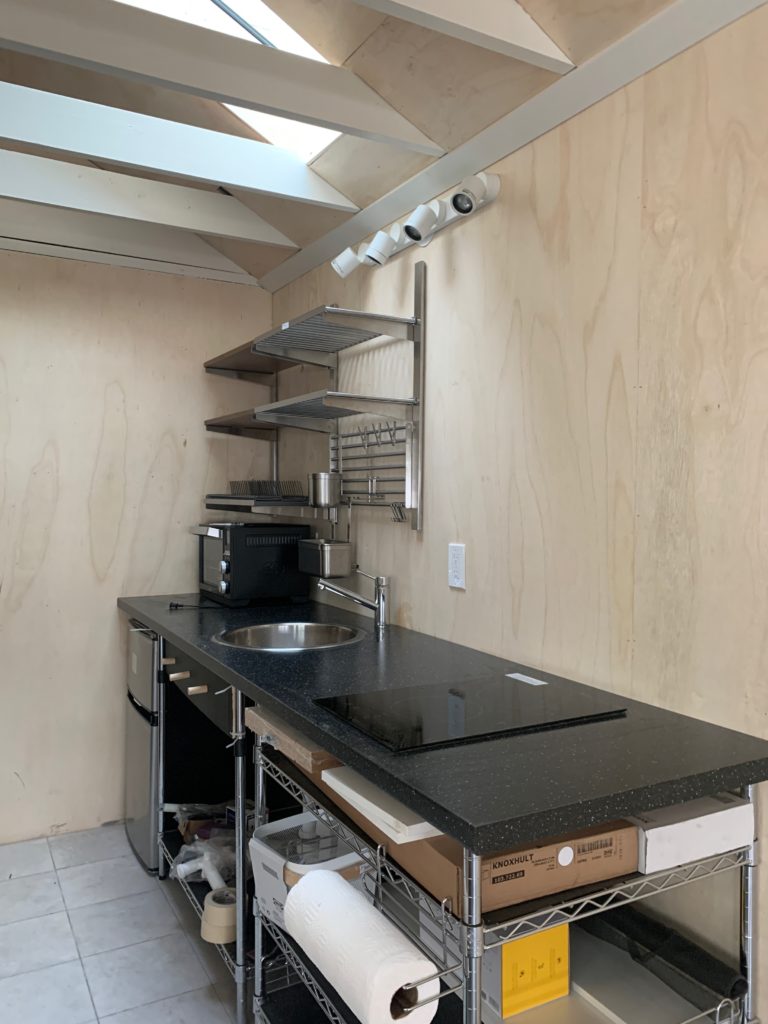
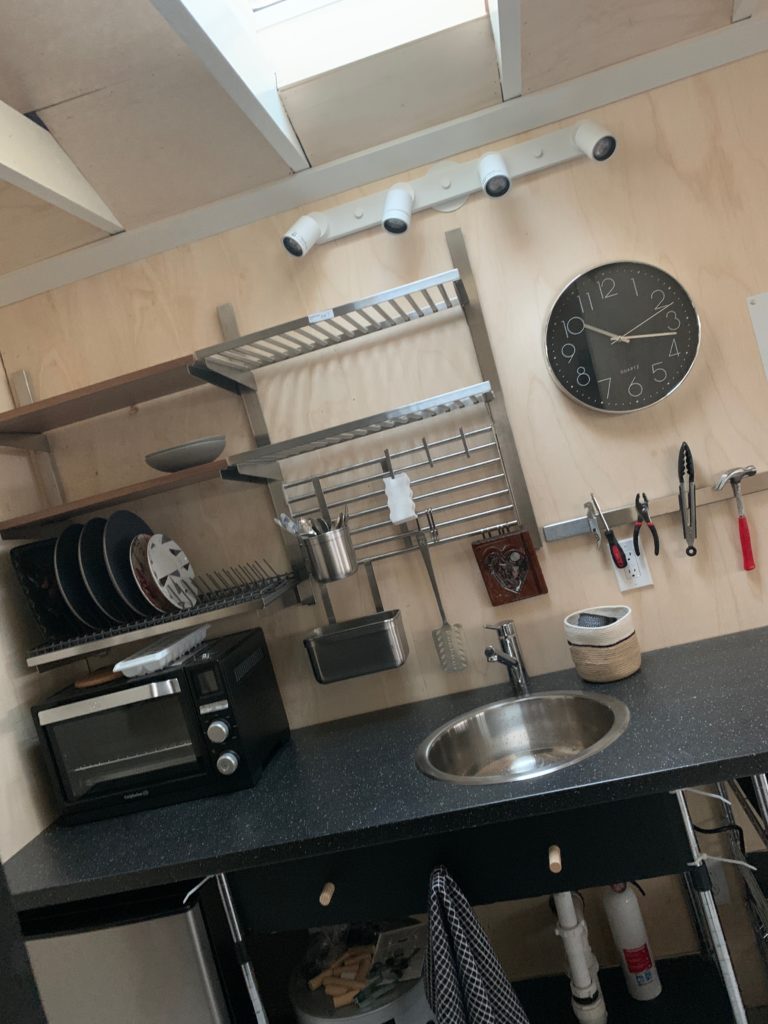
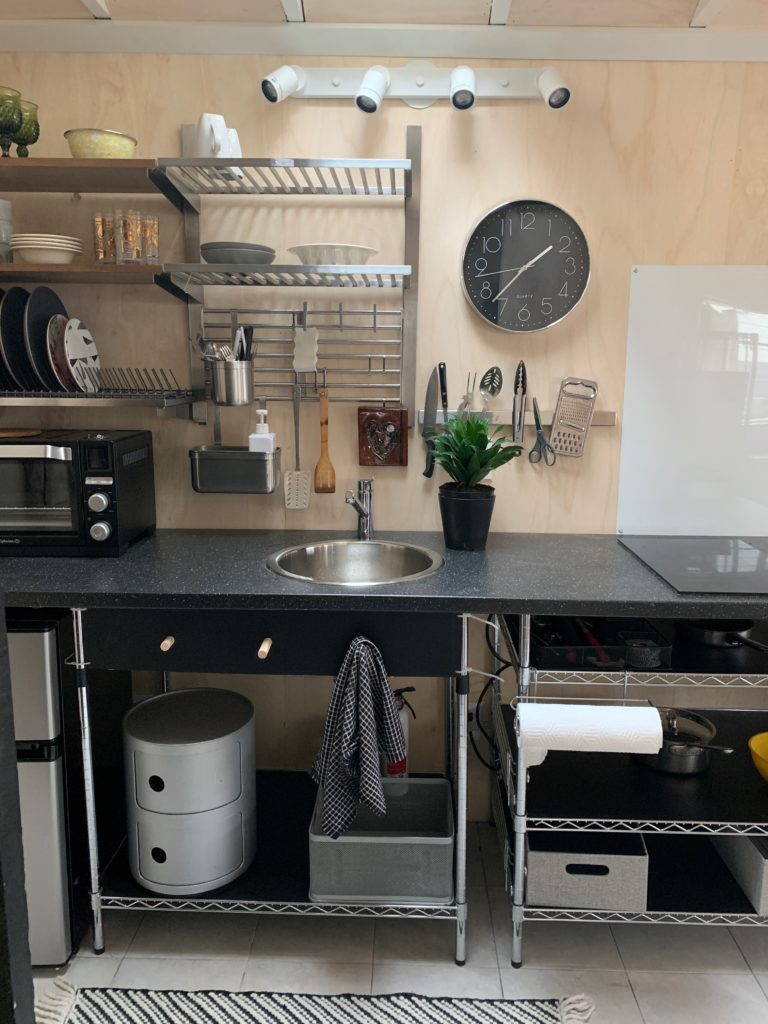
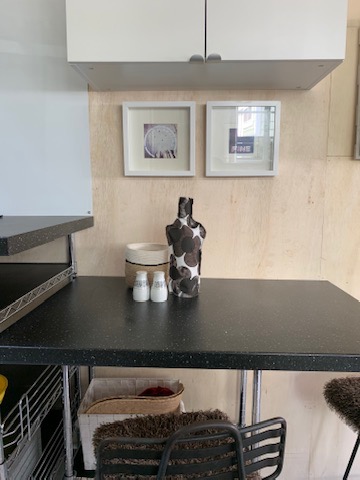
I wanted to add some hooks and to hide the bottom of the sink, so I used the same birch plywood, chalkboard painted, oversized peg board system that I used in the main house (post here) The Green St. renovation. You can see it here holding a hand towel on the dowel. I also used a round Componobili storage unit from my house as added under storage. Ikea Kungsfor knife bar and an extra large Home Goods wall clock for timing needs.

cups for utensils 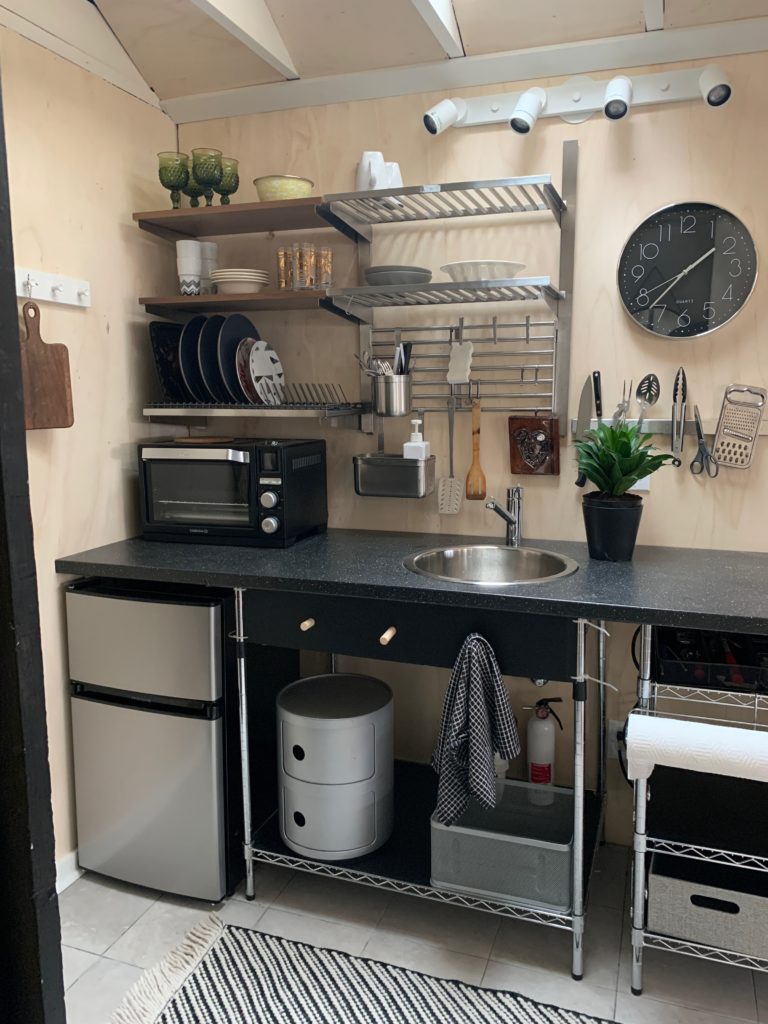
under counter freezer/fridge
White stainless back splash and storage shelves hold pots and bowls. I love this paper towel holder accessory.
This kitchen does not have a stove, only a large toaster oven, however the little oven can cook a full sized chicken. All dishes from second hand stores and countertop from Ikea.
I had ordered 2 countertops. Not sure what size I would need. I used the extra one as a stepped down, extended counter top bar for seating and eating.
I used the extra shelf from the bathroom vanity to add a pedestal type base for the table to sit on. Ikea up cabinet over the bar.
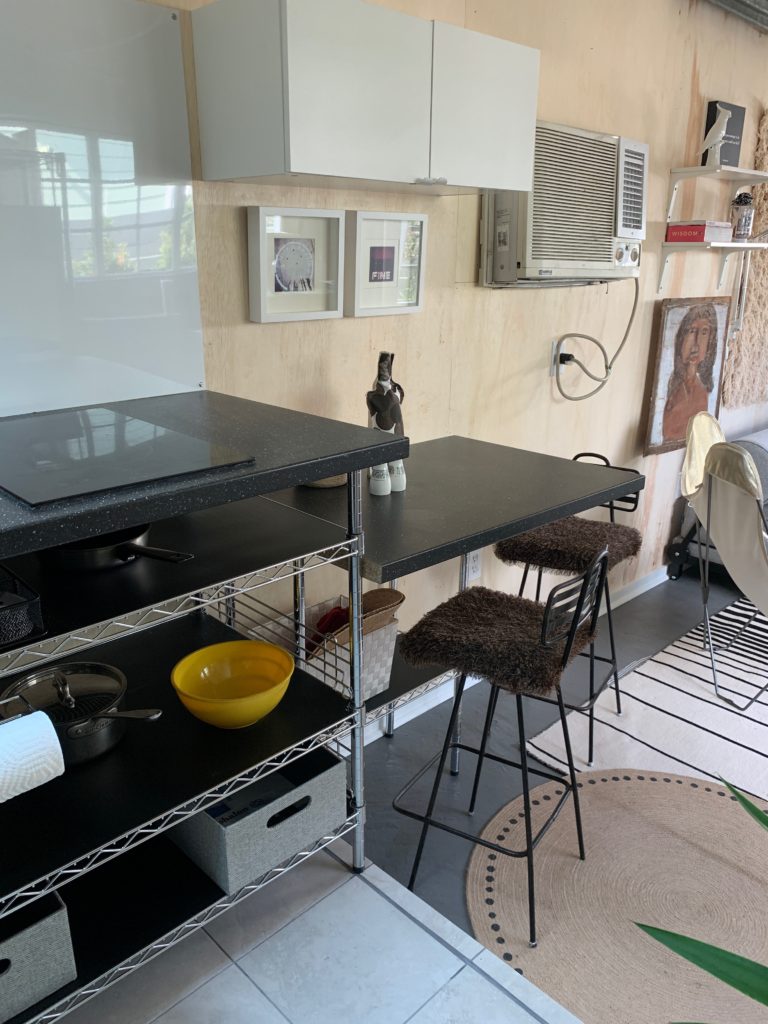
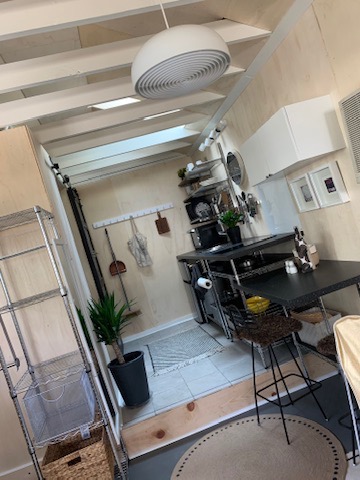
overall view of kitchen and table
One of my favorite things about the kitchen is the wall of hooks at the far end. 2 Ikea hook systems used here. The Velux skylight absolutely makes this kitchen, too. Without this addition, it would be very dark in this corner.
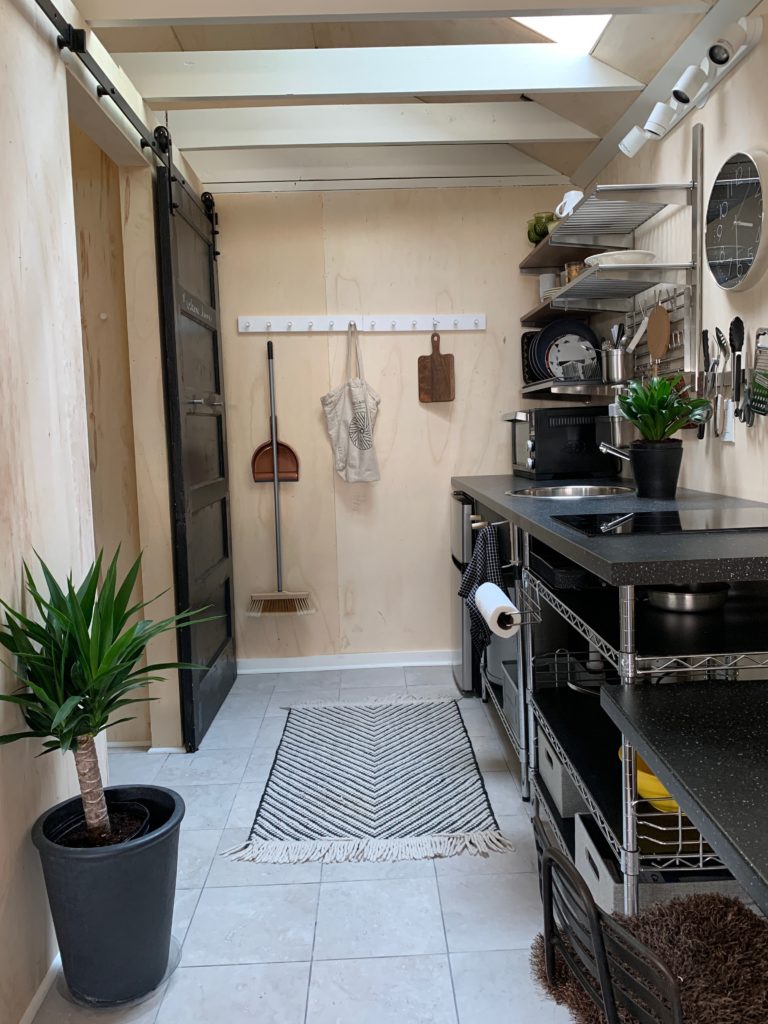
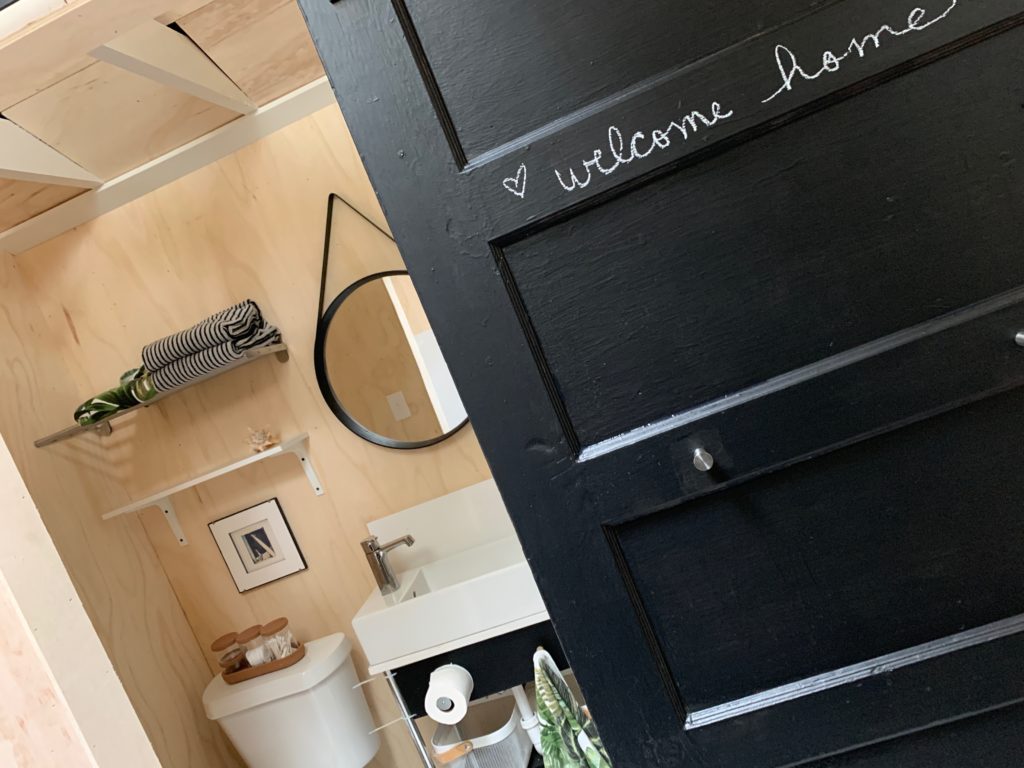
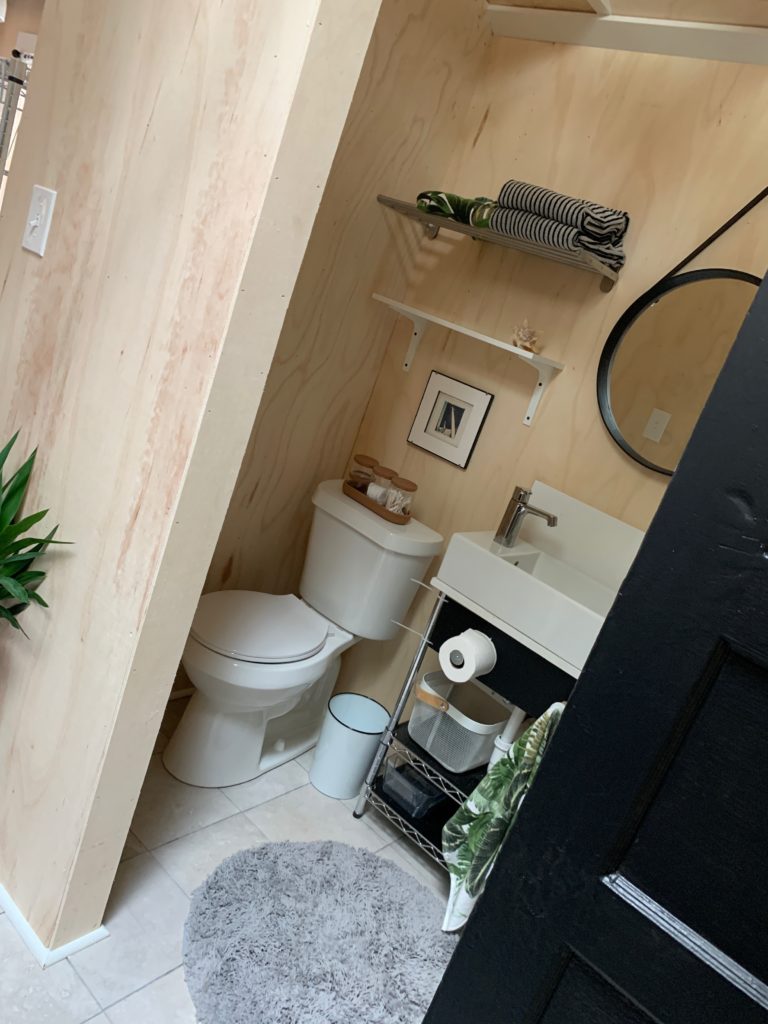
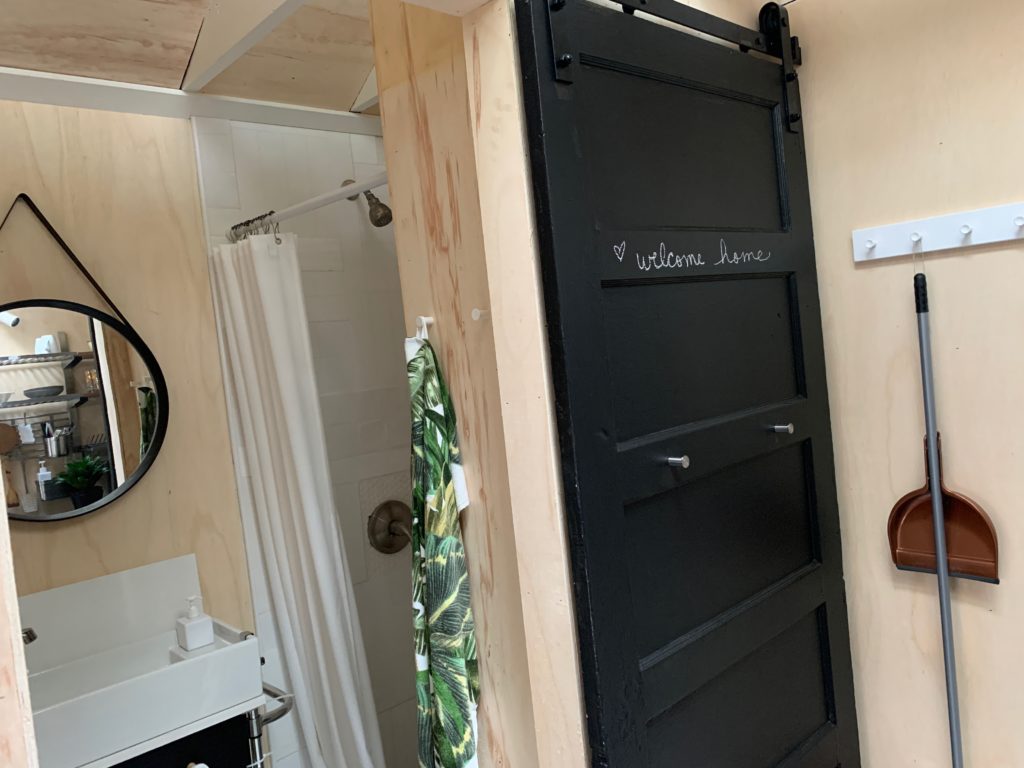
I thought that one door could be used to close off the tiny bathroom when the pantry was needed and then the same door could hide the pantry when not in the bathroom. I have always loved the idea of a barn door. This is a surface mount door that slides on a track instead of pivoting in or out. In this space a door into the bathroom or kitchen would have been in the way. This application was perfect to use in this small space. Barn door hardware found on Build.com. We reused a door from the main house and painted it chalkboard paint for notes or grocery lists. Genius.
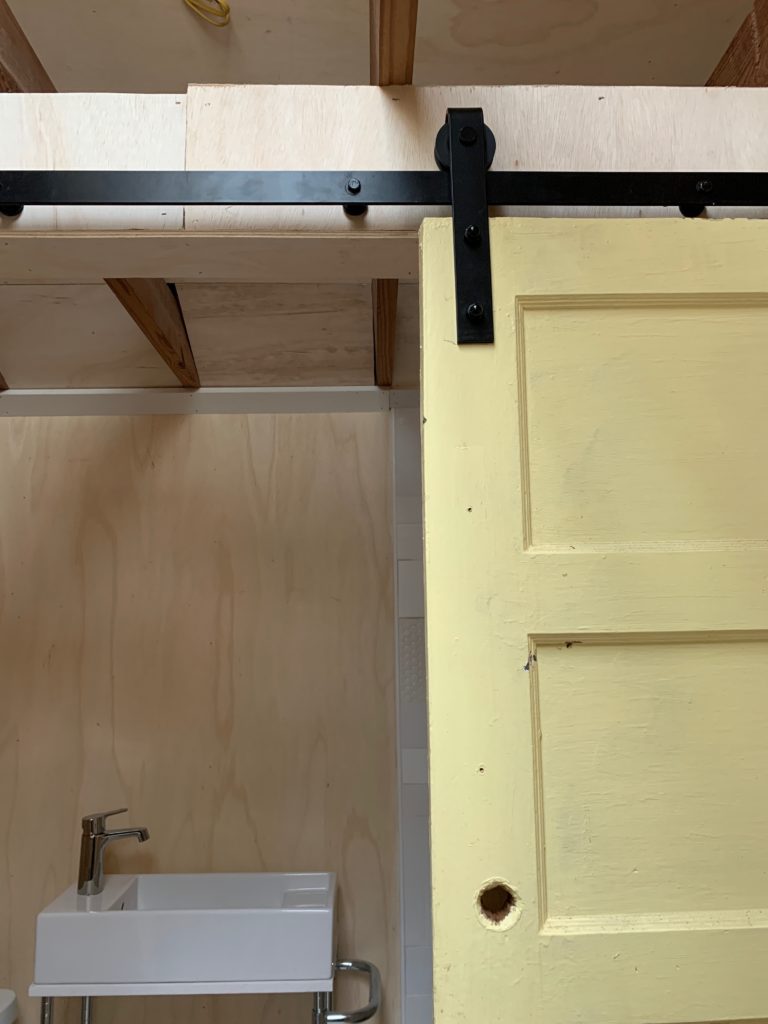
bathroom door 
covers pantry when at right
I added a couple pegs on the front of the door for towels, etc and as a way to open and close the door.
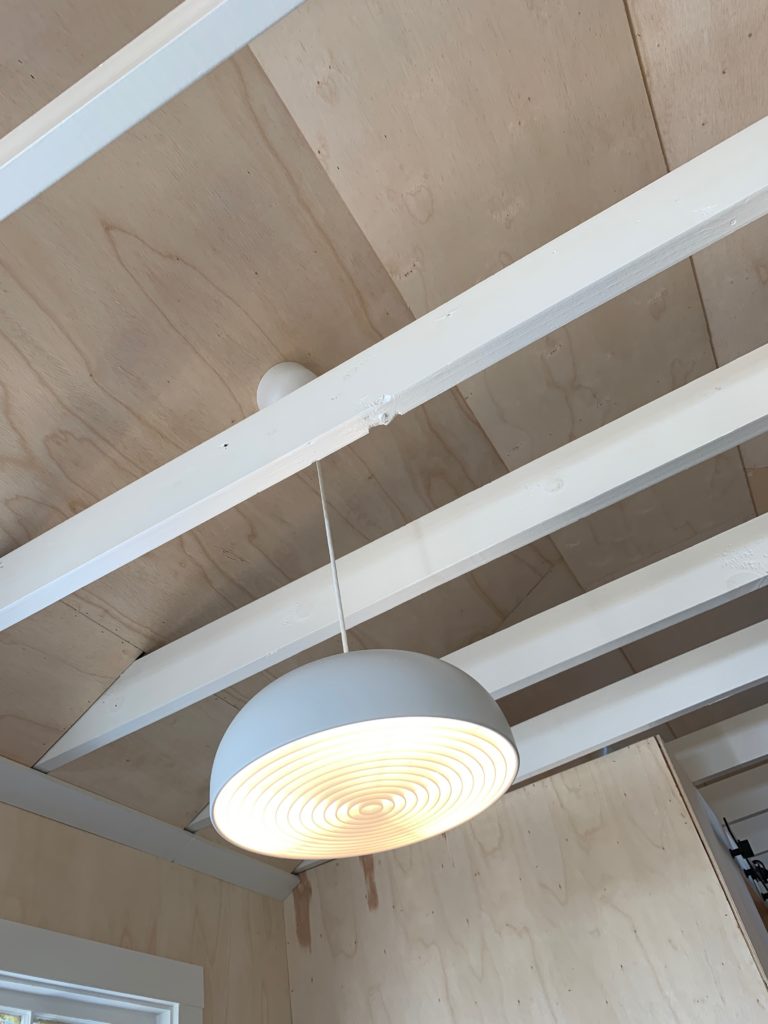
I took a poll on Instagram about leaving the beams natural or painting them white and white won. All the trim in the studio is painted BM Simply White. Hanging light fixtures from Ikea.
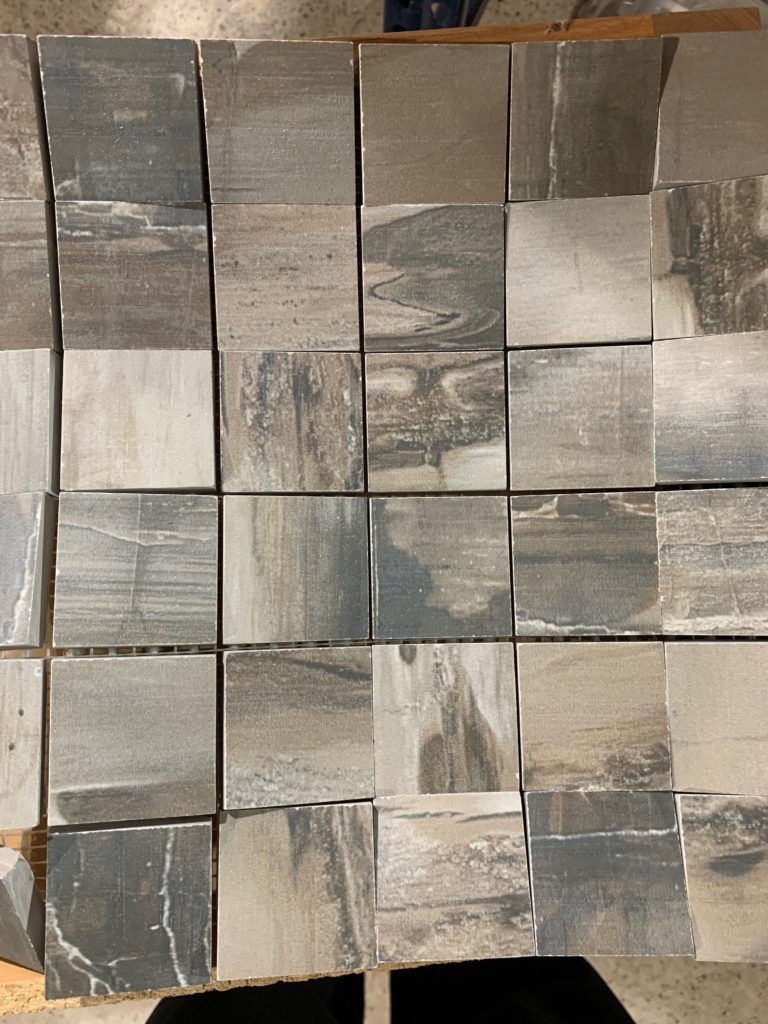
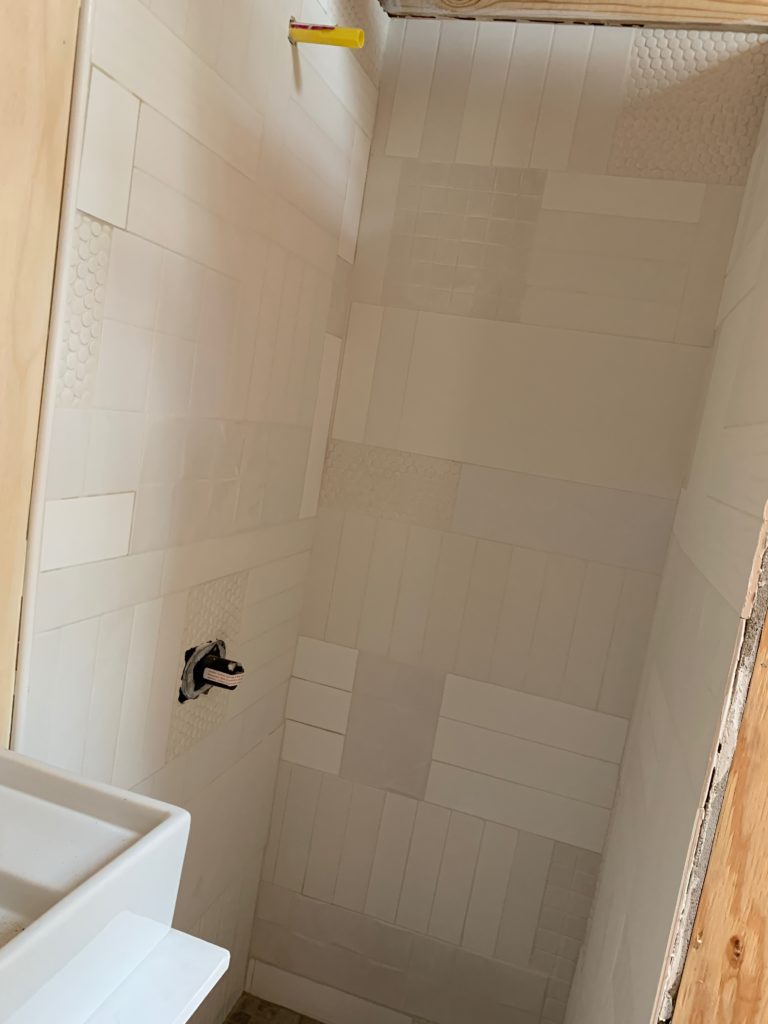
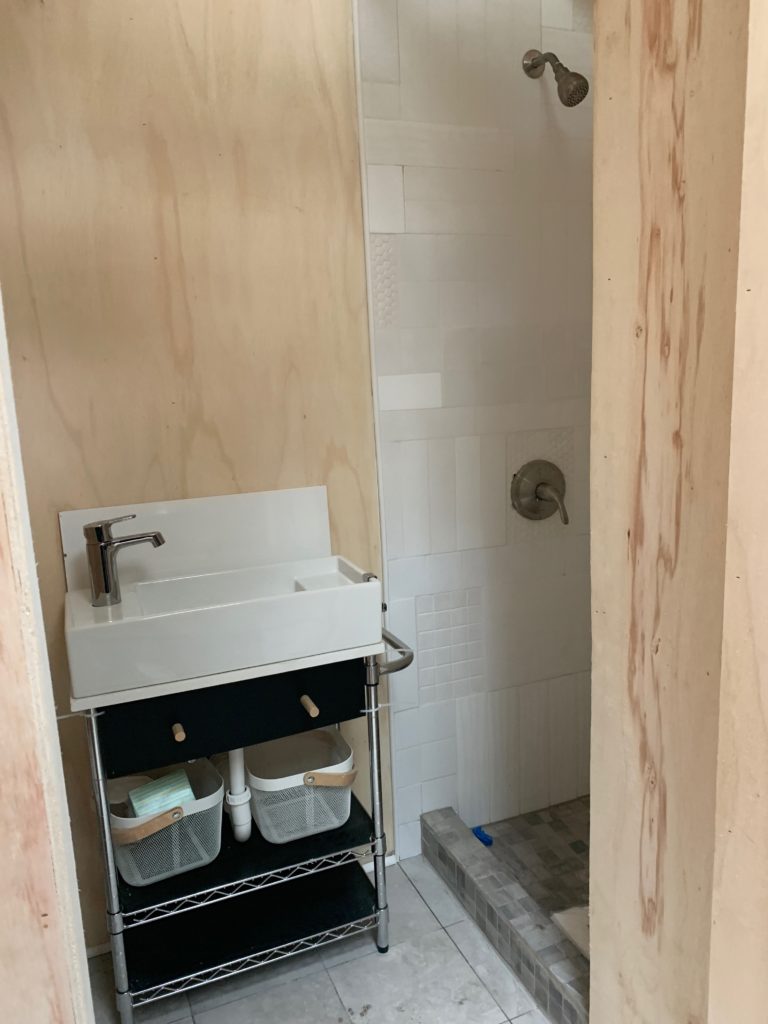
To continue the cost savings, I wanted to use the leftover tile to make a custom shower enclosure -no buying any tile. Here are all the choices I had. However, after gathering it all together, I felt it was too busy for this tiny space. 30″ square.
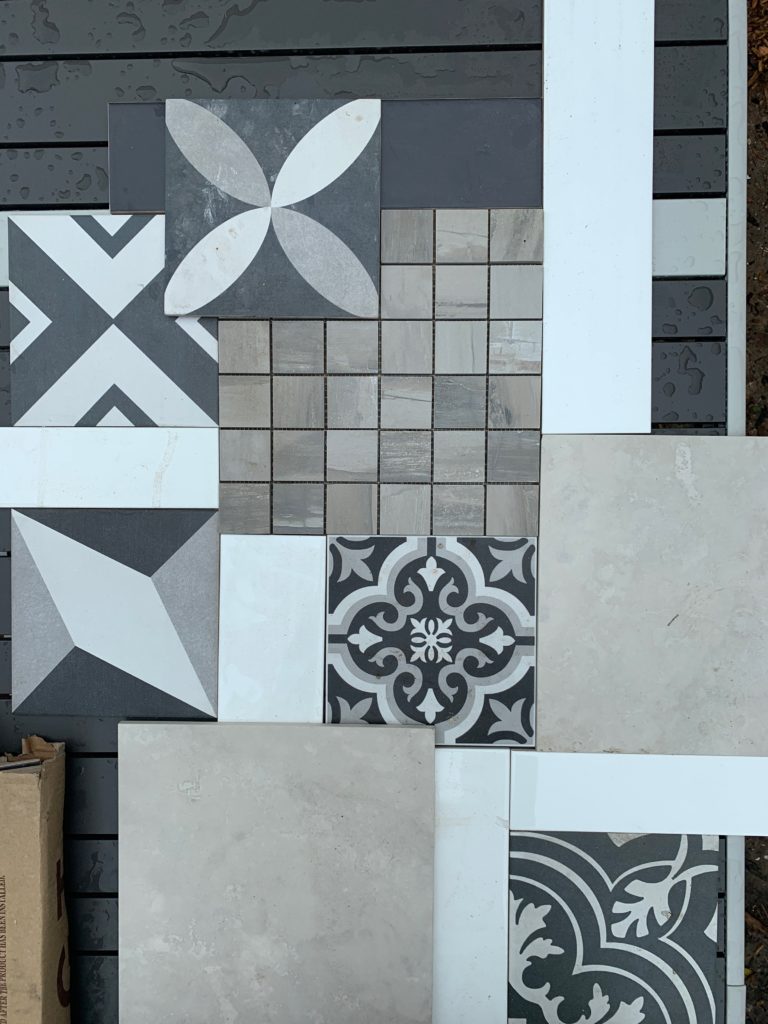
I just went with the white I had. I was gifted leftovers of friends and clients that I knew had some extra white tile hanging around.
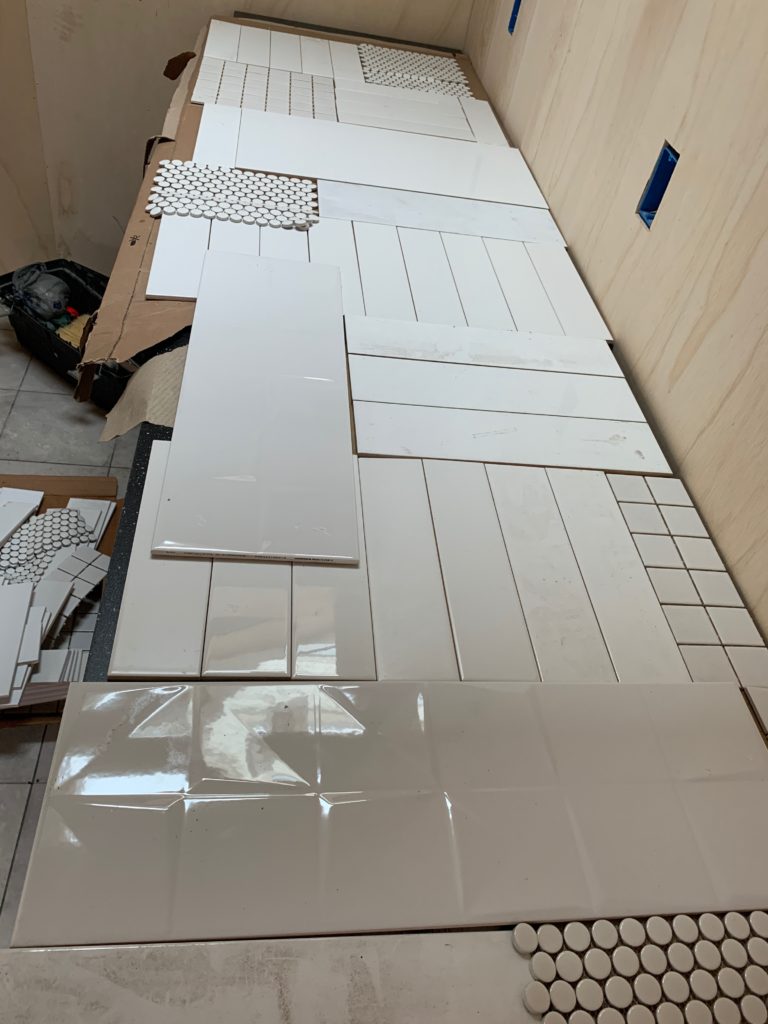
my unorganized tile collage 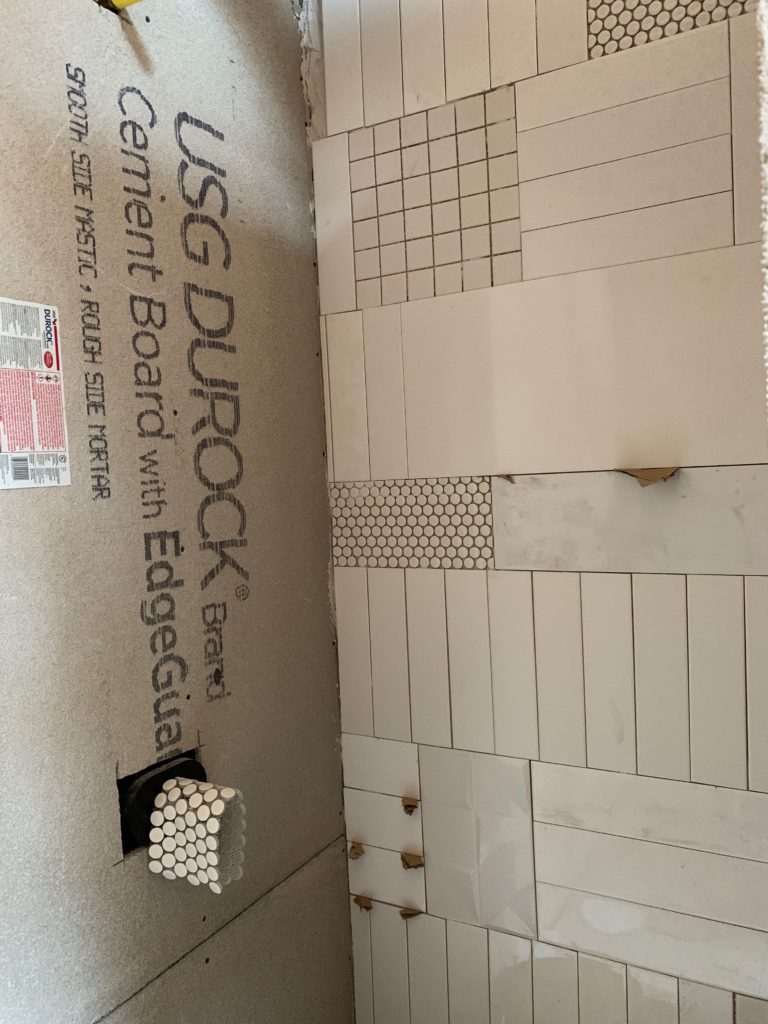
fitting it all in

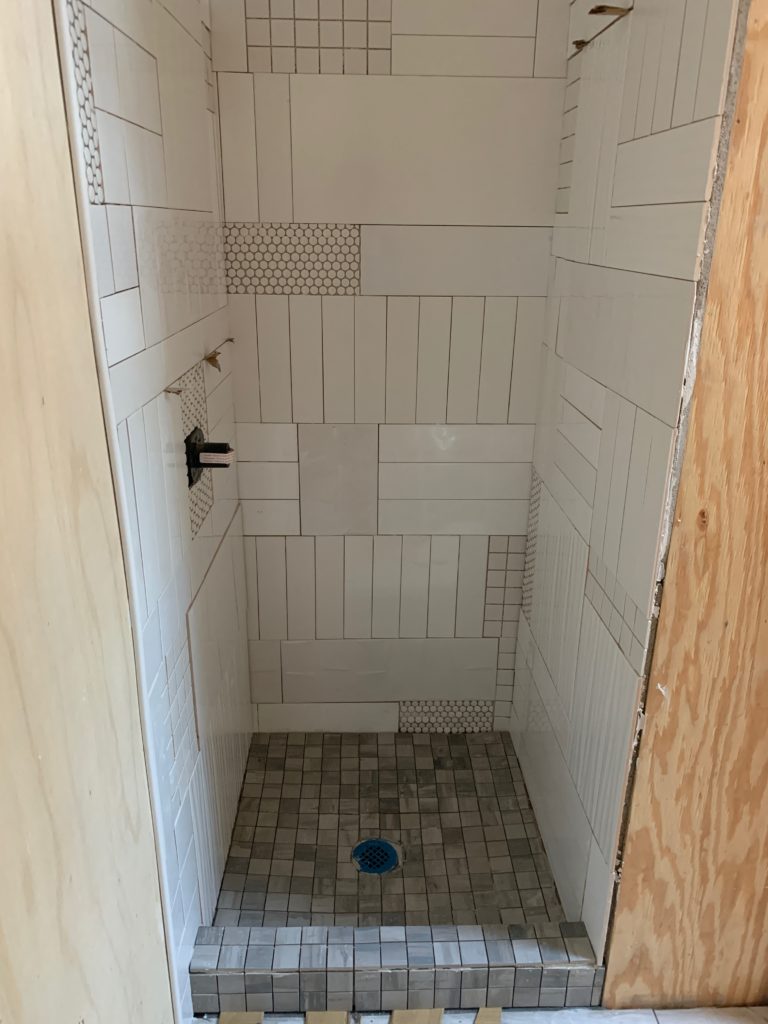
all walls done 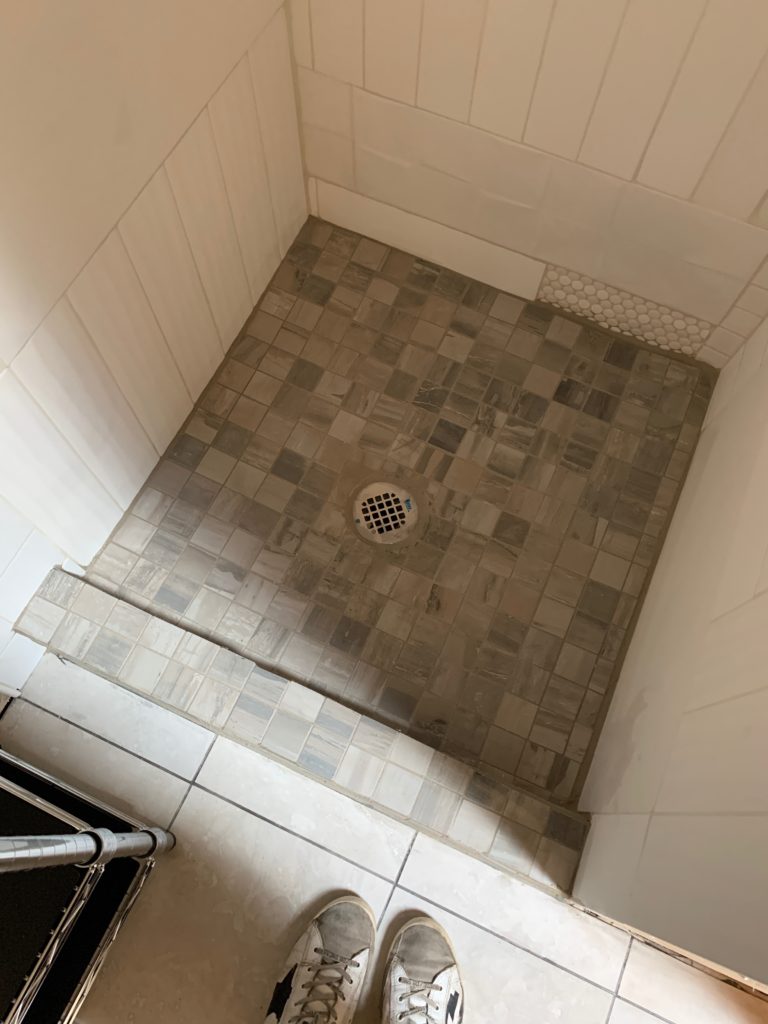
floor tile
Grouted here. I love it!
I wanted the bathroom vanity to coordinate with the kitchen since it is right across the room. I did some research and figured that the small Lillangen Ikea bathroom sink I was thinking of using for this tiny space would fit perfectly on top of the Uline 24″ silver shelving unit that matches the kitchen.
The used a leftover piece of quartz from the main kitchen as the top and we set the sink on it and cut the hole for the plumbing. I ordered a handle that you would use if you were creating a rolling cart to make a towel bar for the shower. Super cool!
the base together 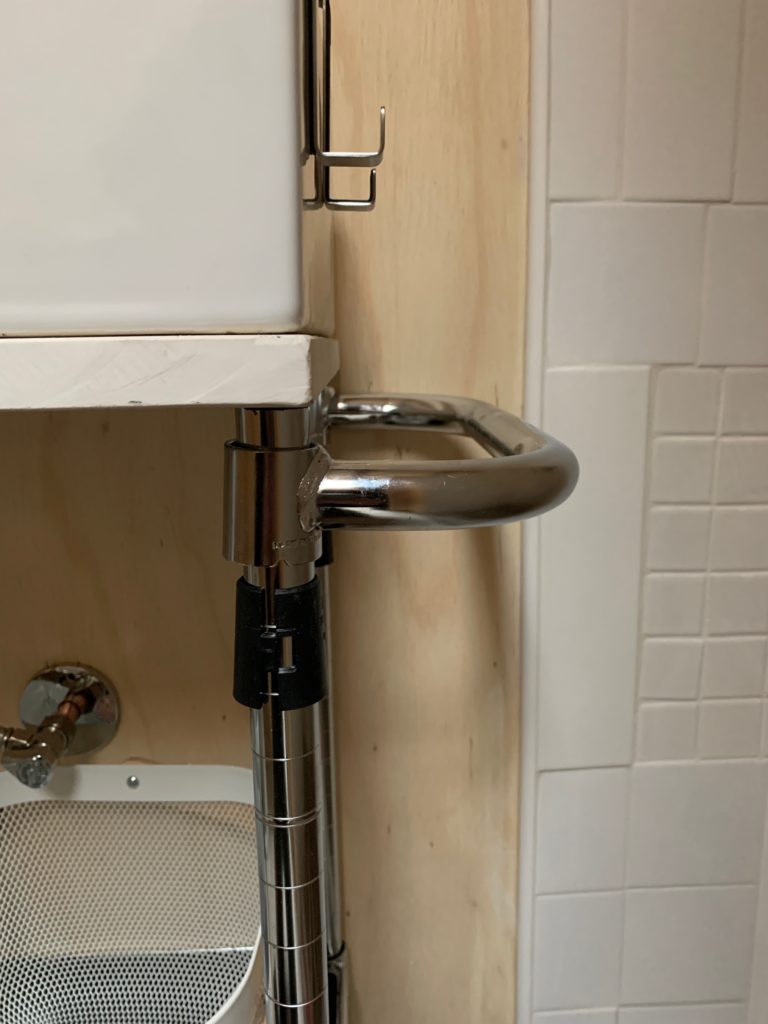
the handle used for a towel
I used some leftover birch plywood to make a cover for the vanity (mainly to cover the the ugly drain) as I had done in the kitchen.
I added some baskets from Ikea and palm leaf hand towels from H&M. I made the end cap of the toilet paper holder with a large washer I screwed to the end of the dowel. Pretty happy with this idea.
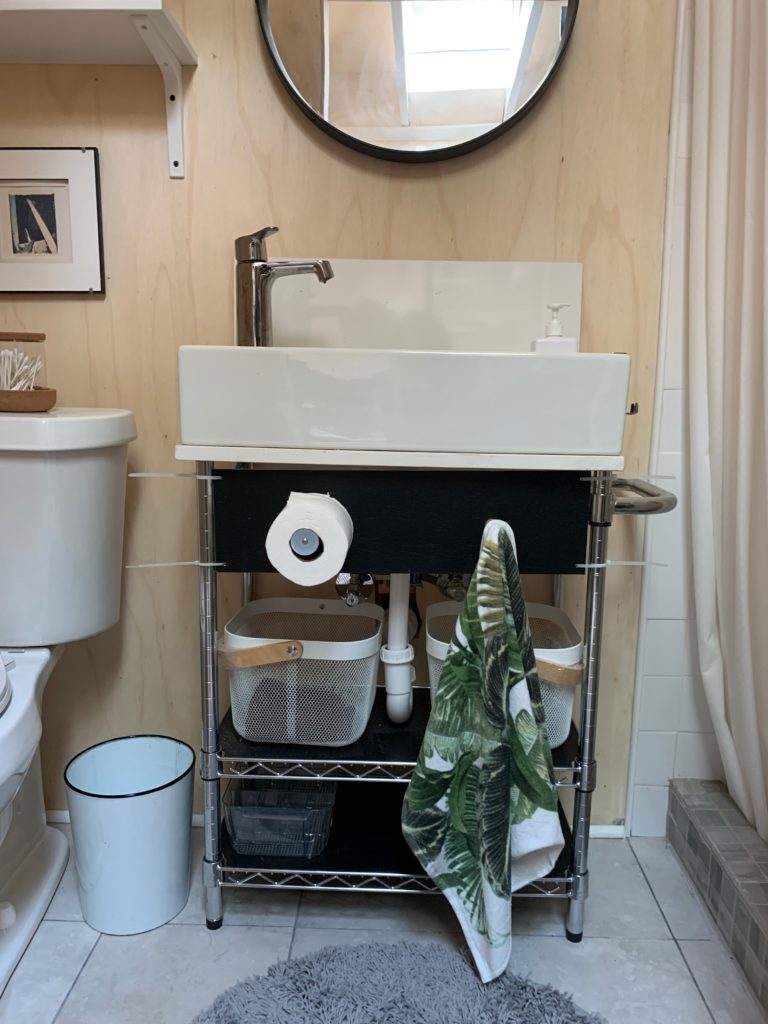
Lots of accessories in the bathroom came from my house and Ikea.
Mirror from Home Goods 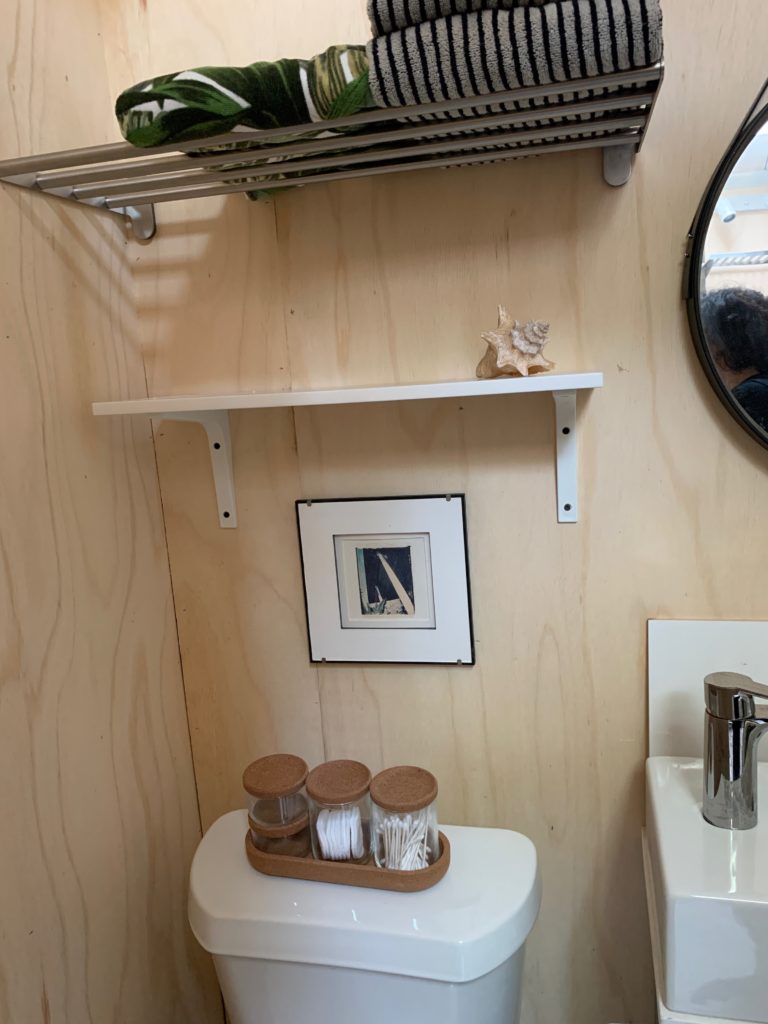
Ikea shelving and accessories 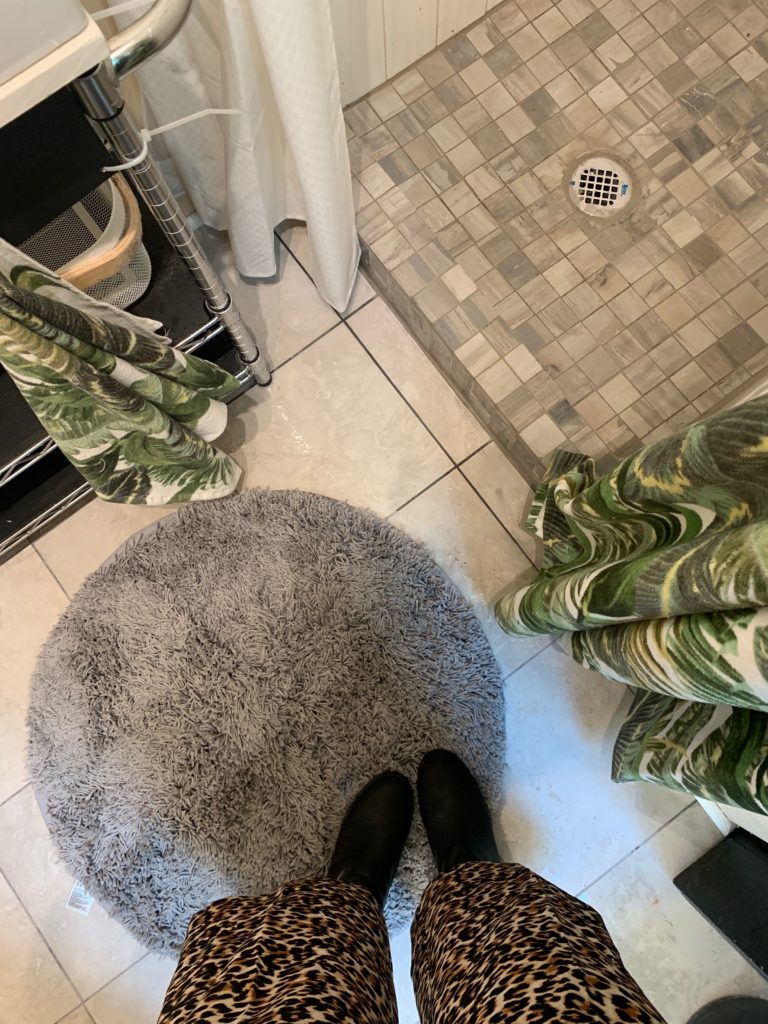
The towels and bath mat from H&M.
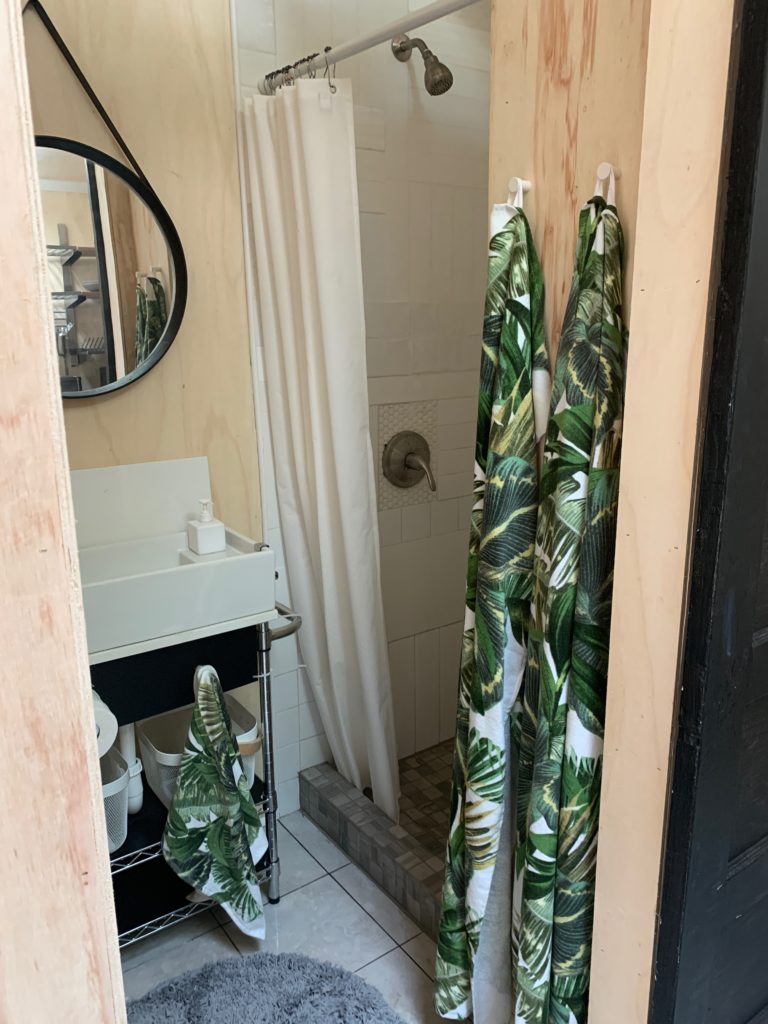
The finished bathroom with shower and barn door.
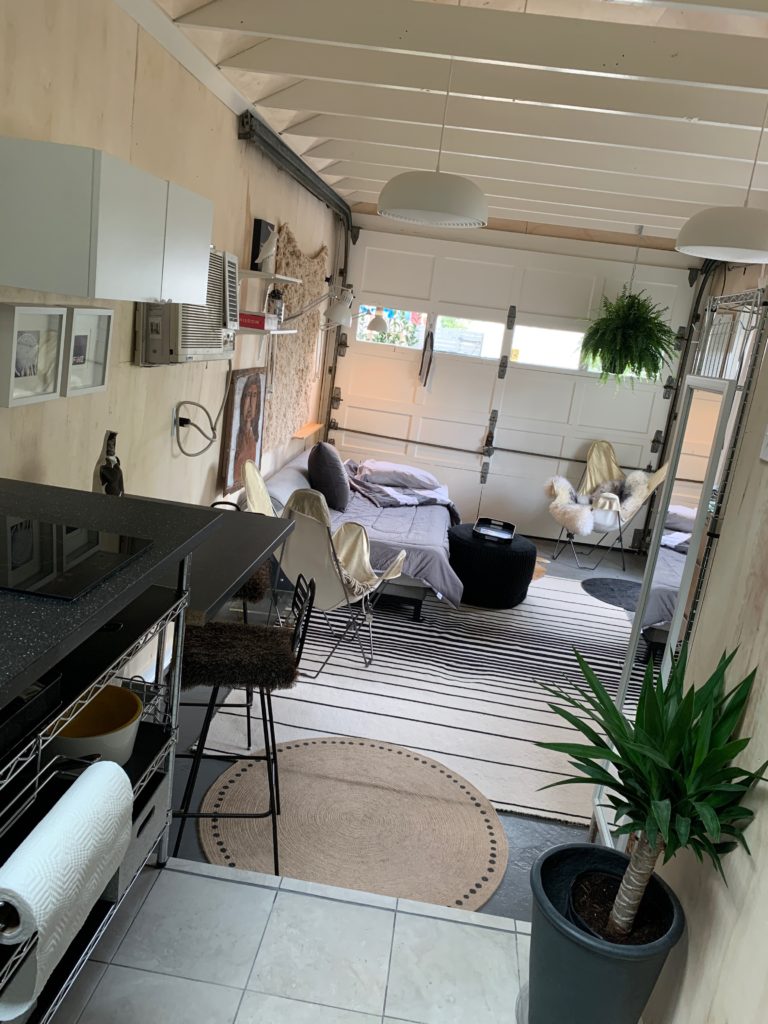
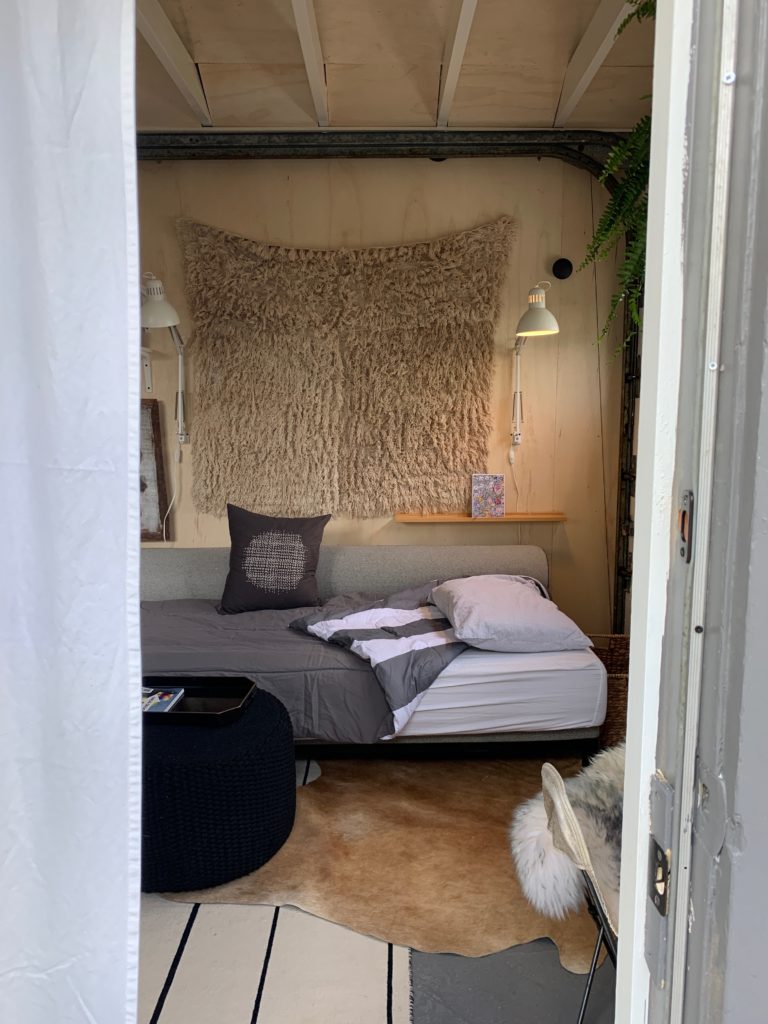
I decided to furnish this little studio because we thought of possibly short term renting it. But now a Tulane student is living in it and loves all the interior design. First thing I added was the sofa bed from my upstairs hangout and a wall hanging I acquired at a tag sale. I love the texture against the wood. I had the butterfly chairs in the attic and like these chairs in the studio because they are very versatile. As indoor chairs they can be easily folded up and put aside, or are light enough to be brought outside for additional guests in the yard.

I added second hand accessories, lighting and shelving, as well as some art from my attic art storage.
I bought this closet system at the Lowe’s. Why? You guessed it. It matches the silver shelving unit in the kitchen and the bathroom. How perfect!
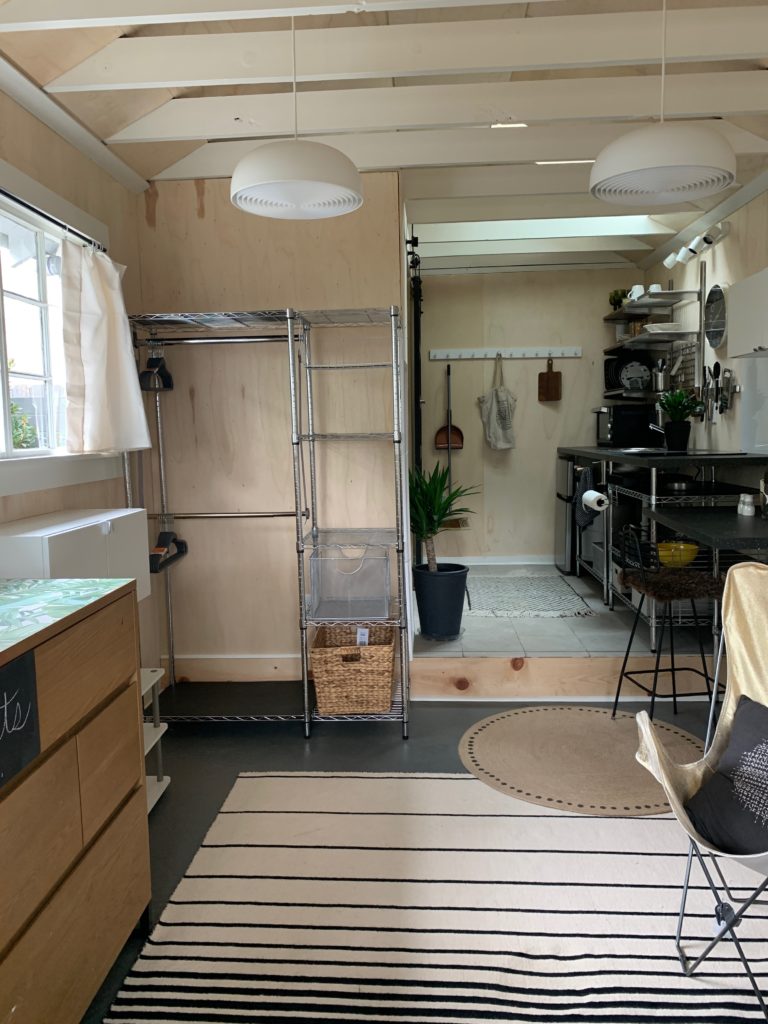
The chest of drawers came out of Mose’s room, which I used chalkboard paint on the front of one of the drawers.
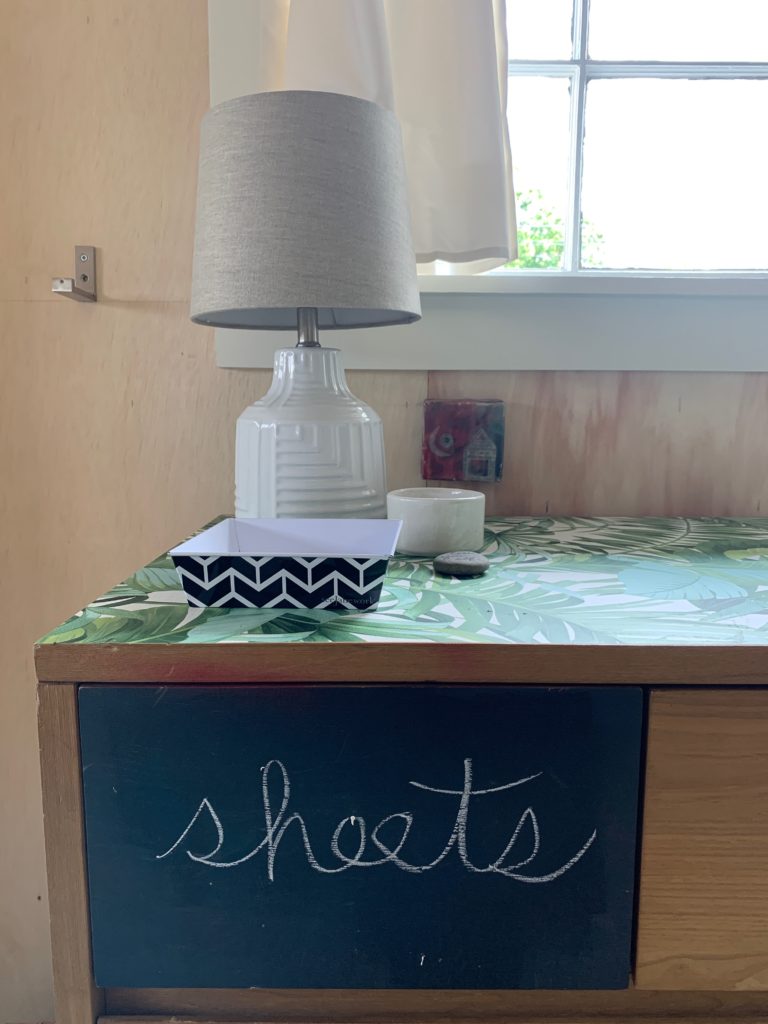
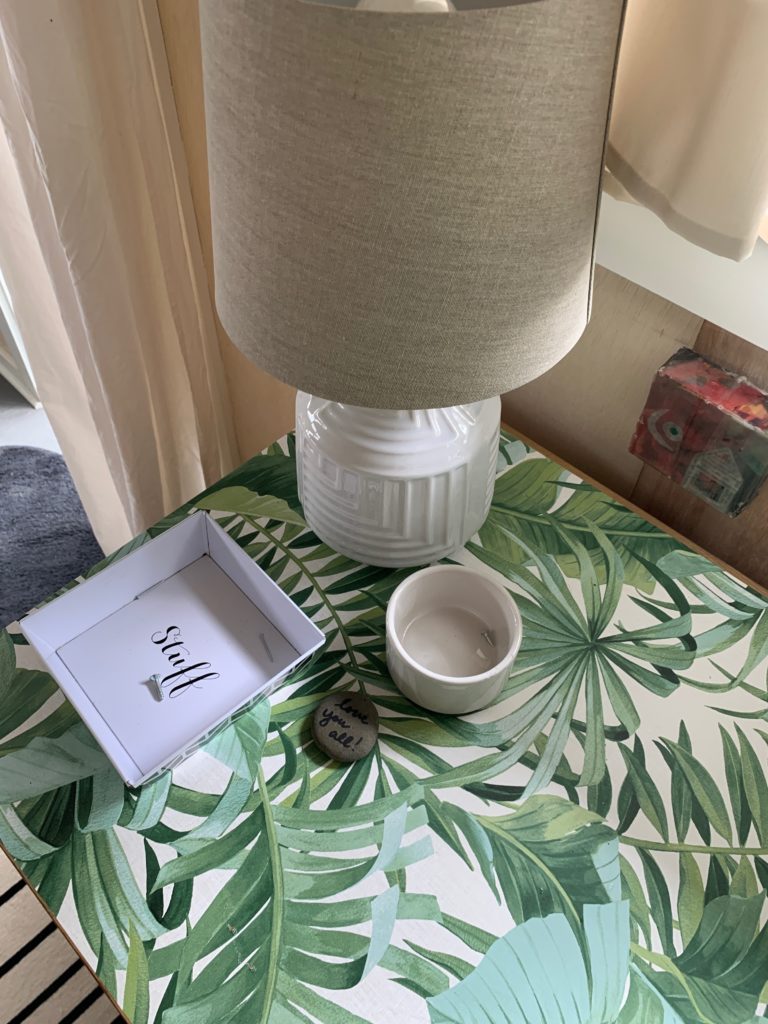
In the second picture the top of this dresser was stained, so I added some sticky wallpaper of palm leaves (that I had left over from the main house) to the top of the dresser. So fresh.

view from the kitchen 
all second hand in the studio
This is the view from the doorway of the DWR Twilight sofa made into a twin bed.
The outside of the studio. The yard is shared with the main house. (See the Green st renovation for the before and after info)
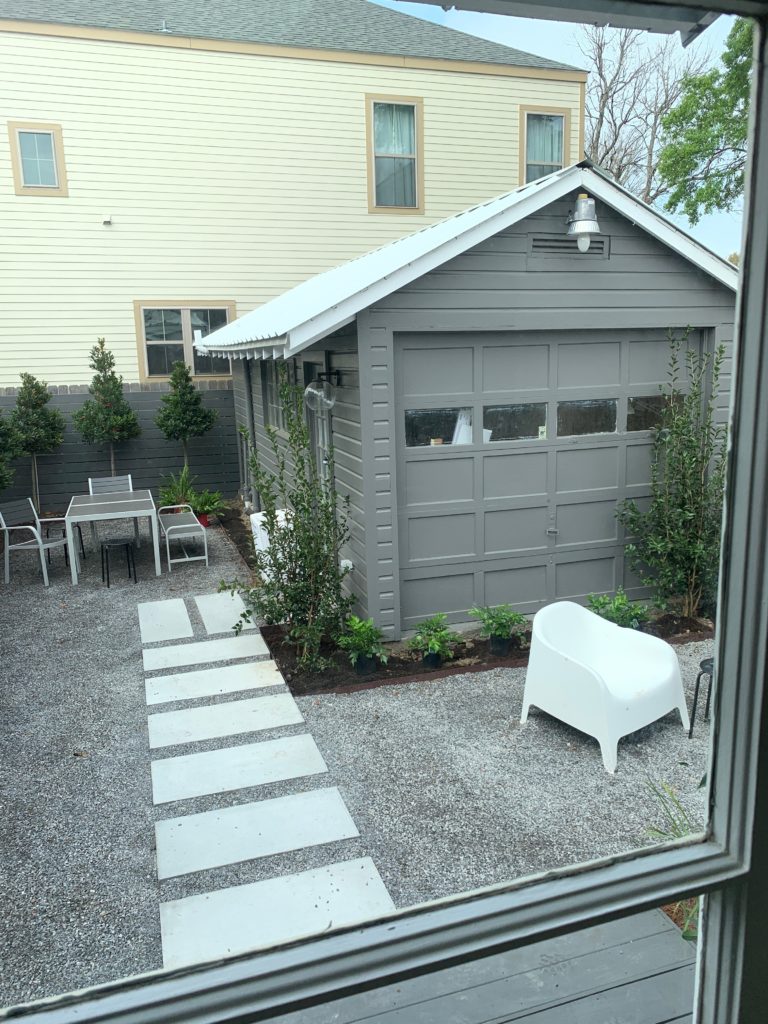
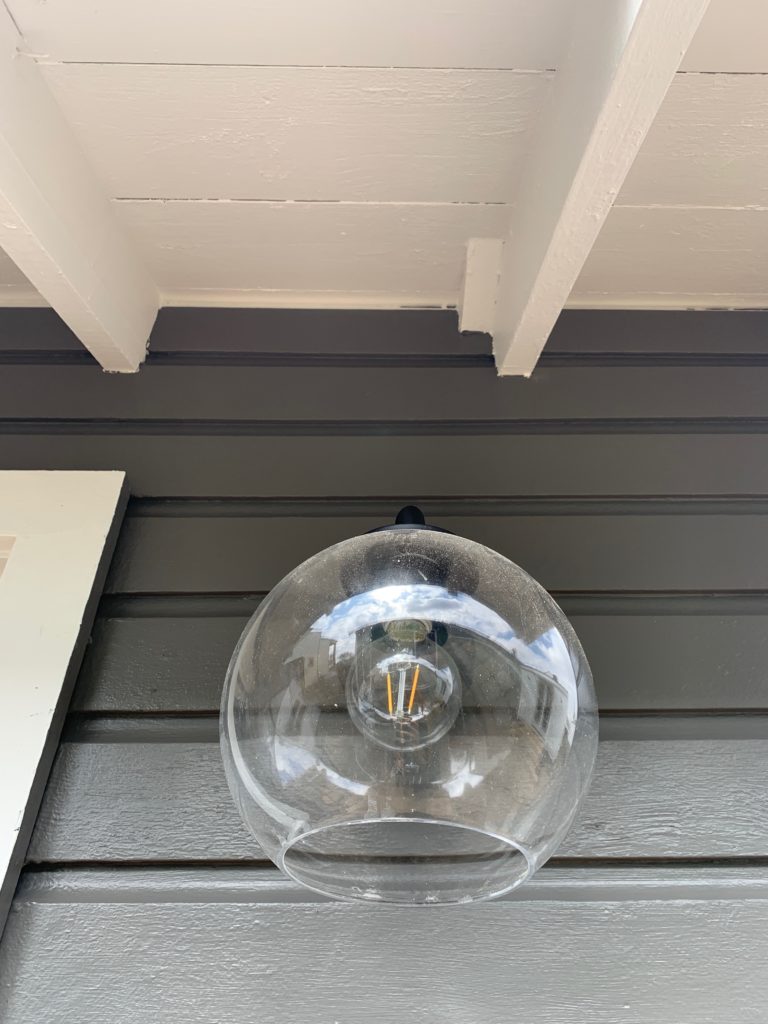
The studio is painted BM Kendall Charcoal. All outside lights from Houzz.
It’s me and my studio!

Comments